
|
NOTE—These incubators are NOT interchangeable. |
Parts and Materials Required
- Proper PPE
- Allen wrench, 4 mm
- HIGH TEMP INCUBATOR, ASSY
or
- AMP INCUBATOR, ASSY
or
- TRANSITION INCUBATOR, ASSY
Incubator Hardware Comparison
|
|
Warning— Because of these differences, the incubators CANNOT be interchanged! For example, you cannot use an Amp Incubator in lieu of a High Temp Incubator! |
The comparison table below shows the differences between the three incubators:
| Incubator | Base Plate | Fan | Magnets |
|---|---|---|---|
| High Temp | No holes | 11.8W Sunon | None |
| Transition | No holes | 6.7W Sunon | None |
| Amp | 6 holes for RTFs | 6.7W Sunon | Yes |
Time Required
- 30 minutes (does not include re-teaching the Distributor)
Removal Procedure
|
|
MTUs may be present in module. It is necessary to remove all MTUs to avoid contamination. |
- Put on proper PPE.
- Clear all MTUs from the Panther System.
- Close the Service Software, if necessary, and power down the system.
- Carefully open the Service Drawer.
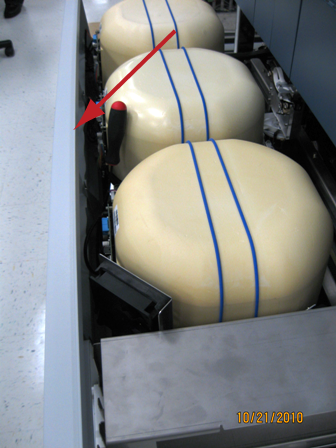
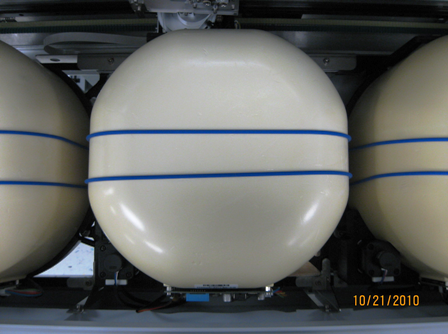
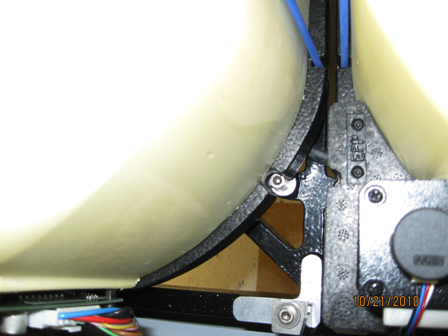
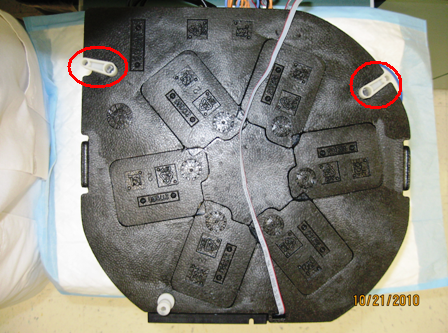
- Locate the Incubator to be replaced.
- Remove the Mid Bay front panel.
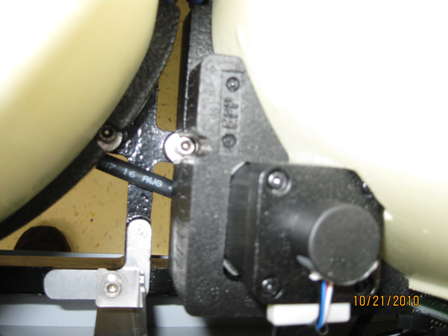
 Using a long handled 4 mm Allen wrench, remove the two screws that secure the Incubator. There are 2 screws on the sides and 1 locating pin on the front under the incubator door.
- Remove the COP cable connected to the Incubator.
- Slide forward toward the front of the system and raise upward to remove the Incubator from the system.
- Remove the Incubator from the Panther System.
NOTE—If returning the module, decontaminate the module and complete the COD/OBF/RMA Form [19-02-APX-A].
Replacement Procedure
- Verify that the DIP switch settings are correct according to the replaced Incubator's PCB.
DIP Switch Transition Incubator HT Incubator Amplification Incubator 1 ON OFF OFF 2 OFF OFF ON 3 OFF OFF OFF 4 OFF OFF OFF - Installation of the incubators is the reverse of the removal procedure.
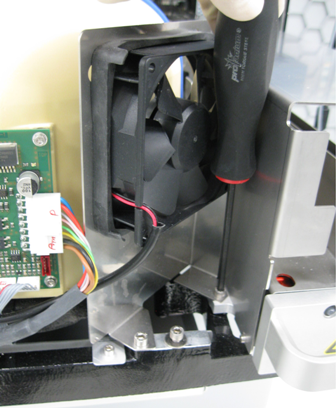
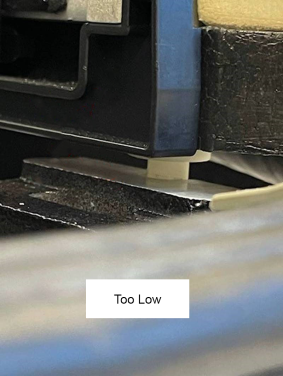
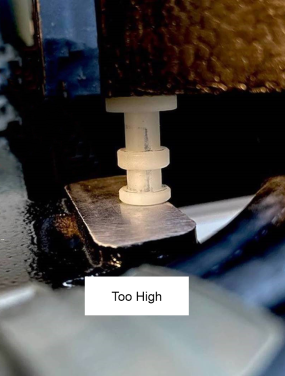
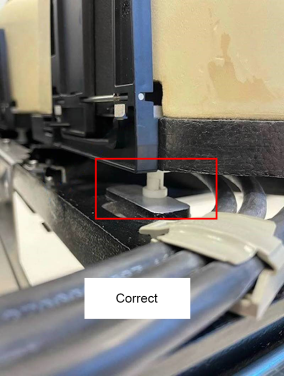
NOTE— If the front foot is installed too low or too high, improper Linear Distributor teaching or crashing will occur.NOTE—The Amp Incubator has a splash shield and an external fan that may be removed to ease service. - Carefully close the Service Drawer.
- Start up Service Software.
- Load Panther System firmware to the incubator.
NOTE—Firmware should only be loaded if the Incubator was replaced with a new module. There is no need to load firmware if the incubator is not being replaced with a new module.
|
|
Note—
If replacing an incubator on an ATLAS System (IEH/ROKA), after running Firmware, refer to TB-01307 to update all 3 incubator Parameters. ATLAS assays run at different temperatures than Aptima After setting the new incubator parameters, shutdown, go back into SSW, and check to make sure they were saved correctly. |
Alignment / Calibration
Verification
- Perform a System Level Operational Qualification.
- Verify that the Incubator is within temperature specification.
- If an Amp Incubator was replaced AND RTFs were moved from the old incubator to new incubator then a PQ is required.
 button at the top of the page to send feedback, comments, or change requests.
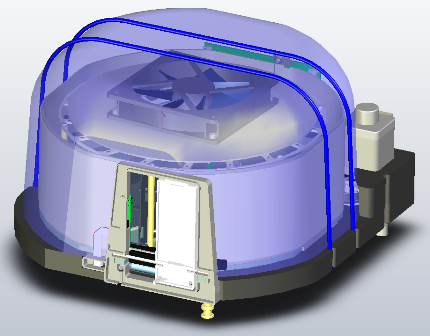