Parts and Materials Required
- Hex driver, 2.5 mm
- Reagent Bay Shutter Drive Motor
Time Required
- 30 minutes
Removal Procedure
- Put on proper PPE.
- Remove the Reagent Bay module.
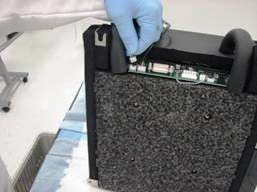
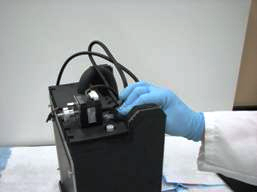
 Disconnect the motor and optical sensor from the PCB board on the rear of the module by gently pulling on the connectors.
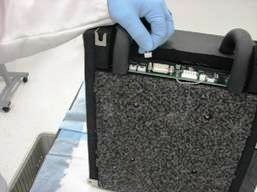
- Using the 2.5 mm hex driver, remove two 3 mm socket head cap screws that secure the optical sensor to the motor bracket and remove the sensor.
- Using the 2.5 mm hex driver, remove the four 3 mm socket head cap screws that secure the motor to the motor bracket.
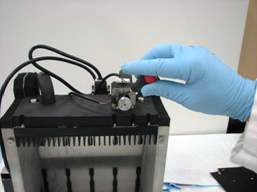
- Using a 3 mm hex driver, loosen but do not remove the two screws that secure the mounting bracket to the back of the bay. This will allow easier removal of the motor.
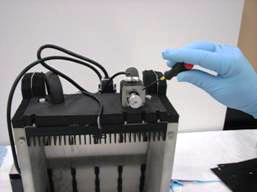
- Pull back the insulation surrounding the liquid cooling line and flatten the liquid line onto its barbed fitting.
- Gently pull the motor straight back from its bracket.
Replacement Procedure
- Reverse the removal procedure.
Alignment/Calibration/Prime/Firmware
Verification
- Start up Service Software.
- Using Service Software, verify that the Reagent Bay temperature is within acceptable range.
- Using Service Software, open and close the shutter and visually confirm that it operates properly.
- Scan racks with reagent bottles in all four lanes.
- Verify the detection of rack presence.
 button at the top of the page to send feedback, comments, or change requests.