Parts and Materials Required
- Hex wrench, 4 mm
- MAGNETIC PARKING, MODULE
Time Required
- 15 minutes

|
Note — The magnetic parking module is a passive element. It has no connection to the CAN bus or power. |
Removal Procedure
|
|
Wear clean nitrile gloves while performing the following procedures. |
- Put on proper PPE.
- Carefully open the Service Drawer.

WARNING—MTUs may be present in module. It is necessary to remove all MTUs to avoid contamination. - Clear MTUs using one of the following methods
- Reboot the Panther System main software.
Or
- Close Service Software and power down the Panther System.
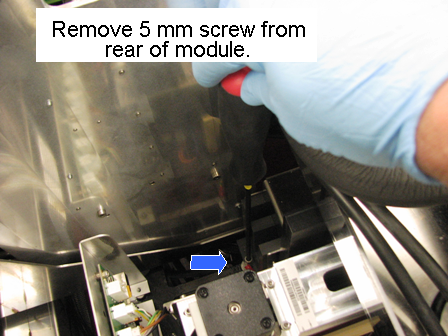
 Using the 4 mm Allen key, remove the 5 mm screw from the rear of the module.
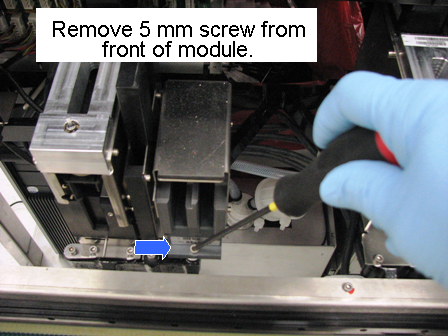
- Using the 4 mm hex wrench, remove the 5 mm screw from the front of the module.
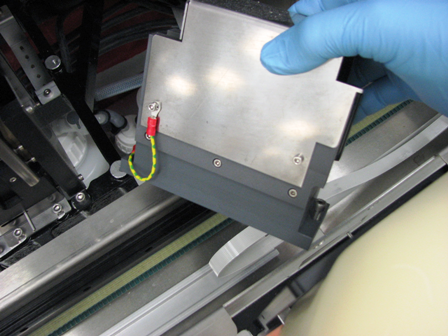
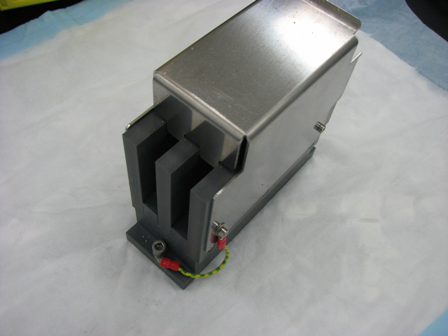
- Lift the module out of the Service Drawer and place on a properly prepared work surface.
|
|
Note—If returning the module, decontaminate the module and complete the COD/OBF/RMA Form [19-02-APX-A]. |
Replacement Procedure
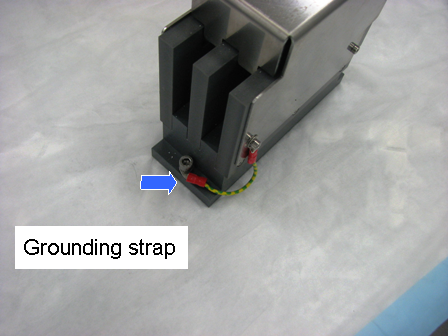
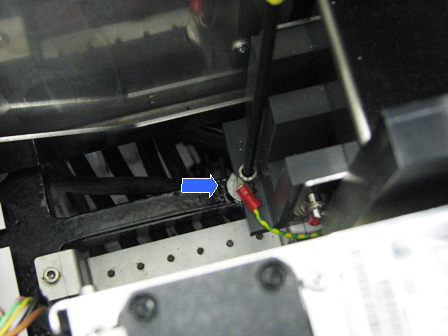
- Locate the green grounding strap on the back left side of the module. new magnetic parking module.
- Reverse the removal procedure steps to install the module.
- Close the Service Drawer.
 button at the top of the page to send feedback, comments, or change requests.