
|
Note—This procedure applies to the Transition, High Temp, and Amplification Incubators. |
Parts and Materials Required
- Allen wrench, 3 mm
- INCUBATOR (HIGH TEMP), FAN
or
- INCUBATOR (TRANSITION, AMP), FAN
Time Required
- 15 minutes
Removal Procedures
|
|
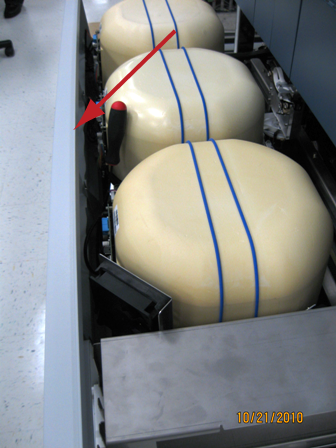
MTUs may be present in module. It is necessary to remove all MTUs to avoid contamination. |
- Put on proper PPE.
- Carefully open the Service Drawer.
- Remove the Mid Bay front panel.
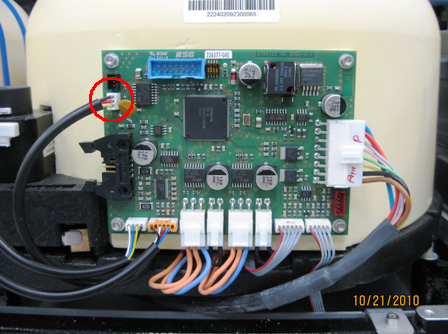
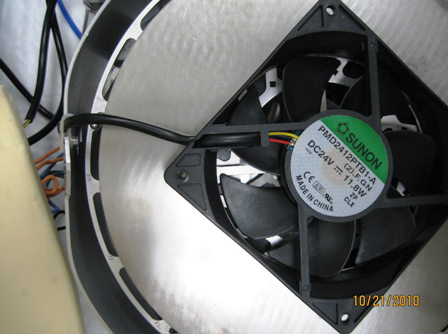
 Disconnect the fan from the PCB.
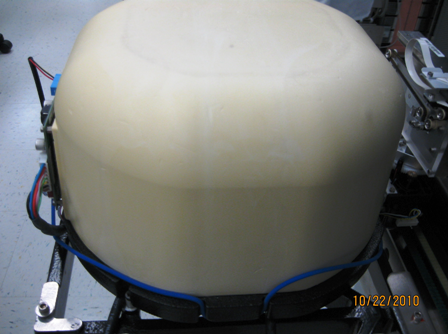
- Slide the rubber band down, or remove the incubator cap cover with the two bands off to the side.
- Remove the Incubator cover.
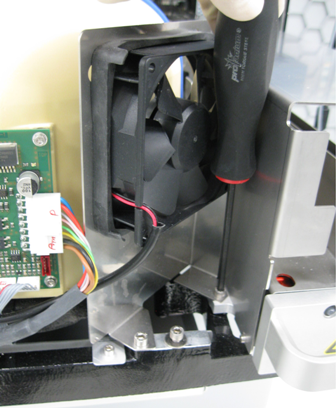
- Using a 3 mm Allen wrench, unscrew the four screws that secure the fan. Note the orientation of the fan before removal.
- Remove the fan.
- Save the washers underneath the fan for the installation of the new fan.

Replacement Procedure
|
|
Note—Two fans are used:
|
- Orient the fan so that the cable is routed toward the strain relief and PCB. The fan label should be facing you when installed for the correct orientation for airflow.
- Insert and tighten the four 3 mm screws that secure the fan, and make sure that each screw has a washer between the fan and the metal plate.
- Reinstall the incubator cap.
- Plug the fan connector into the PCB.
- Reinstall the Midbay Cover.
- Close the Service Drawer.
- Reinstall the Luminometer Injector.
- Start up Service Software.

Alignment/Calibration
- If the Incubator was removed, Align the Distributor to the Incubator.
 button at the top of the page to send feedback, comments, or change requests.
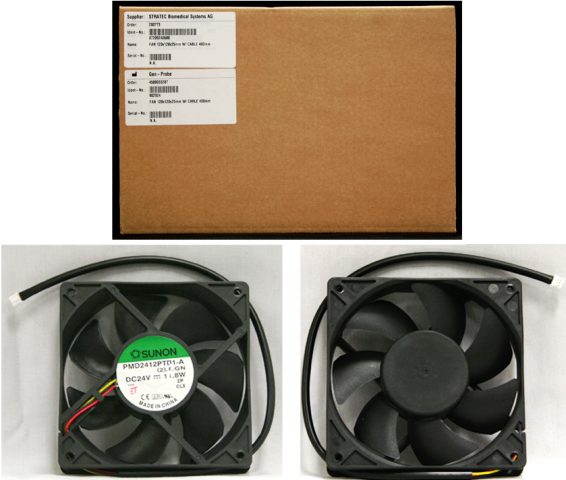