
|
Note—This procedure applies to the Transition, High Temp, and Amplification Incubators. |
Parts and Materials Required
- Hex key, 2 mm
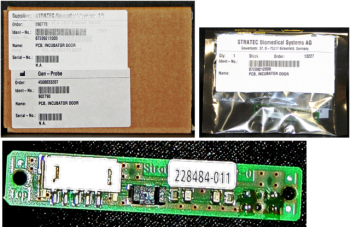
 INCUBATOR (ALL), DOOR PCB
Time Required
- 30 minutes
Removal Procedure
|
|
MTUs may be present in module. It is necessary to remove all MTUs to avoid contamination. |
- Put on proper PPE.
- Remove the Incubator door assembly.
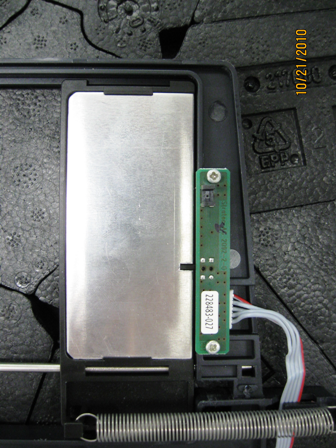
- Locate the Incubator Door PCB.
- Using a 2 mm hex key, remove the two 2 mm screws that secure the door PCB.
- Remove the door PCB.
Replacement Procedure
- Reverse the removal procedure.
- Replace the Incubator door assembly.
- Reinstall the Incubator.
Alignment/Calibration
- Perform the incubator slot alignment procedure.
- Reteach the Linear Distributor to the incubator.
- Cloes the service drawer and reinstall the Luminometer injector.
- Perform an RTF alignment procedure.
Verification
- Verify the incubator initializes.
- Run a System Level OQ.
 button at the top of the page to send feedback, comments, or change requests.