
|
Note—This procedure applies to the Transition, High Temp, and Amplification Incubators that do not have RTFs installed. If replacing a door on an Amplification Incubator, you can skip the removal of the foam on the bottom of the Incubator (otherwise you would have to remove the RTFs). |
Parts and Materials Required
- Proper PPE
- Hex key, 3 mm
- Incubator Door Kit
Time Required
- 30 minutes
Removal Procedure
|
|
MTUs may be present in module. It is necessary to remove all MTUs to avoid contamination. |
- Put on proper PPE.
- Remove the Luminometer Injector.
- Open the service drawer.
- Remove the Incubator module.
- Remove the blue band or bands.
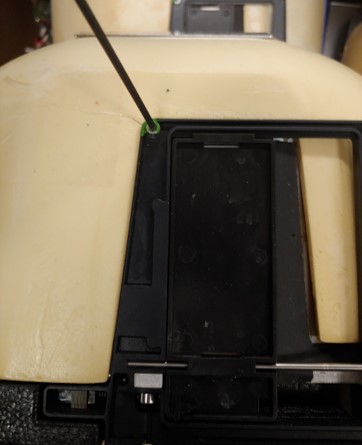
- Turn the Incubator upside down.
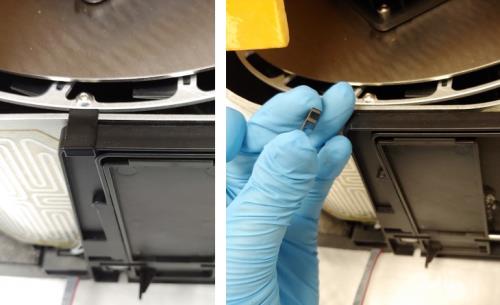
 Remove the three feet at the bottom with a 3 mm hex key.
Note—If Amp incubator with RTFs - Remove RTFs with a 2.5mm hex key, being careful to note where each RTF belongs. - Unplug the door sensor cable.
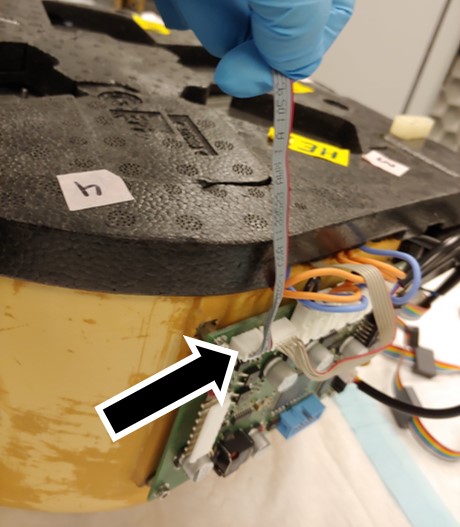
- Remove the door sensor cable connection. Thread the cable through the opening in the foam.
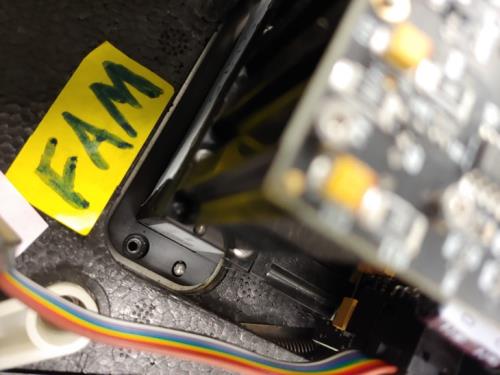
- Remove the bottom foam from the Incubator to expose the door assembly.
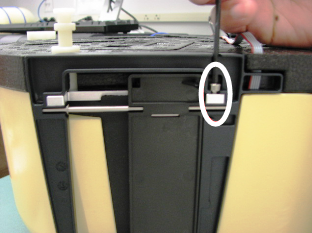
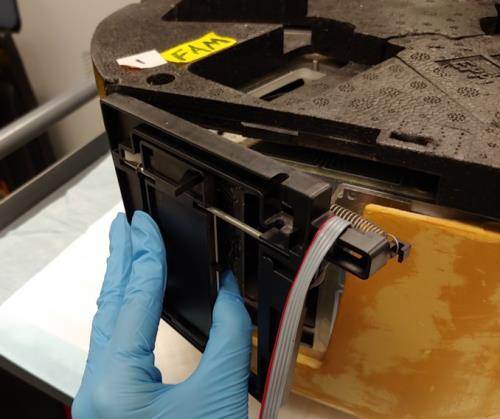
- Remove the 4 mm screw. The door assembly is held in place with one screw and is a press fit.
- If the door is the clip style, remove the clip.If the door has a screw, use a 2.5mm hex key to remove the screw.
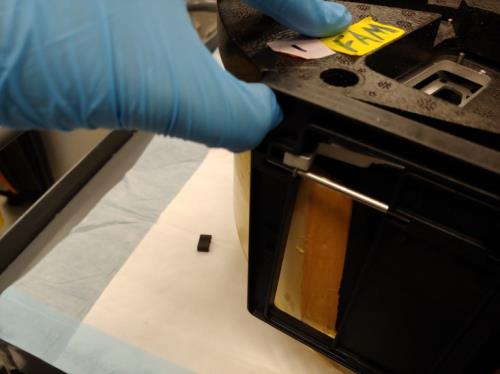
- Gently rotate the door assembly outward to remove the assembly. Gentle rocking while applying force may be necessary to remove the assembly.
- Once rotated outward, pull the door to the left to free it.

Replacement Procedure
- Reverse the removal procedure.
Note — When replacing the Incubator door assembly, be careful not to have the gray flex cable caught under the assembly. The assembly should be threaded through the slot in the bottom foam cover. - Reinstall the Incubator module.
Verification
- Refer to the Incubator Door Clip Check to see if door clips are required.
 button at the top of the page to send feedback, comments, or change requests.