Inspecting and Cleaning the Tip Eject Chutes
Parts and Materials Required
- Proper PPE
- Hex screwdriver, 4 mm long
- Hex screwdriver, 2.5 mm
- Endozime
- Tip Eject Chute Station
Time Required
- 15 minutes
Procedure
|
|
Warning—Use Personal Protection and bleach the module as necessary. |

|
Note—The Tip Eject Chute is a passive element. It has no connection to the CAN, BUS, or power. |
- Put on proper PPE.
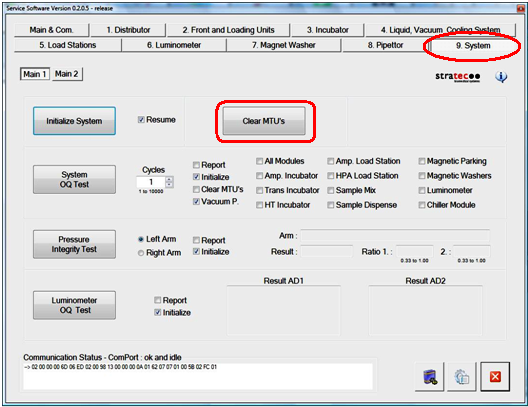
 Using Service Software, clear MTUs.
- Carefully open the Service Drawer.
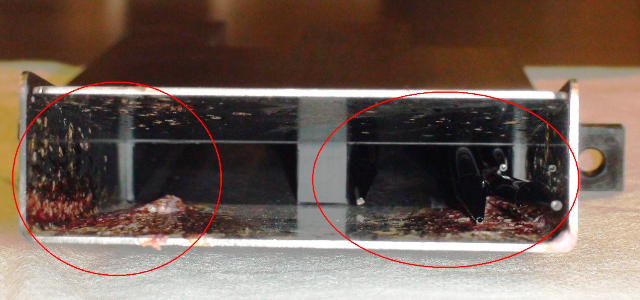
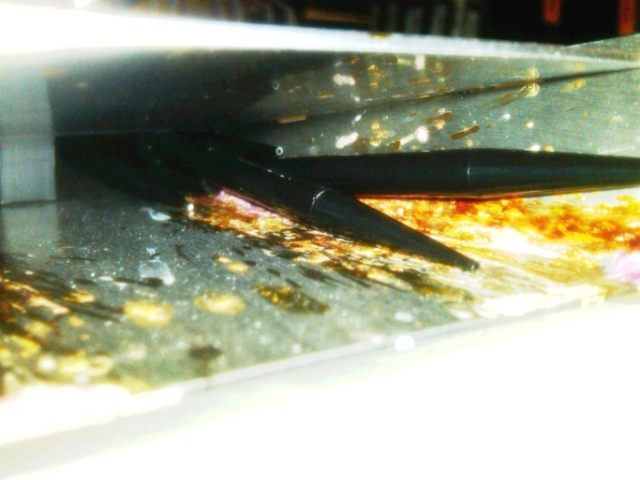
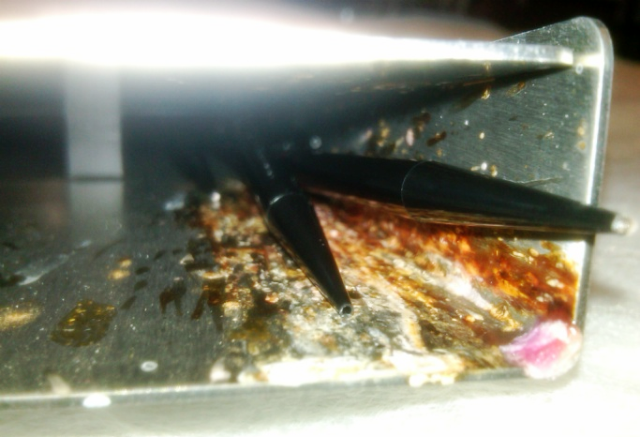
- Inspect the Sample and Reagent Tip Eject Chutes for any build-up.
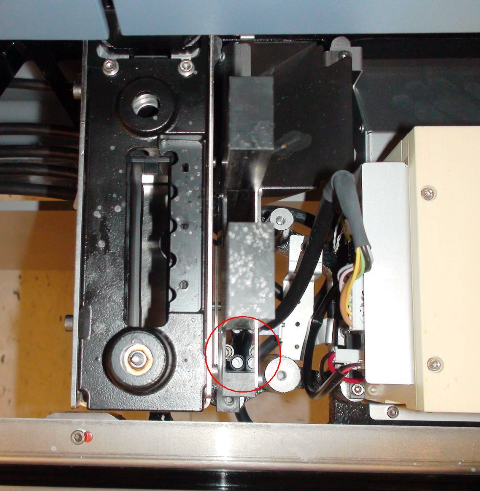
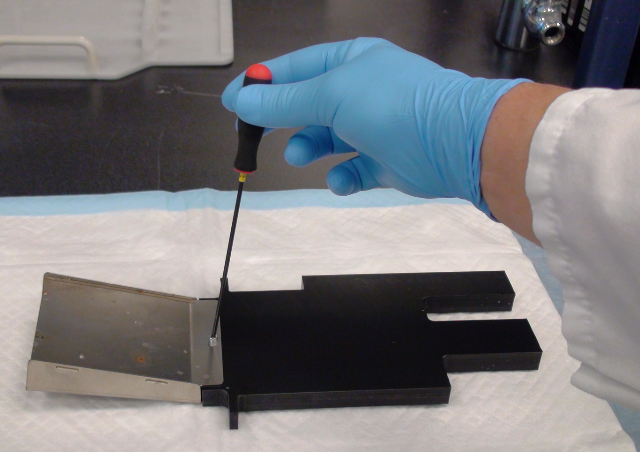
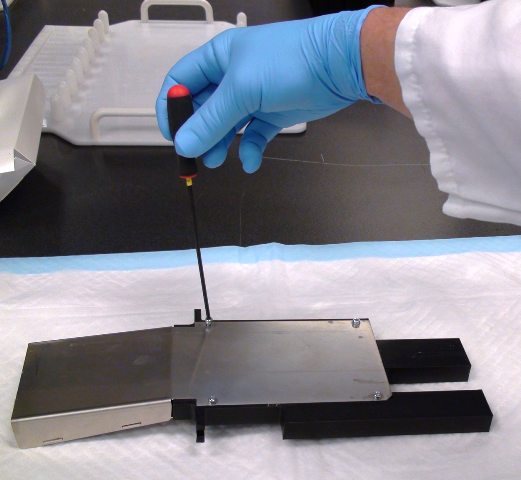
- If any build-up is present, remove the Tip Eject Chute Station.
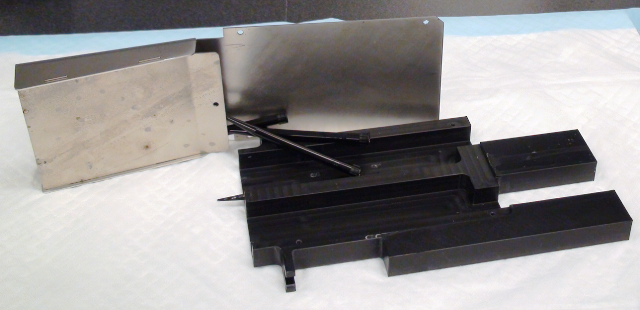
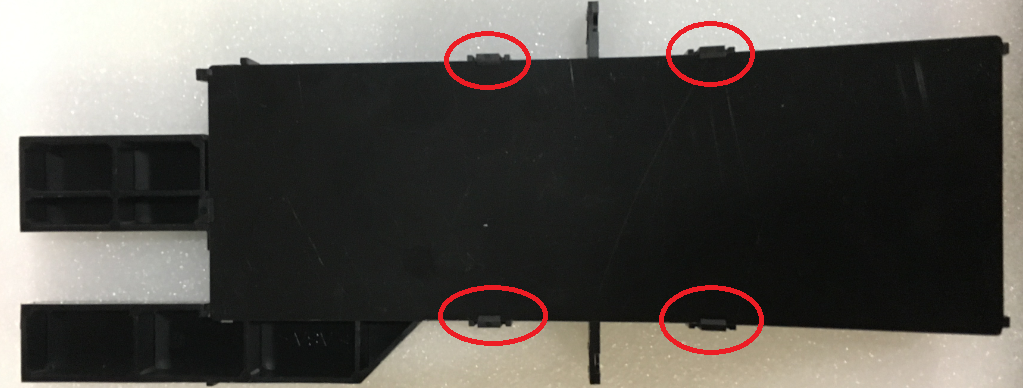
- Remove the front and rear screws that secure the metal chute to the black plastic eject section.
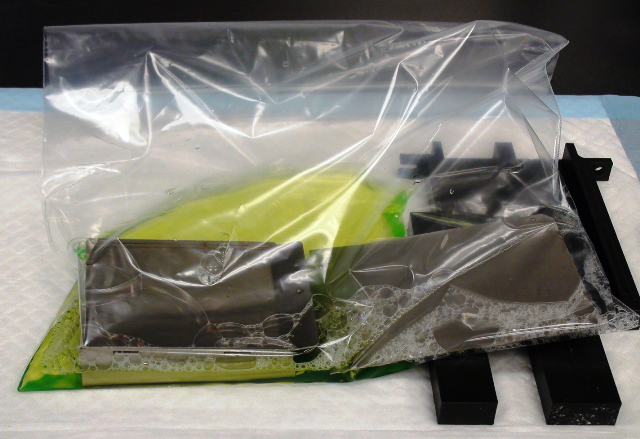
- Deactivate the Reagent and Sample Eject Chute using the appropriate concentration of bleach solution.
- Soak the chute in Endozime or suitable solvent to remove the TCRTarget capture reagent—An assay-specific reagent added as part of specimen pipetting. and Sample build-up inside the chute. Some scrubbing may be required.

Warning—The Tip Eject Chute is a contaminated module. Personal protection and cross-contamination should be considered high priorities. If no suitable tray is available, use a zip-lock bag. Be sure the bag will not leak. - Clean all parts of the Tip Eject Chute Station.
- Reverse the procedure in step 7 to replace the metal chute.
- Replace the Tip Eject Chute Station.
Alignment/Calibration
Sample Tip Chute
- Teach the Sample Pipettor to the Sample Dispense Slot.
- Teach the Sample Pipettor to the Sample Tip Eject Chute.
- Teach the Distributor to the Sample Dispense Slot.
Reagent Tip Chute
Verification
- Using Service Software, verify pick and strip sample tips.
 button at the top of the page to send feedback, comments, or change requests.