Parts and Materials Required
- Hex driver, 5.5 mm
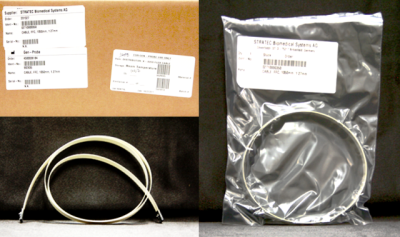
 DISTRIBUTOR, X-AXIS FLEX CABLE
Time Required
- 30 minutes
|
|
Caution—During this procedure, be very gentle with the flex cable. Do not crease or bend it unnecessarily. If the flex cable is folded incorrectly, discard it and start with a fresh flex cable. |
Removal Procedure
- Put on proper PPE.
- Fold the new X-axis flex cable.
- Remove the Luminometer Injector.
- Carefully open the Service Drawer.
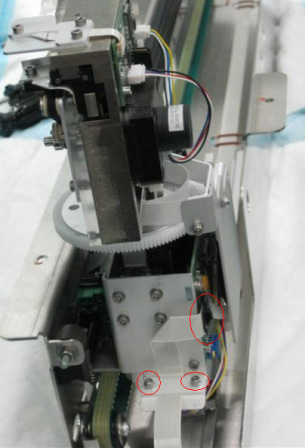
- Turn the Distributor sledge so that the length of the head is parallel to the X-axis.
- Gently push the sledge to the left end of the X-axis, allowing access to the Z/Theta PCB through the access hole.
- Using a 5.5 mm hex driver, remove the two nuts that secure the strain relief plate to the Distributor.
- Unplug the X-axis flex cable at both the main PCB and at the sledge PCB.
- Release the three rubber bands holding the Distributor to the flex cable.
- Move the distributor head to the middle of the X-Axis to ease removal of the Distributor X-axis flex cable.
- Slide the flex cable out from under the Linear Distributor Sledge.

Replacement Procedure
- Move the sledge back to the left end of the X-Axis.
- Plug in both ends of the flex cable—to the main PCB and the Z/Theta PCB.
- Secure the flex cable with the rubber bands or plastic snaps, making sure all flex cable slack is pulled to the left side of the X-Axis. (The cable should lie flat).
- Re-install the strain relief plate at the base of the sledge that holds the flex cable in place. Tighten both nuts.
 button at the top of the page to send feedback, comments, or change requests.