Centrifuge Center Alignment Tool
Purpose
This procedure shows how to use the Centrifuge Center Alignment Tool. Use this tool to ensure the Centrifuge lid is re-installed correctly if removed (due to maintenance, troubleshooting, etc.).
Parts and Materials Required
- FSE Tool Kit
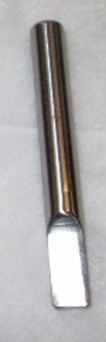
 Centrifuge Center Alignment Tool
Time Required
- 10 Minutes
Procedure
- Set the lid on the centrifuge.
- Align the four mounting screw holes on the lid with the centrifuge.
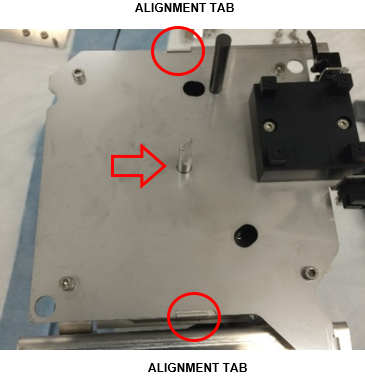
- Insert the Center Alignment Tool into the hole in the center of the lid and down into the axis of rotation of the rotor to ensure proper alignment.
- Twist the lid counter-clockwise and verify both alignment tabs on the front and back of the lid are lined up.
- Secure the lid to the centrifuge with the four mounting screws (M4X12 socket cap).
- Re-connect the vial presence sensor cables if previously disconnected.
- Remove the Centrifuge Center Alignment Tool.
Verification
- Reteach the pipettors to the Centrifuge.
Refer to Panther Fusion System Pipettor Teaching. - Perform a Side Car Pipettor OQ Test.
 button at the top of the page to send feedback, comments, or change requests.