Parts and Materials Required
- VACUUM FAN
Time Required
- 60 minutes
Removal Procedure
- Put on proper PPE.
- Remove the vacuum module and place on a sterile, clean workbench.
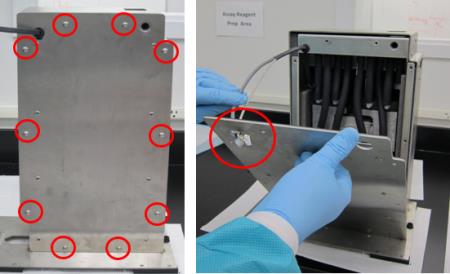
 Remove all ten M5x10 screws from the front cover. Remove the front cover from the housing ( carefully guide the cables through the hole in the upper left corner of the cover).
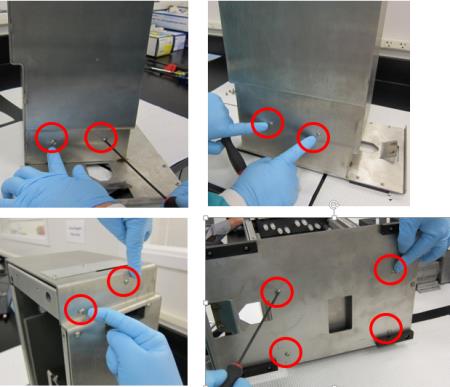
- Remove the other ten M5x10 screws from the upper and lower part of the housing.
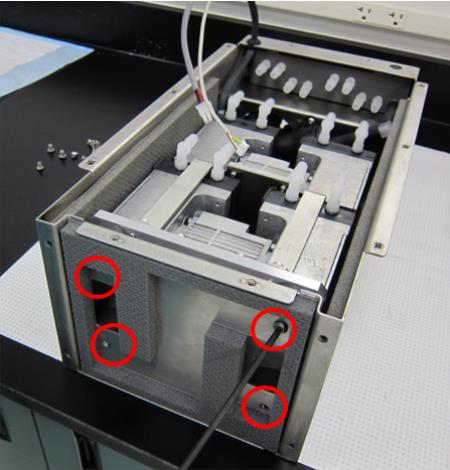
- Slide the inner housing out.
- Remove the four M6x8 screws underneath the inner housing.
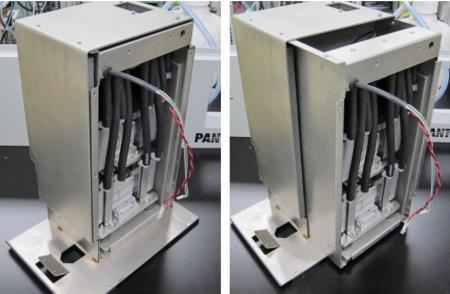
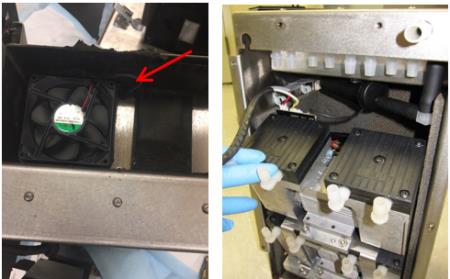
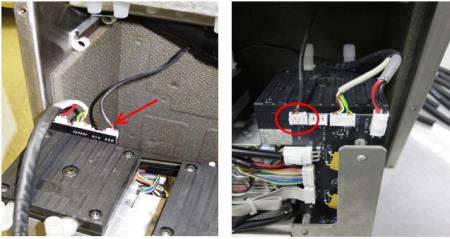
- Note the fan on top of the housing is routed into the back of the pumps, where it is connected to the PCB. Tilt the pumps forward to access the PCB connections.

Caution—Connector crimps are fragile. Do not allow tension on the cables!!! - Disconnect the connector for the fan.
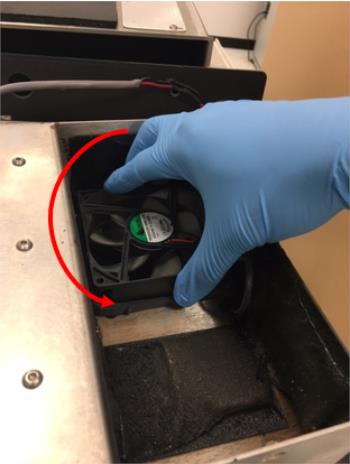
- Twist the fan counterclockwise and remove the fan from the housing.
Replacement Procedure
- Reverse the Removal Procedure. Route the new fan cable in the same manner as the old one.
- Re-install the vacuum module.
 button at the top of the page to send feedback, comments, or change requests.