Fusion Cartridge Carousel Removal and Replacement

|
Note—Remember to run Instrument Setup (Firmware) after replacing a module or PCB. |
Parts and Materials Required
- Bench Top Pads
- Cartridge Carousel Module
- FSE Tool Kit
- Proper PPE
Time Required
Cartridge Carousel Removal Procedure
- Put on proper PPE.
 Clear ALL cartridges from the Carousel
- Start Service Software.
- From the 15. SC-System tab, select OQ-Test, then click Initialize SC-System.
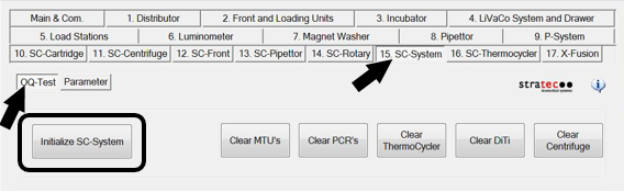
- Click Clear PCRs.
Allow the System to clear any cartridges from the Carousel.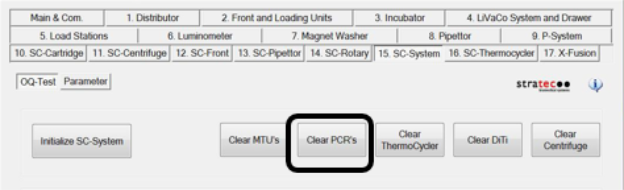
- Close Service Software and power down the Panther System and PC.
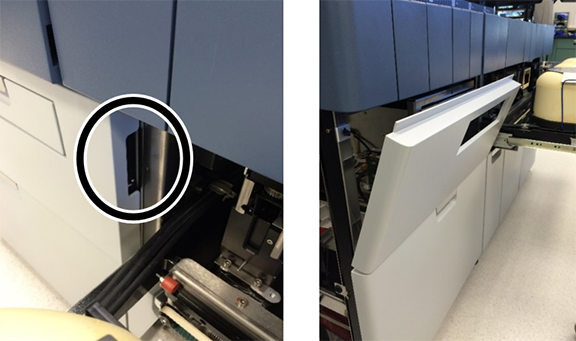
- Open the left door on the Fusion to access the Cartridge module.

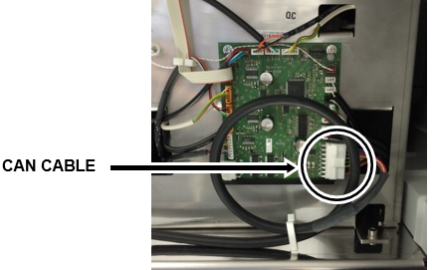
- Disconnect the CAN cable from the Carousel PCB.
- Open the Panther Mid Bay Drawer.
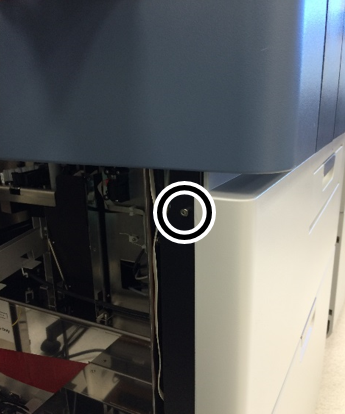
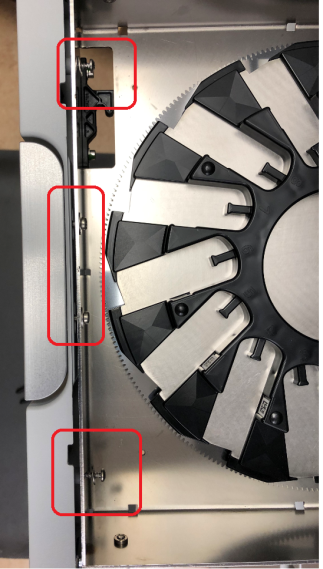
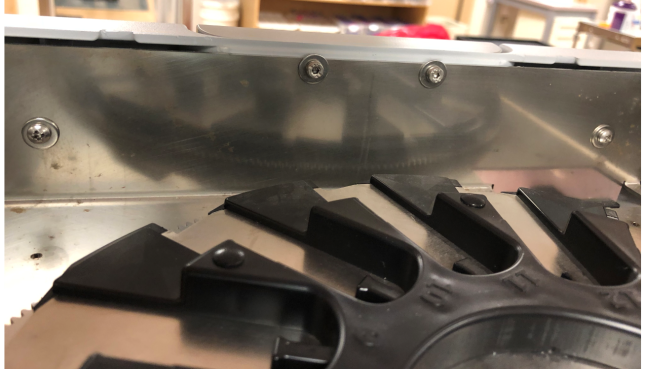
- Using a 3 mm Allen wrench, remove the mounting screw on the left side that holds the Assay Cartridge module front cover.
- Remove the Cartridge module's front cover.
Use the handle on the right to tilt the top of the cover forward, then pull up to remove.
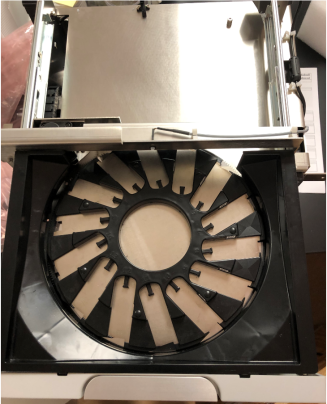
- Visually verify that all PCR cartridges have been removed from the cartridge carousel.
- Open the cartridge loading drawer to confirm that the loading carousel is empty.
- Remove the Styrofoam panel from the front of the storage carousel to manually check for cartridges.
Replace the Styrofoam panel when the check is complete.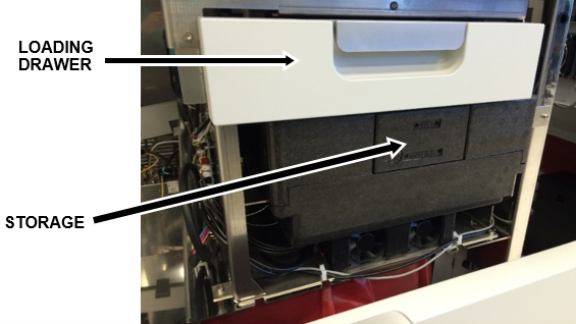
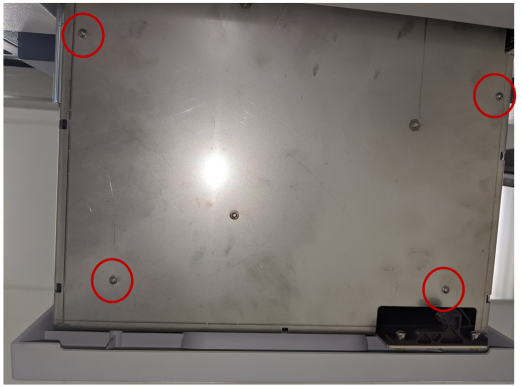
- Using a 3 mm Allen wrench remove the side bracket screw on the right that holds the Assay Cartridge module.
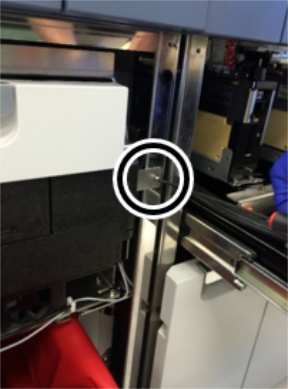
- Using a 4 mm Allen wrench, remove the 2 screws holding the Assay Cartridge module to the base.
- Carefully slide the Cartridge module towards the front of the system to remove it from the system.
 | Caution—The Cartridge module is very heavy. |
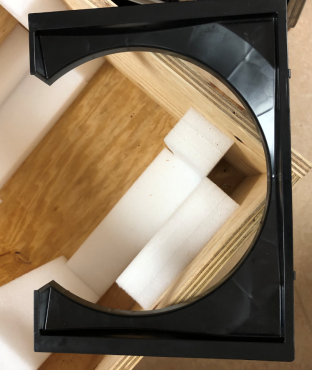
- Place the module on a sterile bench top pad.
- Remove the Drawer cover
|
|
Note— Remember to remove the drawer cover from the module being replaced and place it on the module being installed. |
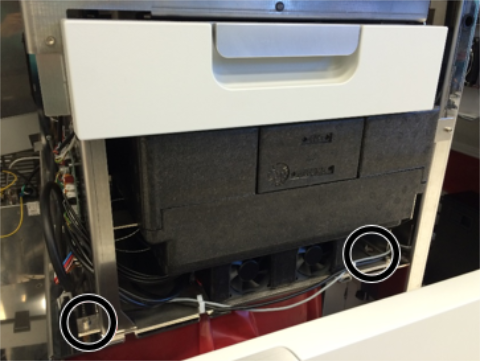
- Fully Open the Carousel Drawer.
- Remove the Four Screws underneath the drawer that hold the black insert in place.
- Remove the Black Insert
- Remove the 4 screws (2xPhilips, 2xHex) to remove the drawer cover
Cartridge Carousel Replacement Procedure
- Install the drawer cover (from the module being replaced) onto the module being installed, by reversing the drawer cover removal procedure.
- Install the Carousel on to the System, by reversing the Removal Procedure.

Verification
- Power on the Panther System and PC.
- Load firmware to the new Cartridge Carousel module.
Refer to Panther Fusion System Installation > Run Instrument Setup (Fusion).
-
Cartridge Carousel Parameter Verification
- From Service Software
Select 10. SC-Cartridge > Parameter tab.
Ensure the Device dropdown is SC Cartridge Carousel ID 0x60,
Enter 461 for the parameter, and select Read
- If the value of parameter 461 is 0, then go to Step 4, if the value is NOT 0, then proceed to Step 3c
- In the Trace View window, change the COM port to STCS.
- Send the commands listed below.
After typing in each string, press <Enter> or select Send.
Then verify the expected return string.Type in: 60 16 00 00 01 00
Returns: 60 16 00 00 00 01 00
Type in: 60 14 00 00 02 00 CD 01 00 00
Returns: 60 14 00 00 00 02 00 CD 01 00 00
Type in: 60 0D 00 00
Returns: 60 0D 00 00 00
-
Cycle power to the system, then repeat Step 3a to verify parameter 461 is 0.
- Teach the Rotary Distributor to the Cartridge Carousel module.
Refer to Service Procedures > Teach Rotary Distributor to All Stations.
- Perform a Panther Fusion System OQ Test.
Refer to Service Procedures > Panther Fusion System OQ Test.
- 1 cycle
- Check the Report, Initialize, and PCR Cartridges checkboxes only
Click the  button at the top of the page to send feedback, comments, or change requests.