Cooling Module Peltier Module Removal and Replacement (Dual Fan)
Parts and Materials Required
- Allen wrench, 3 mm
- Flat blade screwdriver, small
- COOLING MODULE, PELTIER MODULE
Time Required
- 45 minutes (does not include module removal/replacement)
Removal Procedure
- Put on proper PPE.
- Remove the Cooling Module from the system.
- Remove the Cooling Module Dual Fans. This will allow access to the Peltier cable connections.
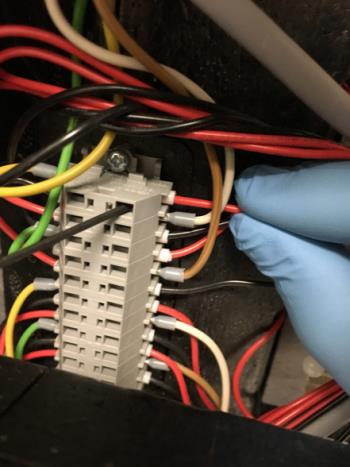
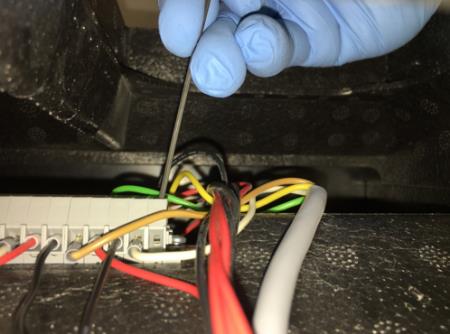
 Locate the Peltier cable connections on the Cooling Module.
- Use a small Allen key or a small flat blade screwdriver to remove the wires from the Peltier that you want to replace.
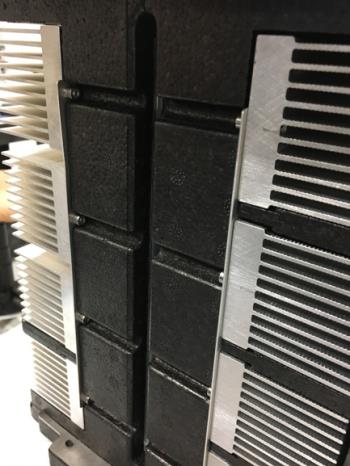
- Remove the screw from the stabilizing bracket.
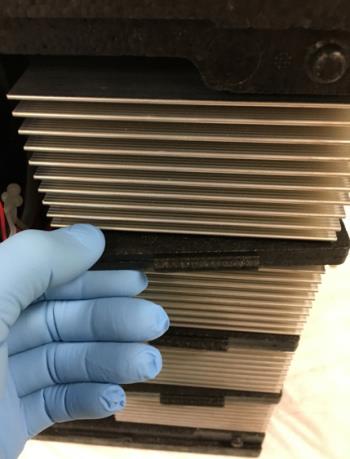
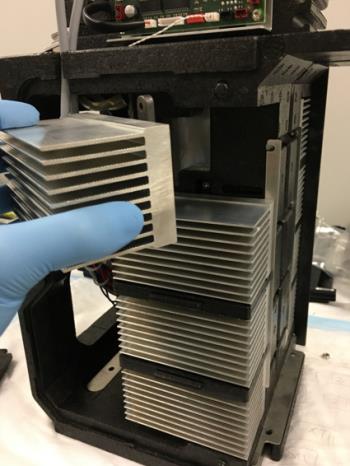
- Remove the foam insert(s) above and below the Peltier to replace.
- Using a 3 mm Allen wrench, remove the upper right screw and bottom left screws that secure the Peltier in place.
- Remove the Peltier from the module.
Replacement Procedure
- Make sure interfacing surfaces of Peltier module and reservoir are clean.
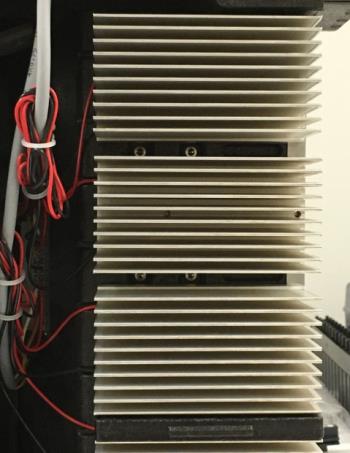
- Position the Peltier into mounting location.
- Using the 3 mm Allen wrench, insert and tighten the two screws that secure the Peltier. Re-install the foam inserts.
- Using a 3 mm Allen wrench, insert and tighten the screw on the stabilizing bracket.
- Use a small Allen key or a small flat blade screwdriver to install the Peltier wires.
- Reinstall the Cooling Module fans.
- Reinstall the Cooling Module.
Verification
- Visually inspect the fluid height within the Cooling Module.
- Verify the temperatures of the Sample Bay and Reagent Bay.
- Verify vacuum pressure.
- Verify that the Universal Fluid Drawer opens, closes, locks, and unlocks.
- Verify that the Waste Drawer opens, closes, locks, and unlocks.
- Verify that the waste bag presence sensor operates.
- Verify Liquid Waste Bottle level sensing.
- Verify that the right side Panther System cooling fan functions properly.
Click the  button at the top of the page to send feedback, comments, or change requests.