How to Install Panther Software

Parts and Materials Required

Note — The instructions listed below are offered as a general guide.

Always refer to the applicable SW installation TB for up to date information on install requirements and procedures.
 

NOTE

Software installations MUST follow the order listed below:

  1. Panther System Setup Software
  2. Instrument Setup Software
  3. Panther Teacher Software
  4. Fusion Teacher Setup Software (if applicable)
  5. Panther Service Software
  6. Remote Dashboard
  7. Panther Dashboard Data Storage (if applicable)
  8. Remote Services Link Software (RSL)
  9. Windows Remote Desktop Services (7.2 SW and higher, *UK Only)
  10. AssayClosedProcedures required to prepare and perform a specific test. In the context of this document, assay refers exclusively to a Hologic test, such as Aptima Combo or Ultrio. Software
  11. MyAccess GAP Software (as needed for Fusion only)
  12. Help Software
  13. Pooler Driver SW (7.2 and higher, if utilizing pooling SW, select one of the 2 options listed below).

    Hologic Pooler Driver - For site utilizing Hamilton Pooler

    OR

    Tecan Pooler Driver - For sites utilizing Tecan Pooler
  14. SecureLink (for SW 7.2 and above)

Time Required

  • 15 minutes

Procedure

  NOTE—Screenshots listed below are for reference ONLY.
  1. Restart the PC and log in to the FSE Shield.
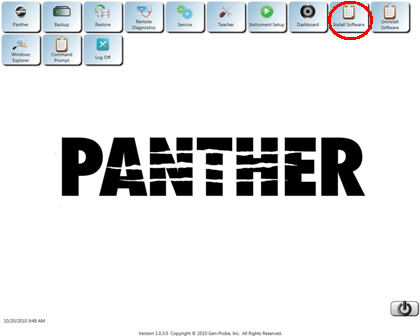
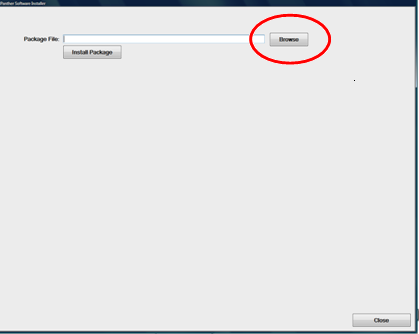
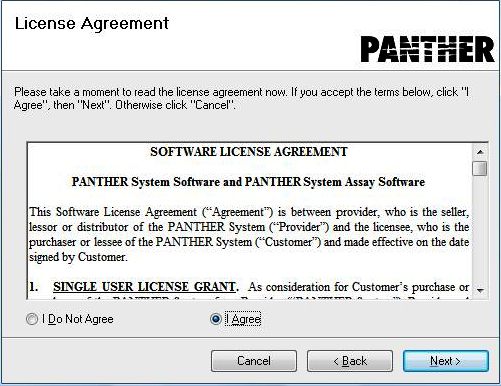
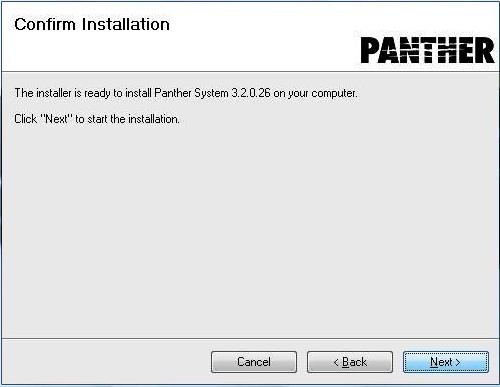
  2. ClosedInstall Software
    1. Insert the USB drive with the Panther System Software into a USB port on the PC (on XE3 computers, use the front, blue USB port)
      OR 
      Insert the Panther System Software CD into the DVD-ROM drive.
      NOTE

      The Panther System Software package should contain:

      System, Firmware, Service, Teacher, Dashboard, Dashboard Data Storage, Remote Service Link

    2. ClosedClick on Install Software.

      A Panther Software Installer dialog box appears.

    3. ClosedSelect Browse.
    4. ClosedNavigate to the DVD or USB drive, open the PantherSystem_x.x.x.xx folder and select PantherSystemSetup_x.x.x.xx.gpz file.

    5. Click on Open.
    6. Click on Install Package.

      NOTE—The installer may take up to two minutes to begin.

      ClosedOnce the process begins, the installation wizard appears.

    7. Select Next.

      ClosedA License Agreement screen appears.

    8. Select I Agree and select Next.

      ClosedA Confirm Installation screen appears.

    9. Select Next.

      Installation begins.

      An Installation Complete screen appears when the process is complete.

    10. ClosedSelect Close.
  3. ClosedContinue installation of software by repeat Steps 2c – 2j of this procedure.
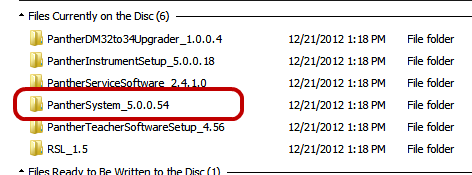
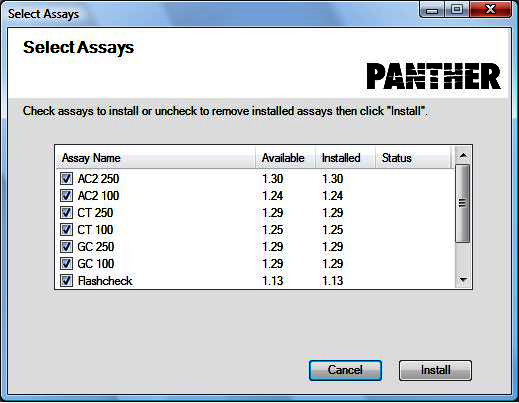
    At Step 2d, select the following files, one at a time, in the following order:
    1. Instrument Setup, select PantherInstrumentSetup.gpz.
    2. Teacher Software, select PantherTeacherSoftwareSetup.gpz.
    3. Fusion Teacher Setup Software (if applicable)
    4. Service Software, select PANTHERServiceSoftwareSetup.gpz.
    5. Remote Dashboard
    6. Panther Dashboard Data Storage (if applicable)
    7. Remote Services Link (RSL) – (RSL installation requires a system restart after all SW has been installed)
    8. Windows Remote Desktop Services *UK Only (7.2 and above)
    9. Assay Software (Install Assays per Customer Request)
      1. Installing Assay Software on System v7 and above

        OR
      2. ClosedFor System SW v6.2.5.1 and below
        Caution—The Confirm Installation window appears on top of the Select Assays window. The Confirm Installation window must be selected and dragged to the side to gain access to the Select Assays window.
        1. ClosedSelect all the applicable assays that apply to your install in the Assay Name column of the Select Assays window.
          NOTE—Some assays may not be approved in certain countries. Always refer to the applicable SW installation TB for up to date information on which assays should be installed.
        2. Select Install.
        3. ClosedWhen the installation is complete, select Done.
        4. Select Close in the Installation Complete window.
  4. ClosedInsert the Panther Help File into the DVD or USB Drive.
    1. Complete installation of software by installing the Help File.
      Repeat Steps 2c to 2j of this procedure.
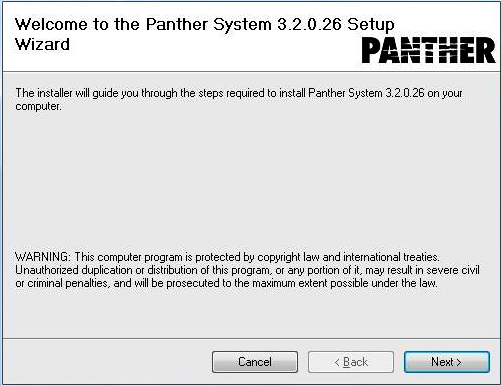
      At Step 2d, select the Help File, select Pantherhelp.gpz or PantherHelpSetup.gpz located in the PantherHelpSetup folder.
    2. Select Next.
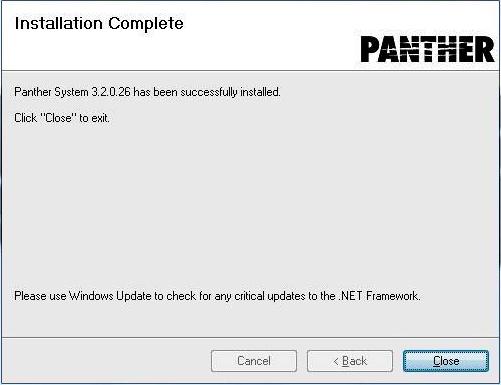
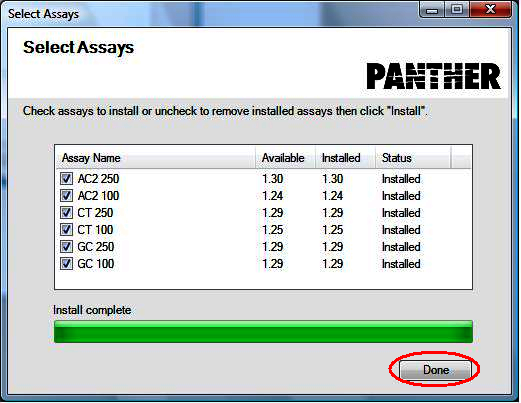
    3. Follow the on-screen prompt to complete installation.
    4. Remove the CD or USB Drive containing the Help File.
  5. Continue to Initial Module Preparation/Extra HW Installation.