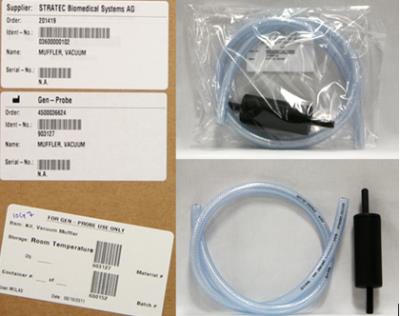
Parts and Materials Required
- VACUUM MUFFLER
Time Required
- 30 minutes
Removal Procedure
- Put on proper PPE.
- Power down the Panther System.
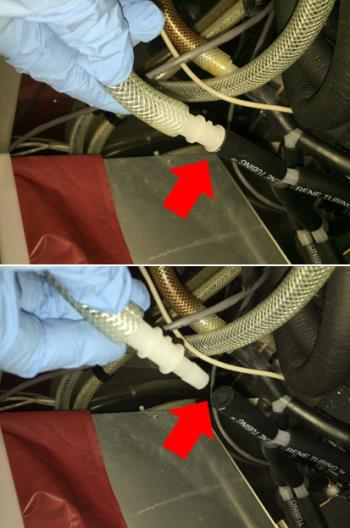
- Locate the Outlet exhaust tubing that connects to the muffler.
 Remove the braided clear tubing/muffler/plastic connector from the black Norprene tubing as shown below.
- Remove the old muffler.
Replacement Procedure
- Connect the existing plastic connector to one end of the new braided clear tube, and the new muffler to the other end. Install the new muffler to the black Norprene tubing from the vacuum.
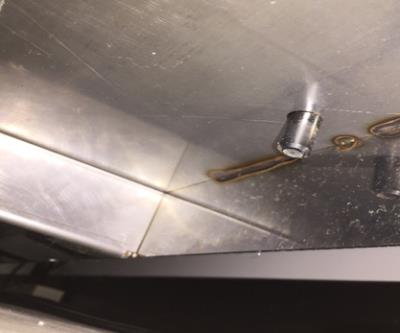
- Ensure the end of the muffler is sitting in the hole on the floor of the system behind the cooling module. (This image was taken below the system and shows the end of the muffler protruding through the chassis floor.)
 button at the top of the page to send feedback, comments, or change requests.