Parts and Materials Required
- Phillips head screwdriver
- Nonconductive electrical tape
- TCR
 Target capture reagent—An assay-specific reagent added as part of specimen pipetting. Door Interlock Module
Time Required
- 15 minutes
Removal Procedure
- Put on proper PPE.
- Remove the Upper Bay Front Cover.
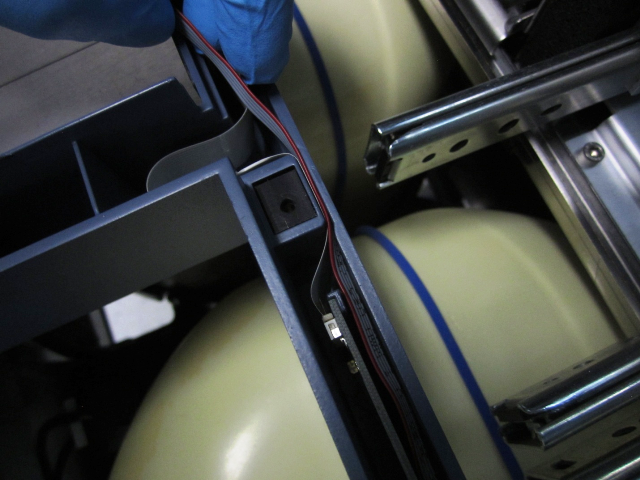
- Locate the TCR door interlock and remove the three Phillips head screws that secure it.
- When removing the interlock:
- Inspect the ribbon cable for damaged pins.
- Note the orientation of the red line on the ribbon cable to determine the proper orientation of the connector during the replacement procedure.


Replacement Procedure
- Replacement is the reverse of the removal procedure. Position the interlock and re-install the three screws.
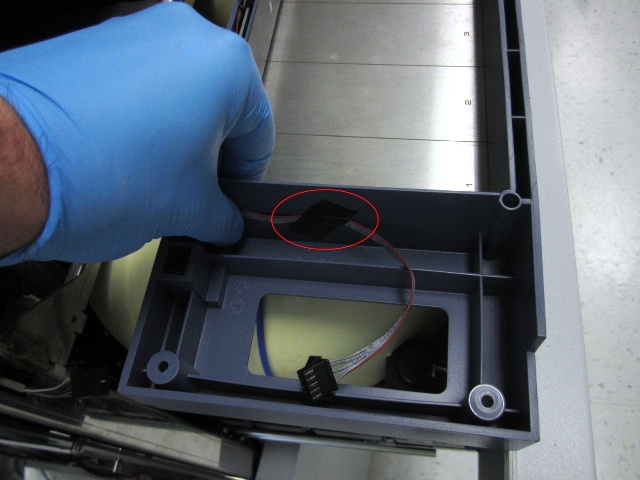
- Carefully replace the Front Cover PCBs and carefully re-route ribbon cables.The second ribbon cable should slide underneath the PCB ribbon cable in the narrow space.
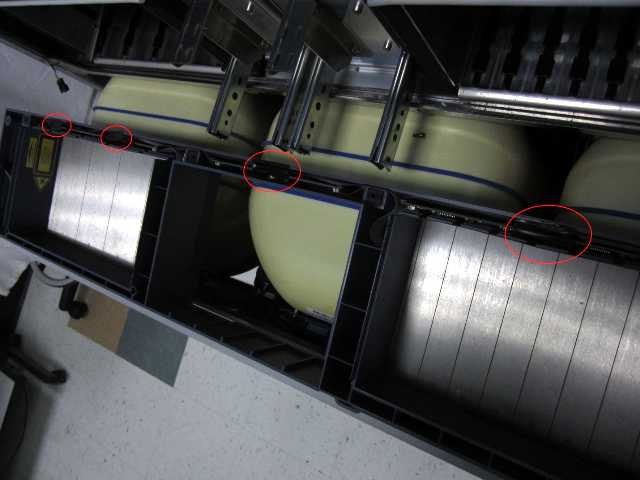
- Carefully tape the ribbon cables that run the length of the Front Cover in place with nonconductive electrical tape. Ensure the tape cannot be seen when the front cover is reinstalled.
- Secure the TCR door with tape to prevent it from swinging open during Front Cover replacement..
- After Front Cover replacement, remove tape from the TCR door.
Verification
- None
 button at the top of the page to send feedback, comments, or change requests.