Parts and Materials Required
- Hex wrench, 3 mm
- Hex wrench, 4 mm
- MAGWASH, MAGNET HOME SENSOR
Time Required
- 1–2 hours
Removal Procedure
- Put on proper PPE.
- Remove the Magnetic Wash module.

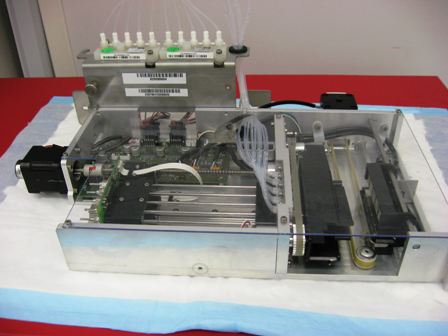
Wear clean nitrile gloves while performing the following procedures.  Place the Magnetic Wash module on a properly protected work surface.
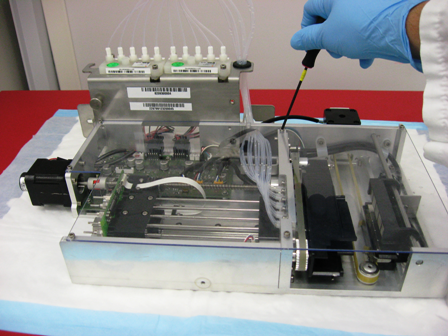
- Using a 3 mm hex wrench, remove the seven 4 mm screws that secure the clear module cover and lift the cover off the module.
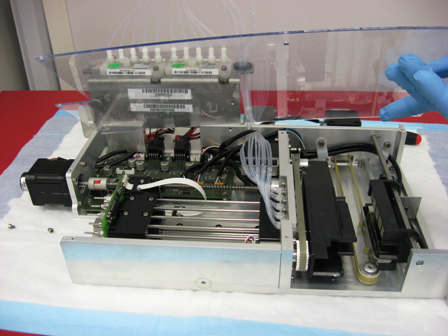
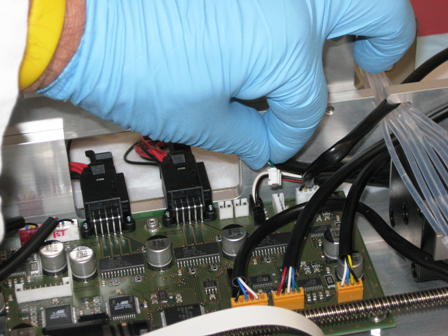
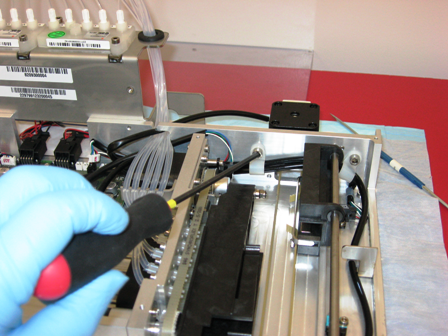
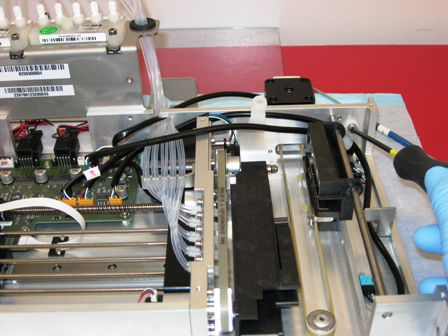
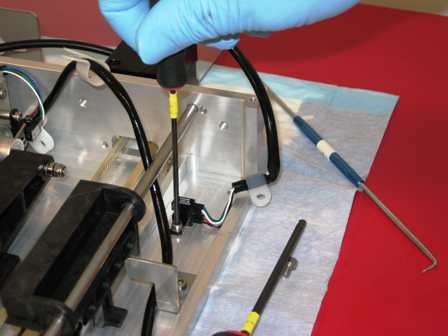
- Disconnect the optical sensor connector from the main PCB.
- Using a 4 mm hex wrench, remove the cable clamps that secure the sensor cable.
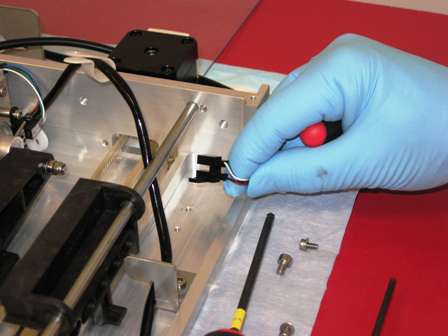
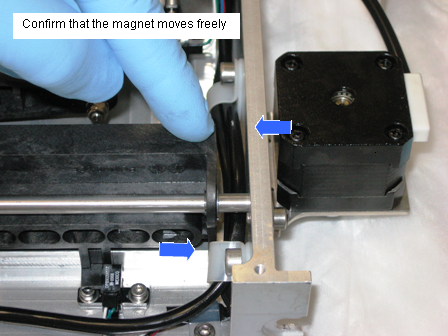
- Remove the optical sensor. The magnet shuttle may be pushed out of the way if necessary.

Replacement Procedure
- Reverse the removal procedure.
- Be careful not to break the plastic tabs when tightening the screws that secure the optical sensor.
- Route the cables neatly through the cable clamps so that they do not interfere with the magnet movement. Be sure the middle cable clamp is rotated out of the way of the magnet as it can interfere with smooth magnet travel.
- Plug the sensor cable into the proper connector on the main PCB.
- Re-install the clear cover and its seven screws.
- Install the Magnetic Wash module.

Alignment/Calibration
Verification
- Perform a System Level Operational Qualification.
- PrimeOperation of pumping fluid through tubing to ensure proper and consistent fluid delivery (remove air from the tubing, etc.). the system(see the Panther System Operator's Manual).
- Check for oil and wash fluid leaks at all connections.
 button at the top of the page to send feedback, comments, or change requests.
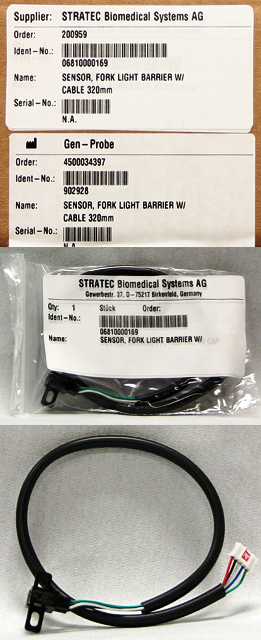