Unboxing Waste on the Fly
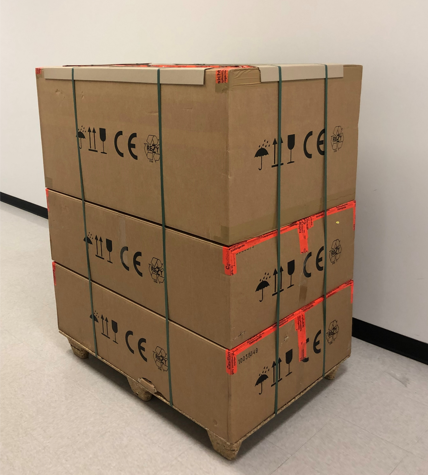
- (82cm x 122cm x 163cm @ 47kg)
- (32in x 48in x 64in @ 105lbs)

|
Note— Pictures below are for Reference ONLY. Your setup may differ. |
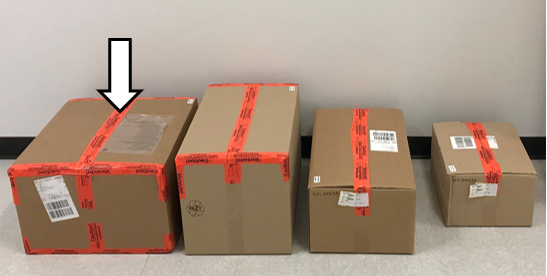
 Locate the Panther Plus pallet.
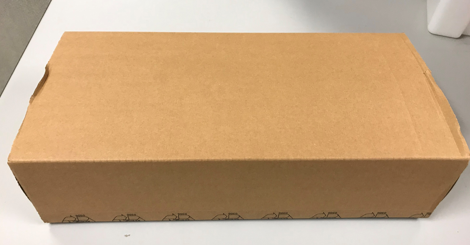
- Cut the restraining straps and set the largest box aside.
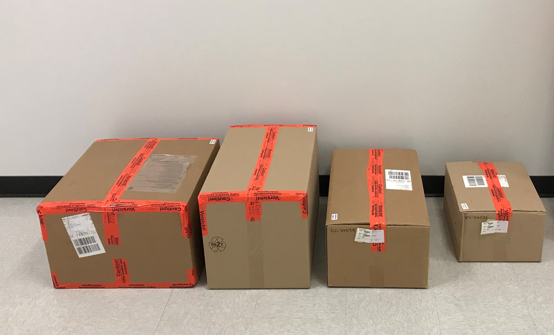
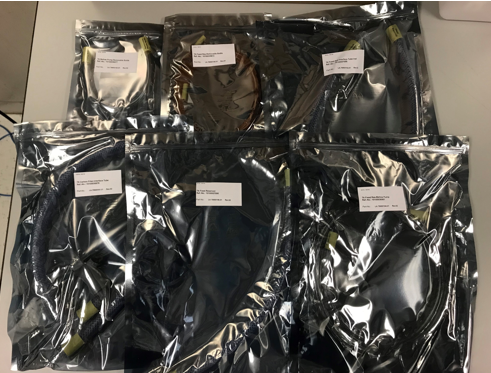
- Open the larger box.
- Remove and set aside the smaller boxes.
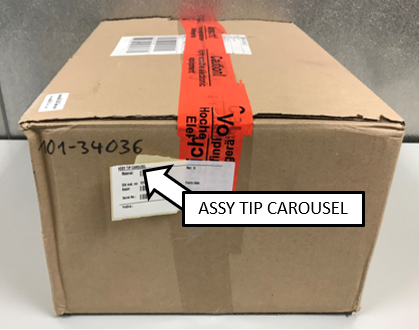
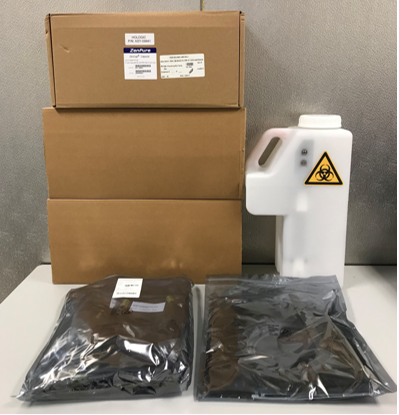
- Locate the box labeled ASSY TIP CAROUSEL.
- Open the box and remove the top layer of foam.
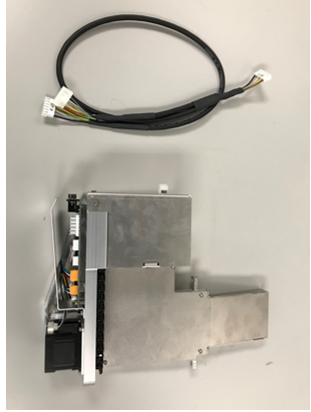
- Remove and set aside the Tip Carousel and CAN cable.
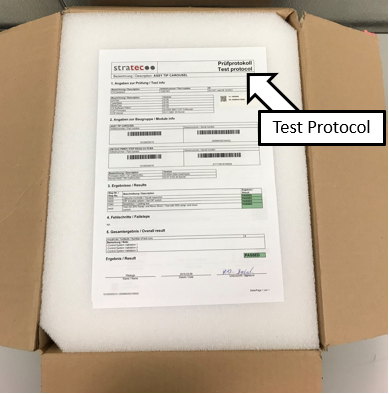
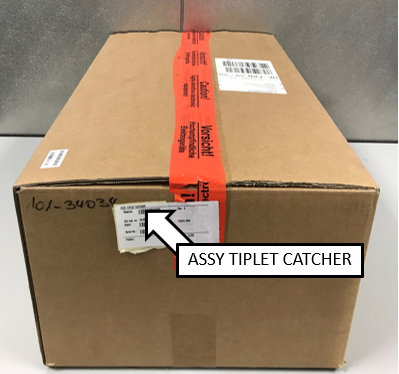
- Locate the box labeled ASSY TIPLET CATCHER.
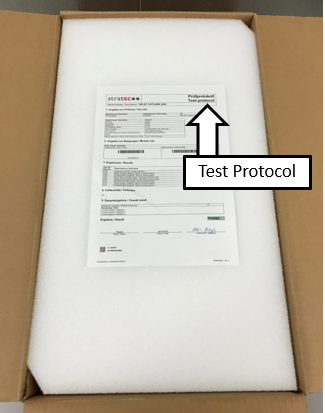
- Open the box and set the Stratec Test Protocol sheet aside for the Service Records.
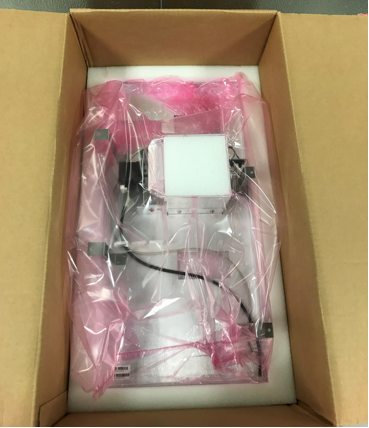
- Remove the top layer of foam.
- Remove and set aside the TipletDisposable tip within an MTU. Catcher.
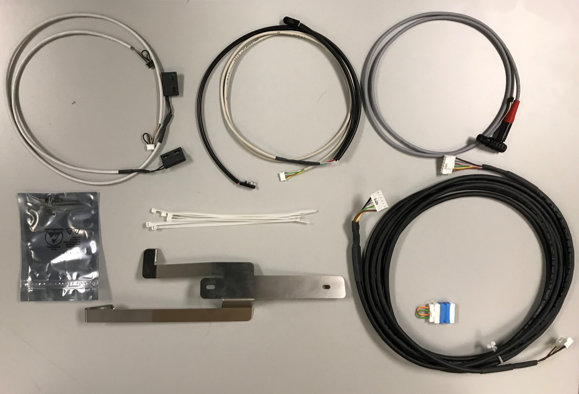
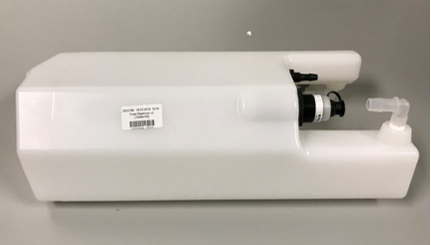
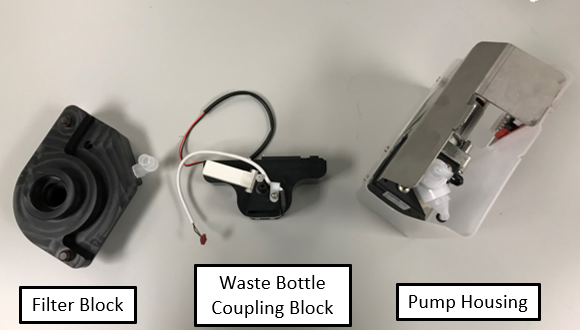
- Locate the box containing the waste bottle and tubing.
- Remove and set aside the contents of the box.
- Set the waste bottle aside for assembly.
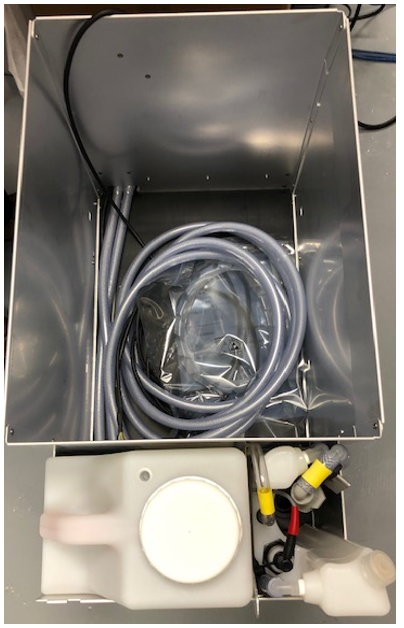
- For Full Waste Drawer Assembly ONLY, open the box containing the Waste on the Fly entire waste drawer.
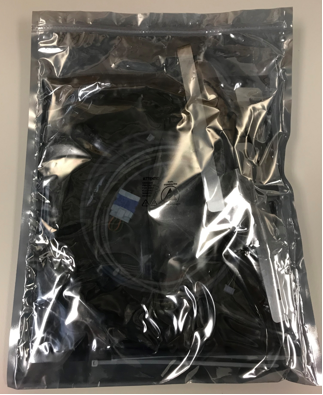
- For Waste Drawer Upgrade Kit ONLY, complete the following substeps:
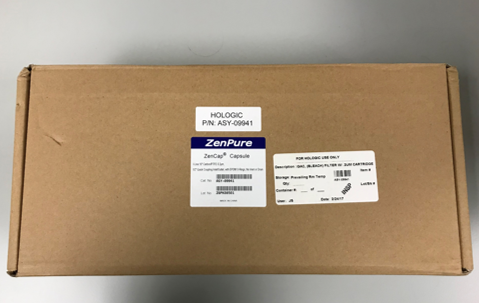
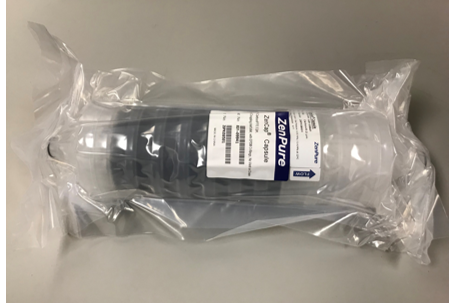
- Open the box containing the Vacuum Filter.
- Set aside for assembly.
- Continue to the Solid Waste on the Fly Installation procedure.
 button at the top of the page to send feedback, comments, or change requests.