Install the MTU Sidecar Covers
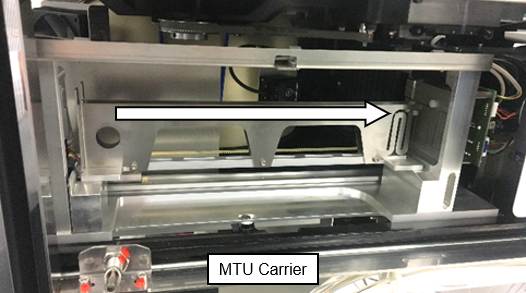
 Load all MTUMulti-tube unit—Container used to process tests in the instrument. An MTU contains five separate reaction tubes. The MTU is moved through the instrument by the linear distributor and includes five tiplets for pipettiing to be used in the mag wash station. Carriers into the Sidecar.
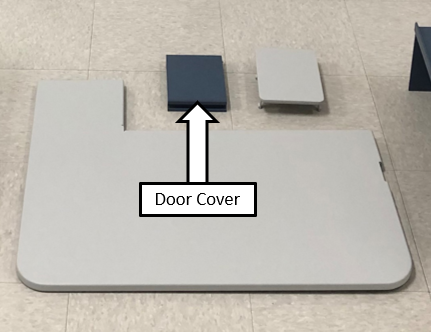
- Locate the blue door cover.
- Secure the door cover to the MTU Sidecar using the 6 Philips screws included with the Kit.
- Secure the Hand-held bar code scanner bracket to the blue top cover with the 2 included screws.
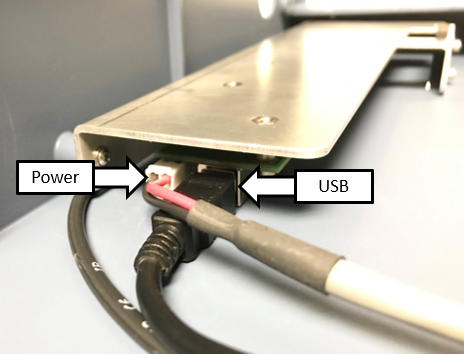
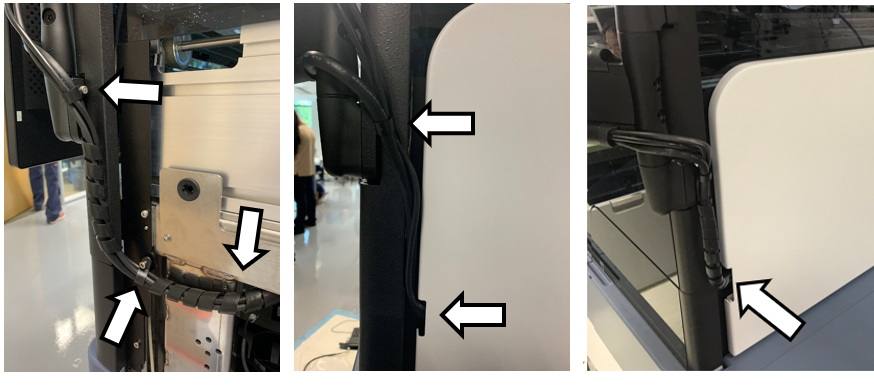
- Attach the USB cable and USB hub power cable to the USB hub board on the top cover.
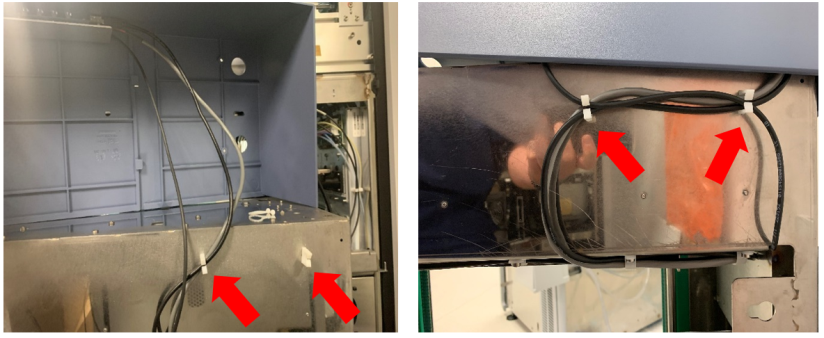
- Route these cable through the cable harness / cable guides.
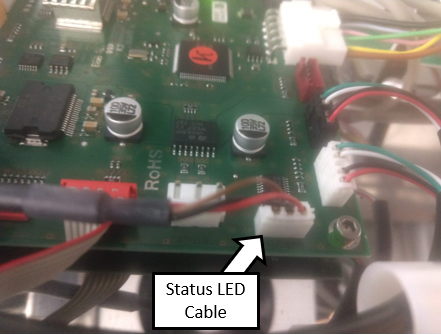
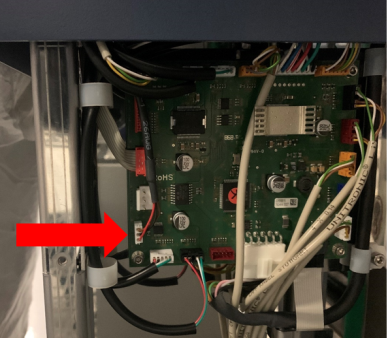
- Connect the Status LED on the top cover to the PCB located on the back of the MTU Sidecar.
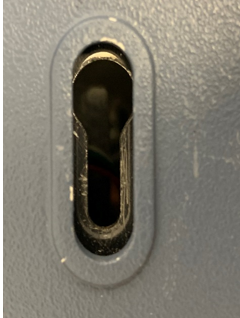
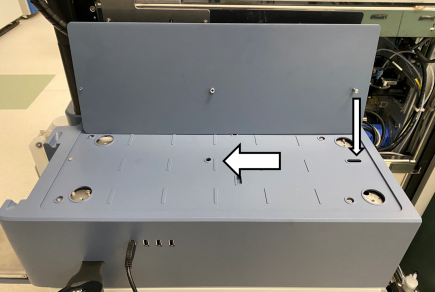
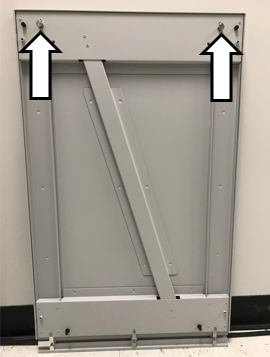
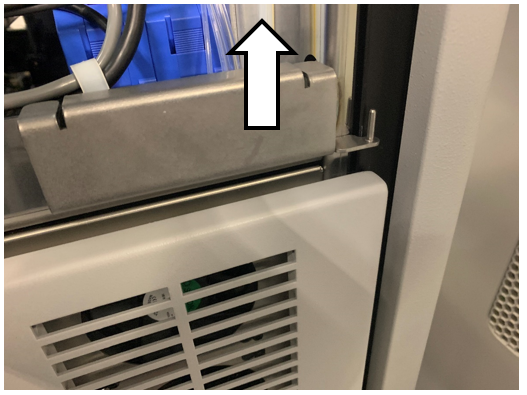
- Install the MTU Sidecar Top panel and align the top cover so that it is centered on the keyway of the sidecar.
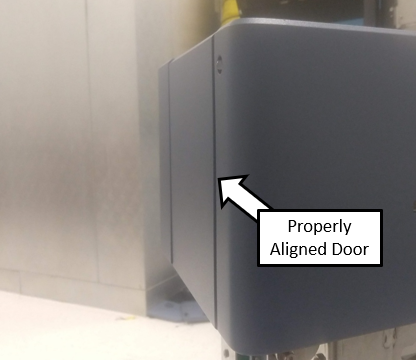
- Adjust the top cover so that the face of the loading door and top cover are flush.
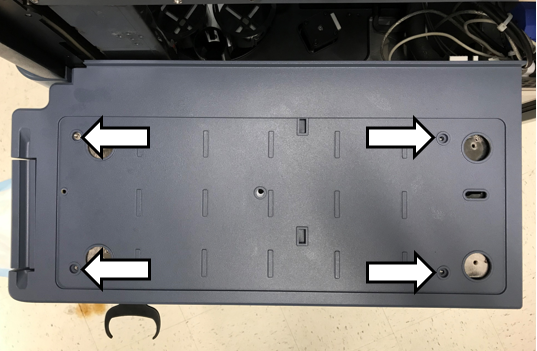
If needed, adjust the hardstops to align the face of the loading door and top cover so they are flush. - Secure the top cover with four screws and washers.
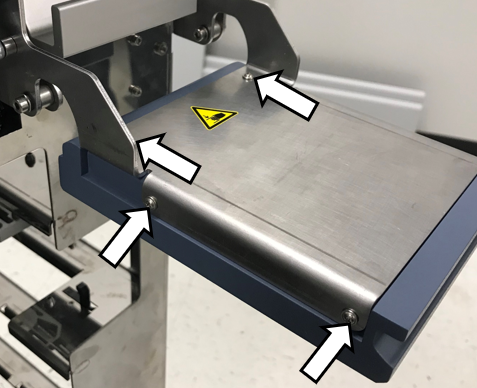
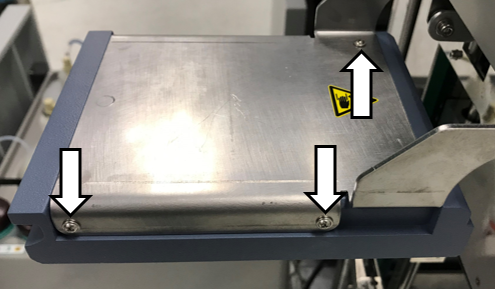
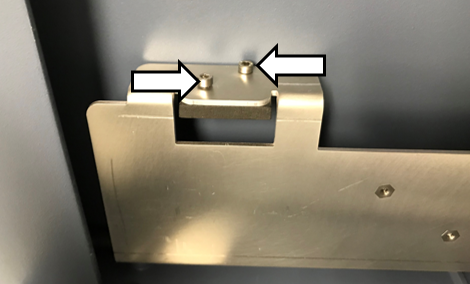
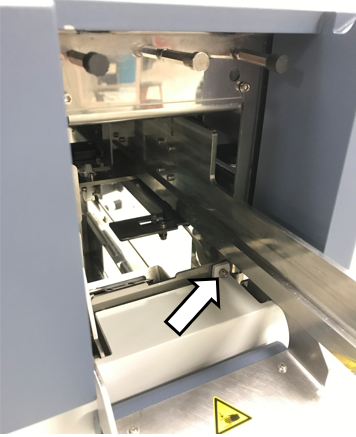
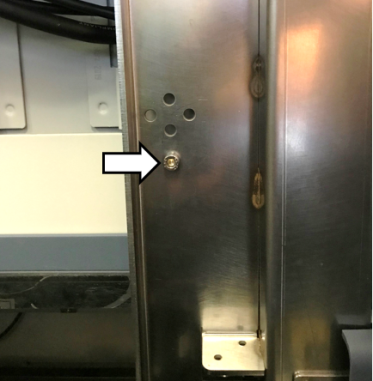
- Install the screw in the middle of the cover.
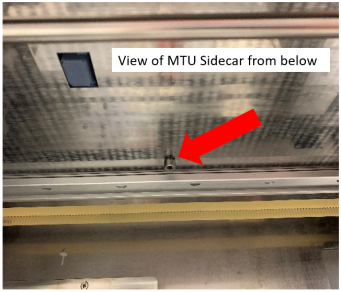
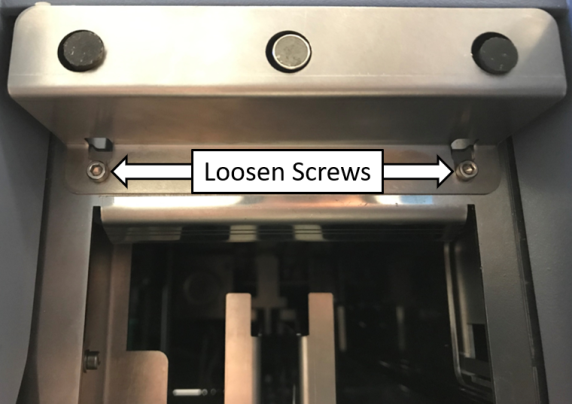
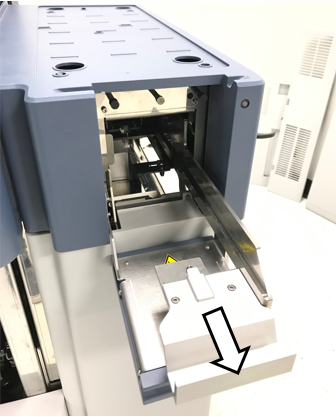
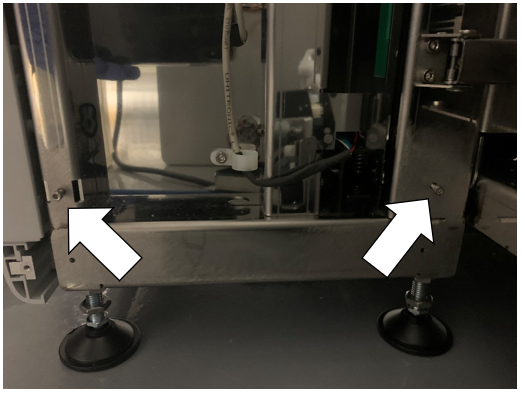
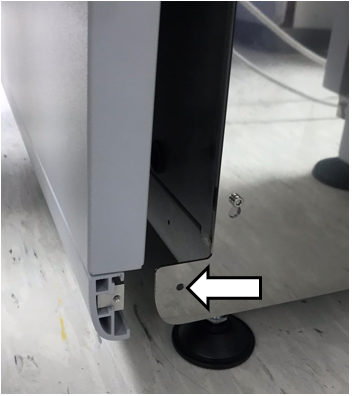
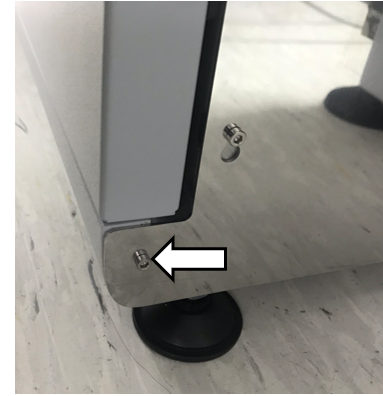
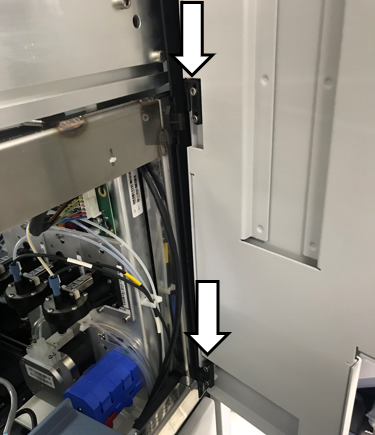
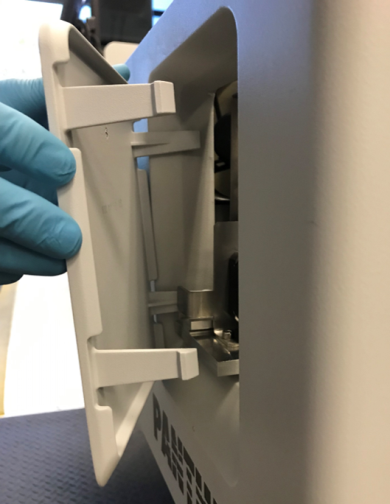
- Open the MTU Carrier Loading Door and loosen the two screws securing the hard stop guard.
- Remove the hard stop guard and install the provided screw and washer in the front of the cover.
- Re-install the hard-stop guard using the screws loosened in the previous step.
- Close the loading door.
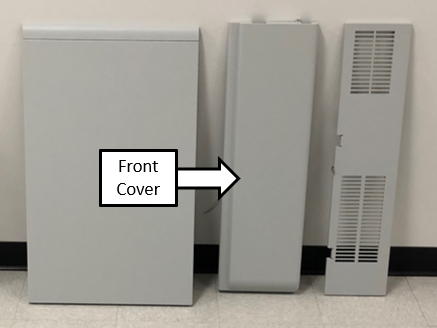
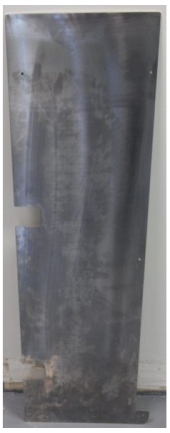
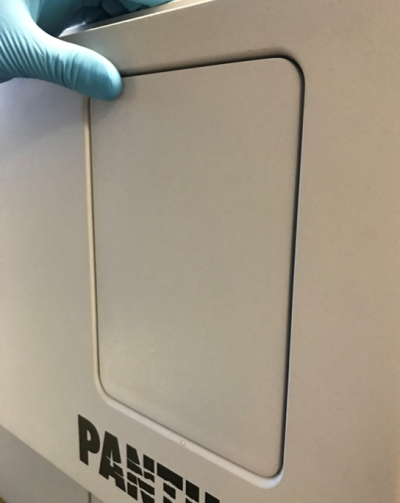
- Locate the front cover.
- Insert the front cover at an angle to slide the front cover under the top cover.
- Push the bottom of the front cover to secure the cover in the snap clips.
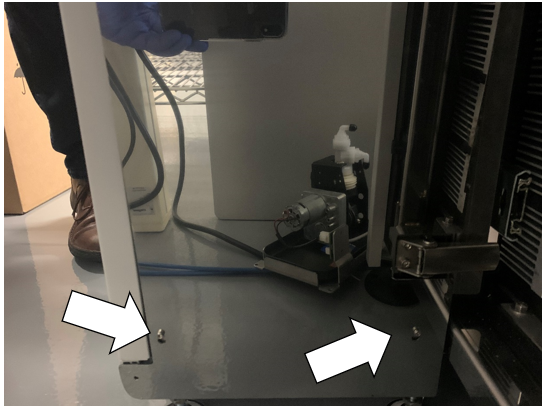
- Open the loading door and pull out the drawer to access the screw hole used to secure the front cover.
- Secure the front cover with the provided screw.
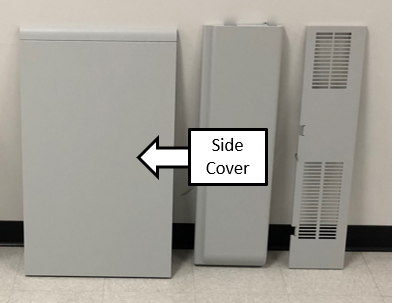
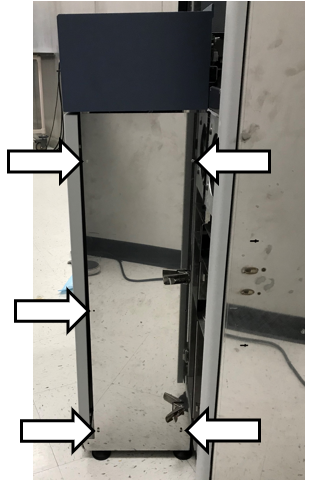
- Locate the side cover.
- Slide the side panel pins into the slots on the side of the MTU Sidecar.
- Slide the panel to the left and then push on the bottom of the panel to secure the snap clips.
- Locate the MTU Sidecar back.
- Install the Back Cover of the MTU Sidecar.
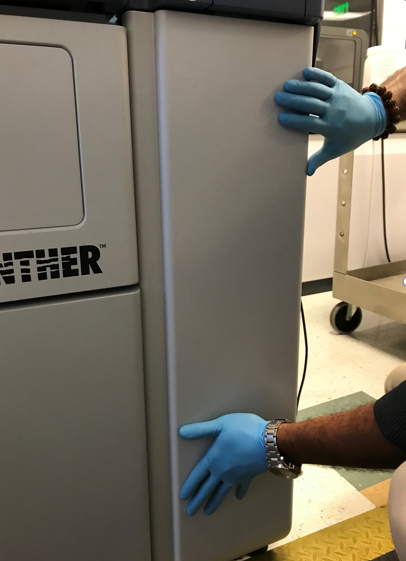
- Install the Side Panther Cover behind the MTU Sidecar.
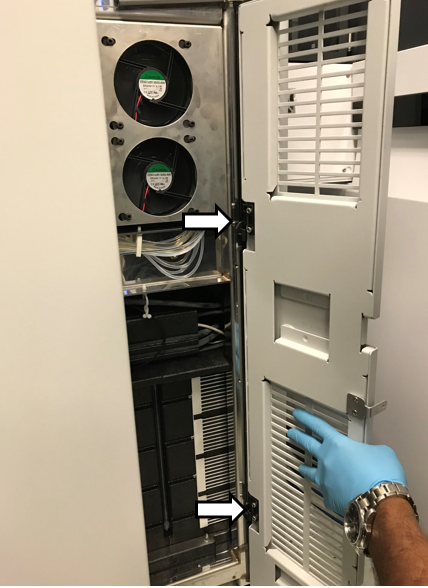
You may need to move the Hinge Plate Upwards for clearance to install the door. - Install the side Panther Upper Cover.
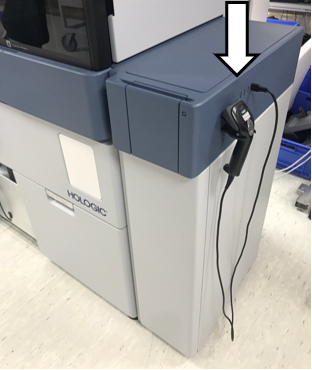
- Route the monitor cables out of the Upper Cover and tighten the cable clamps.
- Secure the door in place using the screw located on the inside of the Panther chassis.
- Install the MTU Queue Cover.
- Plug in the handheld barcode scanner.
- Proceed to MTU Expansion Installation Verification


 button at the top of the page to send feedback, comments, or change requests.