Setting a Panther IP Address on the Panther Workstation
Complete the following on each Panther.

|
NOTE— IP Addresses and Screenshots listed below are for reference ONLY. |
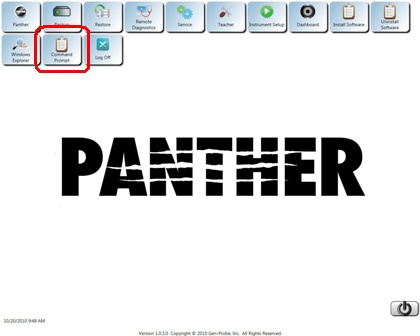
- Log into the FSE Shield.
 Click the Command Prompt button.
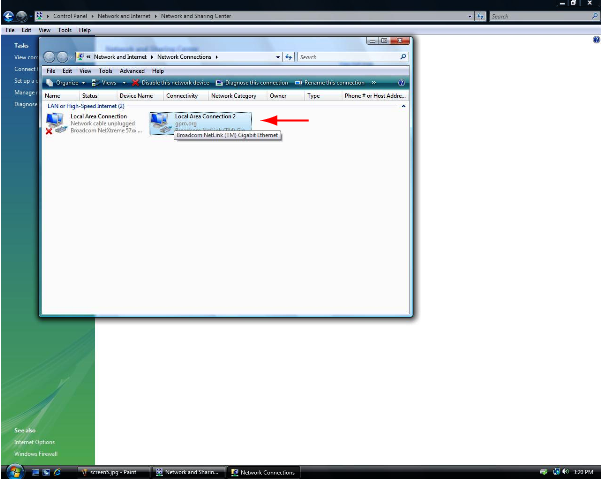
- Enter "control ncpa.cpl" into the Command Prompt window and press Enter.
- Select the Local Area Connection that is currently enabled
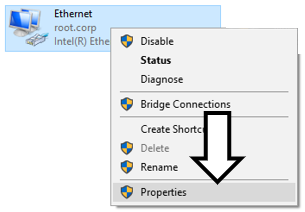
- Position the mouse pointer over the enabled Local Area Connection,
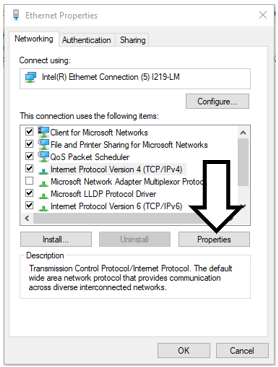
click the right mouse button, and selectSelect Properties. - Select the Internet Protocol Version 4 (TCP/IPv4).
- Click Properties.
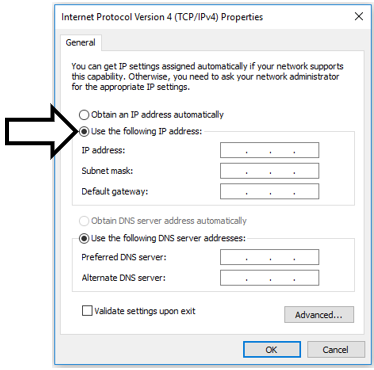
- Select Use the following IP Address:
NOTE—
IP Addresses and Screenshots listed below are for reference ONLY.Use the instructions.txt file generated after Firewall has been programmed.
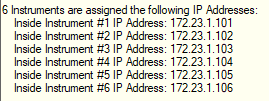
- Enter one of the generated IP addresses from the Firewall Wizard in the instructions.txt file.
- Enter 255.255.255.0 in the Subnet field.
- Enter X.X.X.1 in the Gateway field, where the X's are the same first 3 octets of the IP address.
Generally, this will be 172.23.1.1.
- If a DNS is specified follow the instructions below, otherwise select Obtain DNS server address automatically.
- If the DNS's were provided - Enter the Preferred DNS and Alternate DNS to match the instructions.txt file and the Site Assessment.
Proceed to Hardware Setup after the Firewall has Been Configured
 button at the top of the page to send feedback, comments, or change requests.