Installing the Panther Shield Software
Parts and Materials Required
- DELL OPTIPLEX XE, XE2 or XE3 PC
- Panther System Shield SW (Download or CD) - always refer to the applicable software TB for Part Numbers
- Bios Software
- USB Universal Driver Software
Time Required
Procedure
| Note—Screenshots listed below are for reference only. |
- Insert a USB drive with the Panther Shield Software into a USB port on the PC (for XE3 computers, use the front, blue USB port).
OR
Insert the Panther Shield CD into the DVD-ROM drive.
 Open Windows Explorer and browse to C:\Panther and double-click on InstallPackageUI
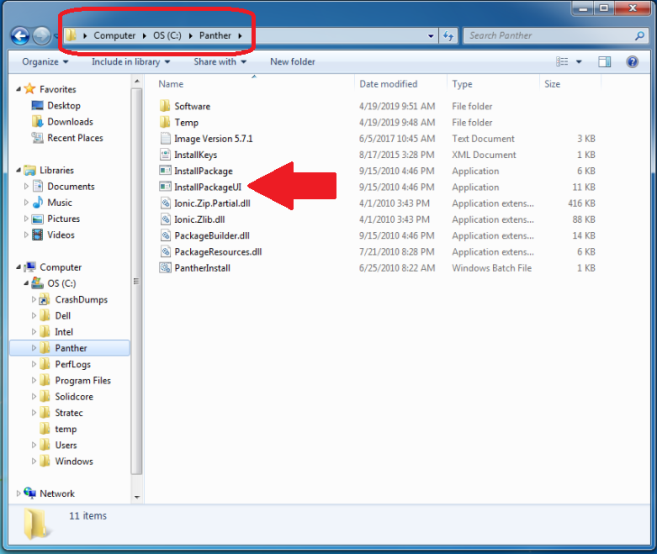
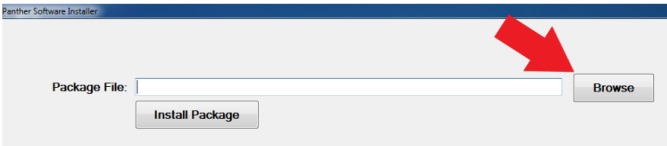
- From the Install Package Window that opens, Click on Browse
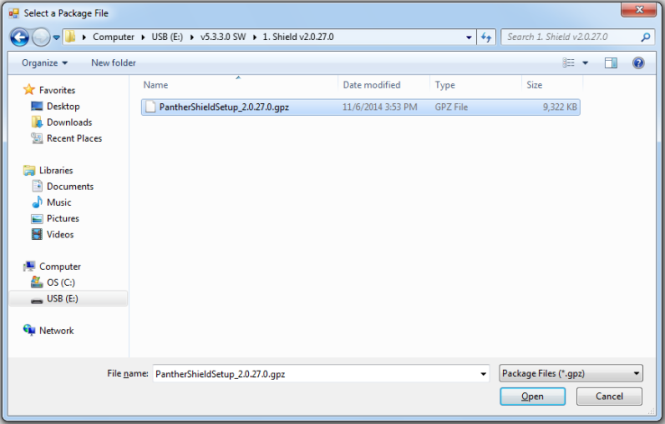
- Navigate to the Panther Shield Setup folder and double-click the PantherShieldSetup.gpz file.
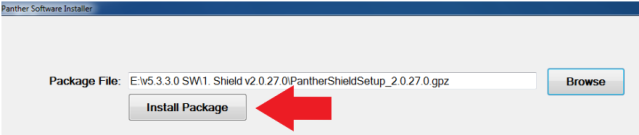
- You will be returned to the InstallPackageUI. Click Install Package to start the installation.
| NOTE—Installation may have a delay of about 30 seconds. |
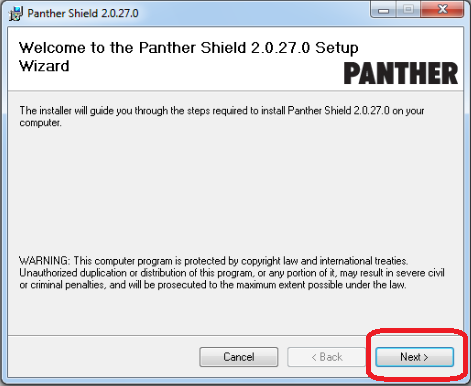
- The Installation Wizard will appear. Click Next
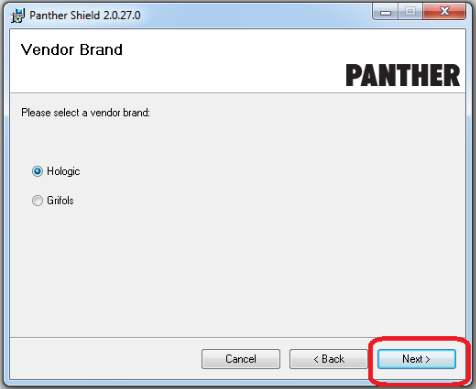
- Select the Correct Vendor and System and Click Next
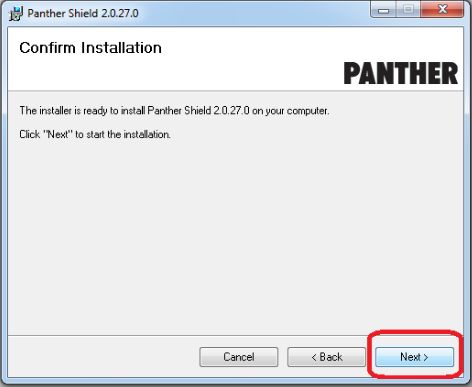
- Click Next on the Confirm Installation window.
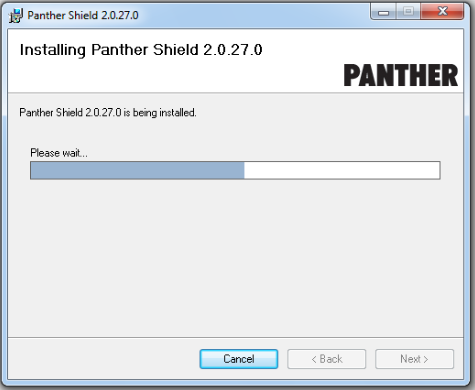
- As the installation proceeds, a progress window will be displayed.
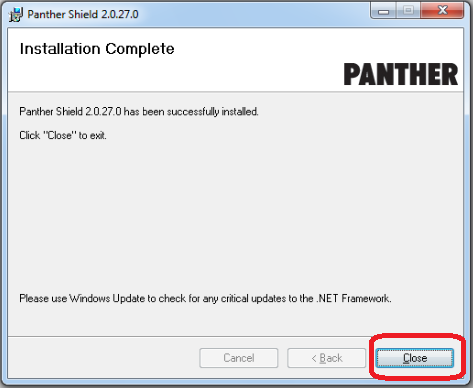
- When finished The Installation Complete window will display.
Click on Close
- For Panther Software 7.2 and above, install the following:
- Silicon Labs VCP USB Universal Driver SW.
- Dell Optiplex XE3 Bios SW from the InstallPackage.
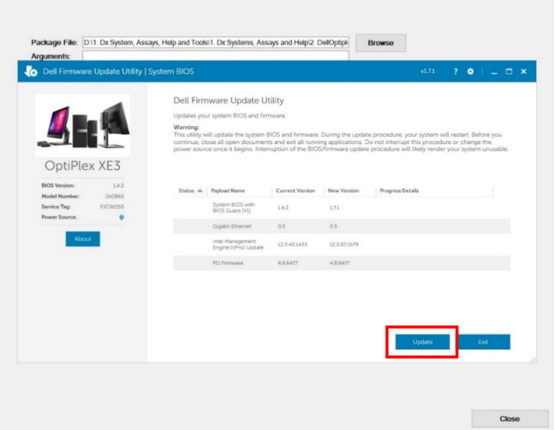
- Select Update.
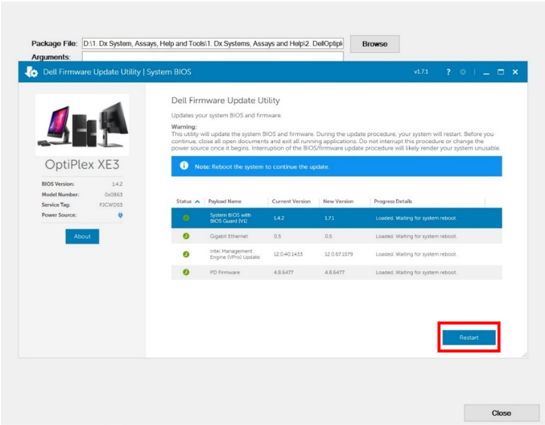
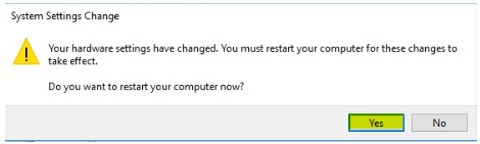
- Select Restart.
- Press Close on the InstallPackageUI window
- Remove the Panther Shield software CD or USB.
- For Panther SW 7.2 and above, rename the Com Port
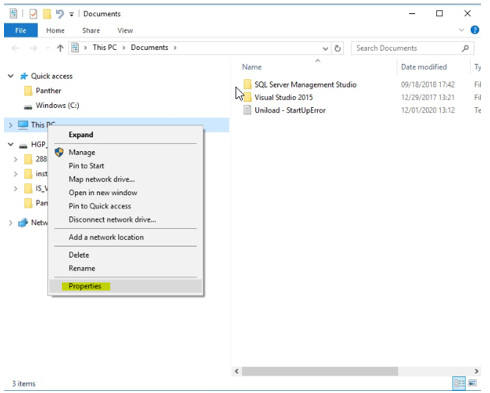
- From the FSE Shield, open Windows Explorer.
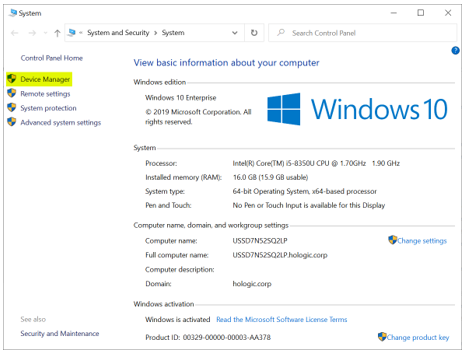
- Right-click on This PC then select Properties.
- Select Device Manager.
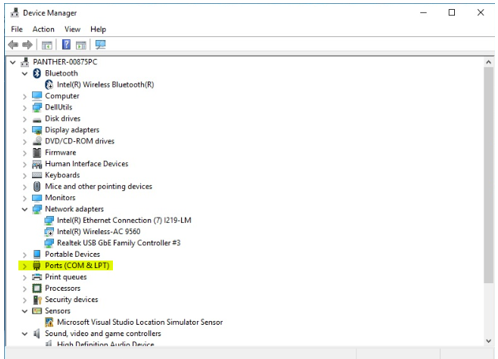
- Select Ports (COM & LPT).
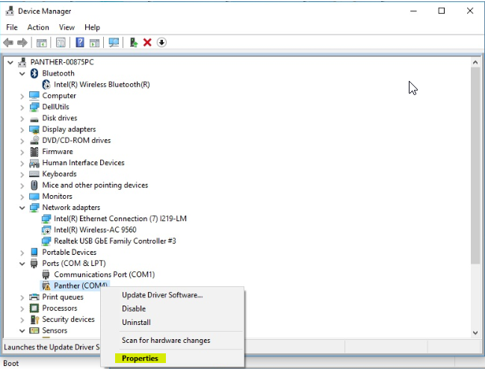
- Right-click on Panther (COM4) and select Properties.
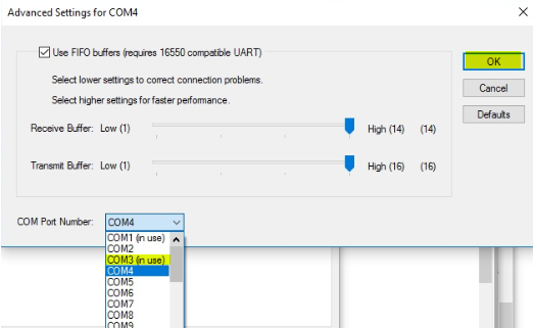
- Select Advanced.
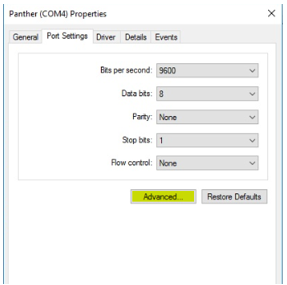
- Highlight COM3 (in use) and select OK.
- Select Yes.
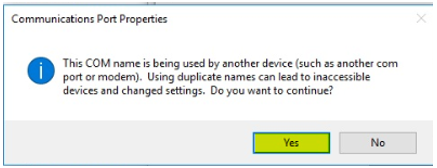
- Select Yes.
- Verify COM3 shows Panther.
- Proceed to Install All Panther Software.
Click the  button at the top of the page to send feedback, comments, or change requests.