System Leveling
Parts and Materials Required
- Bostick Never-Seez High-temp stainless anti-seize compound
- Crescent wrench, 8 in
- 4 system feet
- 3 mm screws x6
Time
- 20 minutes
Procedure
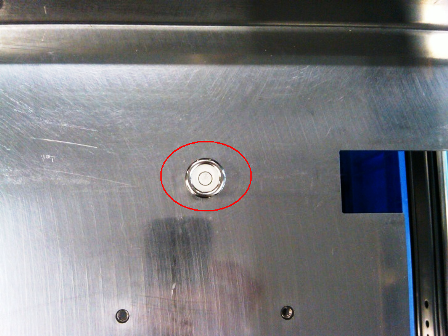
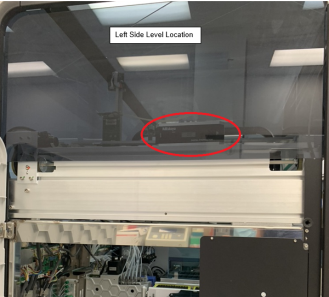
 Level the instrument using the instrument circle bubble, or a bubble level tool.
Open the TCRTarget capture reagent—An assay-specific reagent added as part of specimen pipetting. door and locate the bubble level by the Endozime bottle holder.- Place the four feet under the stabilizing rods.
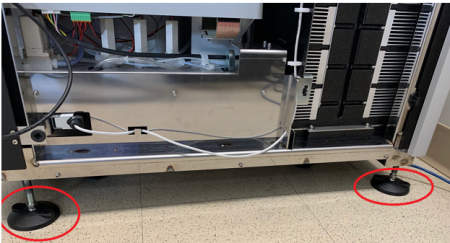
- Anti-seize the system feet:
- Lower all four system feet until they reach the floor.
- Apply anti-seize to the threads of the feet.
- Raise the feet to allow the threads to be fully covered with the anti-seize application.
- Using crescent wrench, lower the four stabilizing rods onto the feet until the feet are attached.
Caution—Rotate the levelers only 1 full rotation at a time per foot so as not to cause damage to the leveler rods.
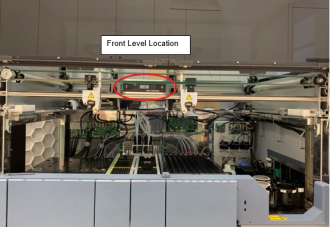
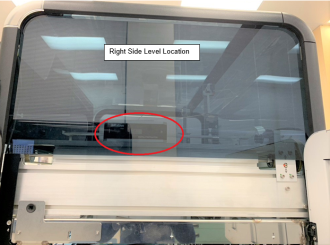
- Level the system by adjusting the pedestals or "feet" of the system by raising and lowering the system. The system is level when the circle bubble is within the black inner circle.
- Continue adjusting the feet until the system is level.
- Final check for leveling the instrument is to ensure the TCR Door opens and closes smoothly, without contact with the front cover.
Note—If the TCR Door does not open and close smoothly, refer to TCR Door Alignment.
- Continue to Trims and Door Panel Assembly.
 button at the top of the page to send feedback, comments, or change requests.