Trims and Door Panel Assembly
Time Required
Panel Assembly Procedure
 Locate the left back corner and bottom left trim fixtures.
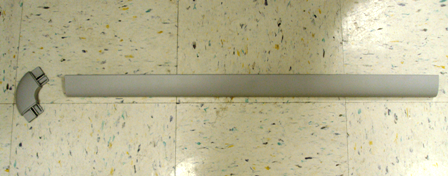
- Install the left corner fixture by pressing into the two slotted grooves.
- Install the bottom left trim with three rubber pin fixtures.
- Perform Steps 1–3 for the right trim and corner fixtures.
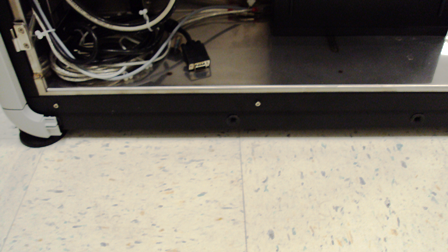
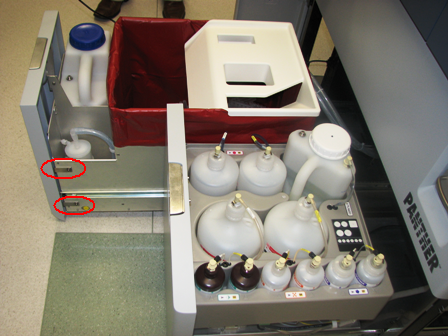
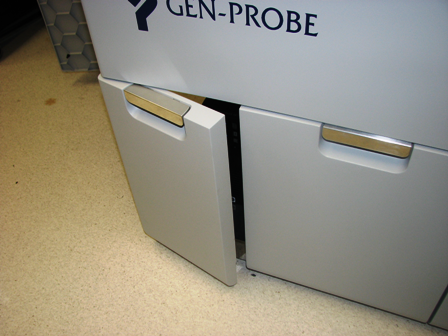
- Pull out the Waste Drawer.
- Place the front cover panel in front of the Waste Drawer, and align the brackets with the screw holes.
- Using two 3 mm screws, a washer, lock washer, and a 3 mm hex key, tighten the two screws on the left side of the drawer.
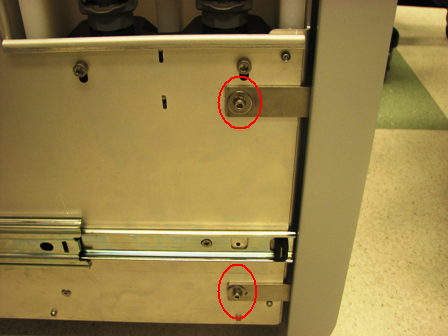
- Using two 3 mm screws, a washer, lock washer, and a 3 mm hex key, tighten the two screws on the right side of the drawer.
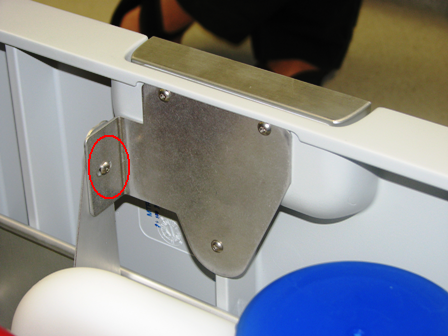
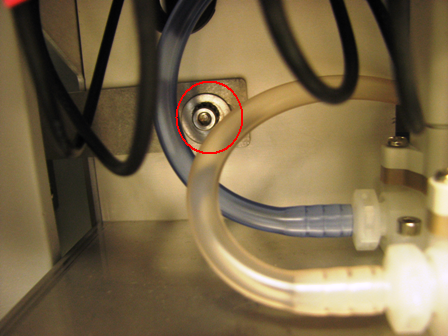
- In addition to the four side screws, there is one 2.5 mm screw. Attach the bracket to the waste door with this bolt.
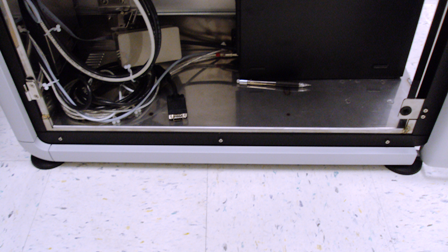
- Pull out the Universal Fluid Drawer.
- In the same manner as the Waste Drawer, align the front panel to the two screws on the left side of the drawer, and the one screw on the right side of the drawer.
- Using two 3 mm screws, a washer, lock washer, and a 3 mm hex key, tighten the two screws on the left side of the Universal Fluid Drawer.
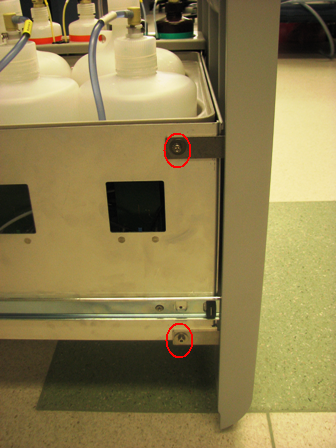
- Using one 3 mm screw, a washer, lock washer, and a 3 mm hex key, tighten the one screw located on the right side.
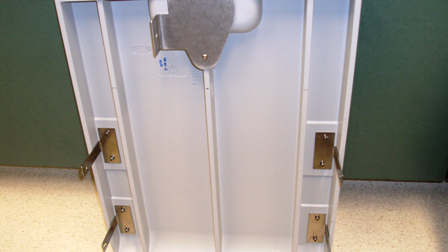
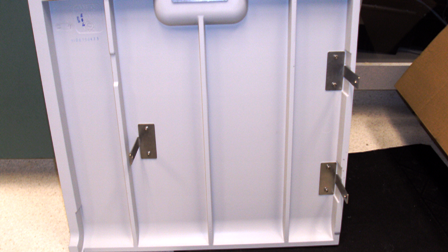
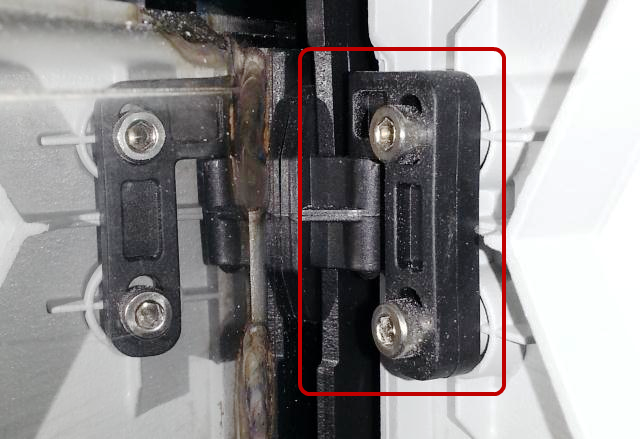
- To install the PC panel door, place the panel door alongside the two hinges.
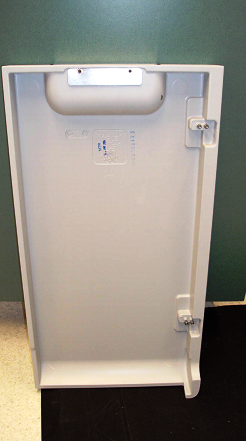
- Using the four provided 2.5 mm screws, and a 2.5 mm hex key, tighten the two screws to the bottom door hinge, and two screws to the top door hinge.
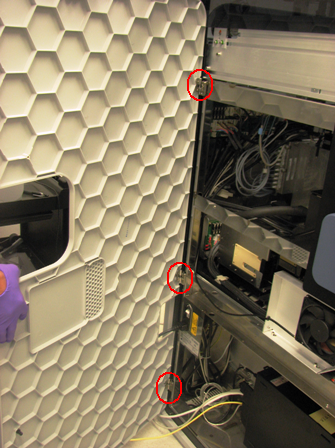
- Place the left door panel on the three hinges located on the back left side of the Panther system. Slide the pin of the door hinge onto the door bracket for all three brackets.
- To disassemble the Panther system panels, carefully reverse the assembly steps in this procedure.
Click the  button at the top of the page to send feedback, comments, or change requests.