Connecting the Configured Firewall to the Panther System

  1. Closed
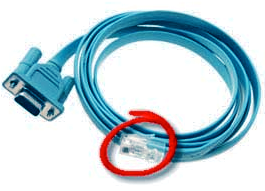
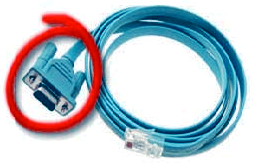
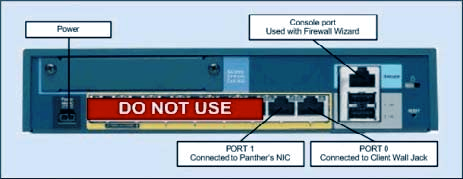
Unplug the Serial Cable RJ45 connector from the Console port on the back of the Firewall.
  2. ClosedUnplug the other end of the Serial Cable and pack for future use.
  3. ClosedIf used, unplug the USB-to-Serial Adapter Cable from the laptop and pack for future use.
  4. If the Firewall is not already in its operational location near the Panther System, plug the ACClosedAlternating current/DC Power Supply Adapter into the Panther System UPS using the Power UPS/PDU cable.
  5. Connect the Firewall to the customer network.
    1. ClosedPlug one end of an Ethernet Cable (RJ45 connectors on each end) into the customer network (usually located on the wall).
    2. ClosedPlug the other end of the cable into Firewall Port 0. The port number is located on the rear of the Firewall, on the yellow strip below the jack.
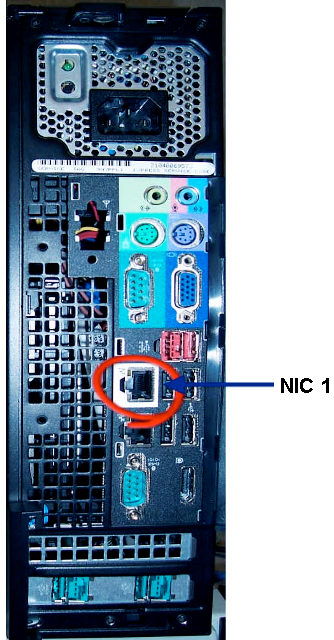
  6. Connect the Firewall to the Panther System.
    1. ClosedPlug one end of an Ethernet Cable (RJ45 connectors on each end) into Firewall Port 1. The port number is located on the rear of the Firewall, on the yellow strip below the jack.
    2. ClosedPlug the other end of the cable into the Panther System PC NIC 1 Port.
  7. Verify proper installation by ensuring that the green LEDs are flashing for both Firewall network connections and the Panther System PC NIC 1 Port connection.