Permanent Waste Bottle Tubing Connector Upgrade Procedure
Purpose
The purpose of this procedure is to provide instructions on how to upgrade the Panther Plus Permanent Waste Bottle with tubing risers.
What is Affected
Early Panther Plus waste on the fly modules did not include a quick disconnect to the Permanent Waste Bottle. The braided tubing connections to the Permanent Waste Bottle are difficult to disconnect/reconnect if the bottle needs to be replaced. New connections were developed (post-launch) to facilitate less difficult replacement of the Permanent Waste Bottle. This upgrade should only be necessary if the Permanent Waste Bottle needs to be replaced.
Parts and Materials Required
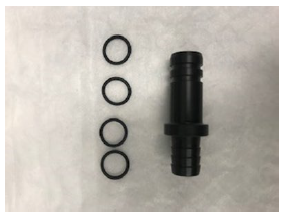
- Vacuum Tubing In-Line Connectors
- Vacuum Tubing In-Line Connector O-Ring (Pack Of 4)
- Corning High Vacuum Grease
Time Required
- 1.5 hours
Procedure
- Remove the front panel of the Waste Drawer.
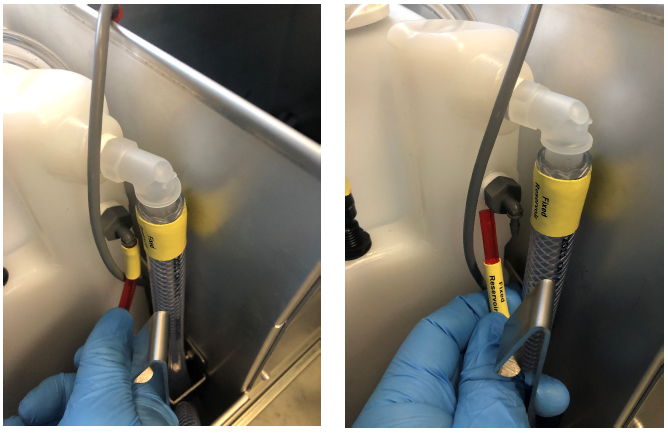
- Disconnect the
 liquid level sense cable from the Permanent Waste Bottle.
 - Remove the Vacuum filter from the Waste Drawer.
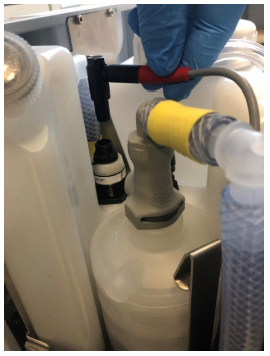
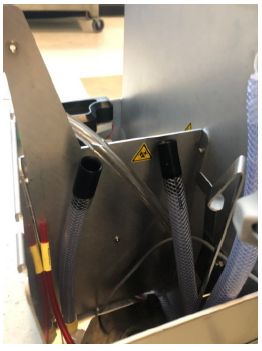
- Disconnect the Dripless Fitting return line form the Permanent Waste Bottle.
- Disconnect the Transfer Pump tubing from the Permanent Waste Bottle.
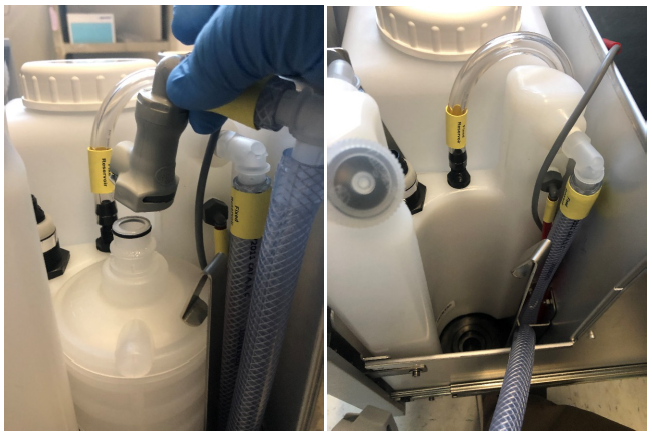
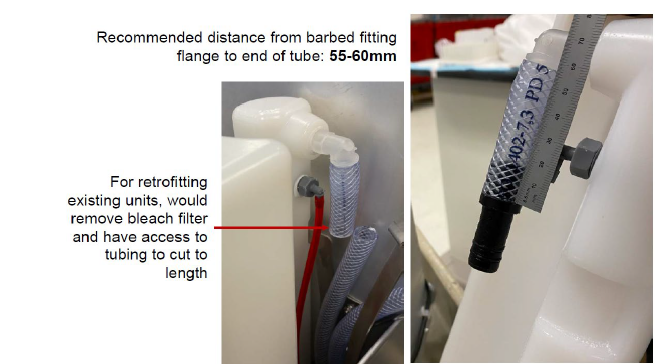
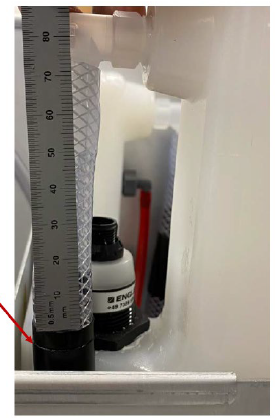
- Measure 55mm down from the rear barbed fitting flange (Permanent bottle Vacuum inlet) on the Permanent Waste Bottle as shown in the next step.
- Mark and cut the tubing using a tubing cutter.
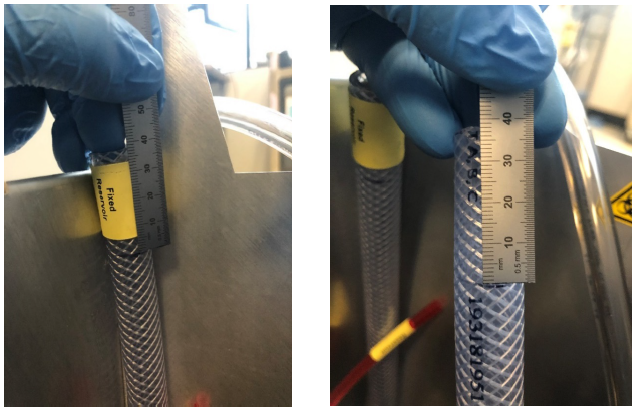
- Measure 75mm down from the front barbed fitting flange (Permanent bottle Waste inlet) as shown below:
- Mark and cut the tubing using a tubing cutter.
- Remove the Permanent Waste Bottle from the Waste Drawer.
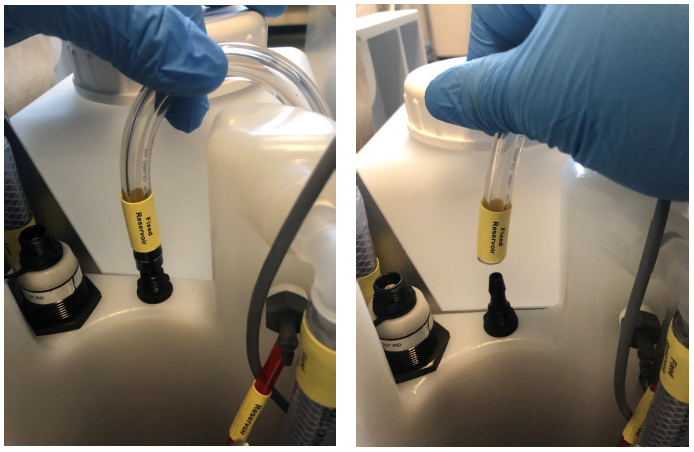
- On both residual ends, measure and cut the tubing 38mm from the top.
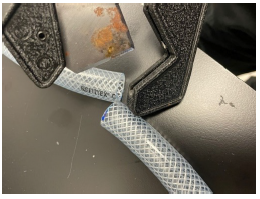
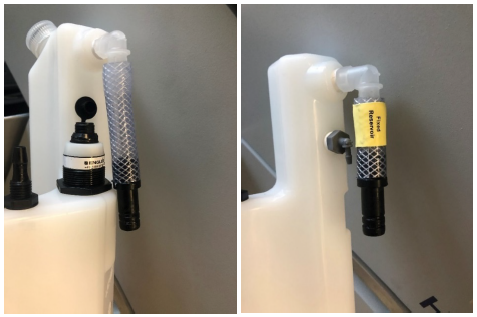
- Insert a male tubing riser, barbed-end first, into the tubing ends of the Permanent Waste Bottle.
- Install 2 O-Rings on the male end of the tubing risers. Apply a thin coating of High Corning Vacuum Grease to the O-rings.
- Insert the female tubing riser, barbed-end first, into the tubing.
- Re-install the Permanent Waste Bottle by connecting the tubing risers together.
- Re-connect the Level Sense Cable, Dripless Fitting return tubing, and Transfer Pump tubing.
- Re-mount the front panel of the Waste Drawer.
Verification
- Launch the Service Software and Initialize Vacuum System and Waste On the Fly.
- Verify the Vacuum Pressure is within range and reads between 6 and 8 in Hg (-203 and -271 mbar).
 button at the top of the page to send feedback, comments, or change requests.