Creating a Panther Image on a USB
Parts and Materials Required
- Panther System Image as per Installation TB
- Rufus USB Creation Software
 Kanguru Lockable USB Drive

Time Required
- 20 Minutes
Procedure
Create a Panther Image on USB Drive

|
Note— Screen shots below are for reference ONLY. |
|
|
Note— When removing a USB Drive always remember to use the “Safely Remove” icon. |
|
|
Note— The FSE Laptop user MUST have Administrator privileges. |
- Perform the following steps on an FSE laptop.
- Download (from Agile or BOX) a local copy of the Panther System Image as listed in the Installation TB.
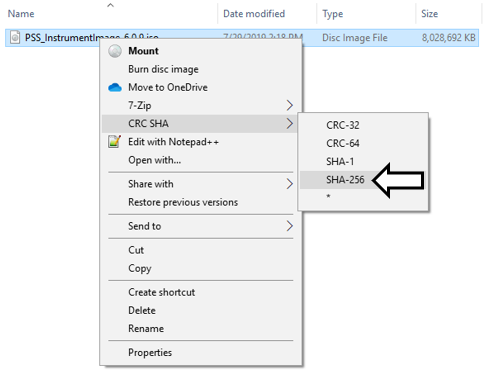
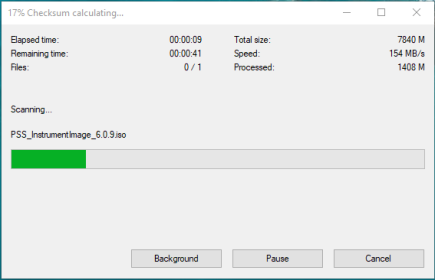
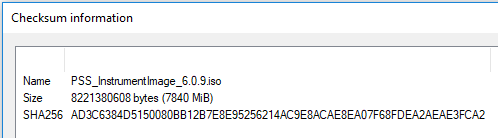
- Perform a SHA256 CRC on the downloaded file.
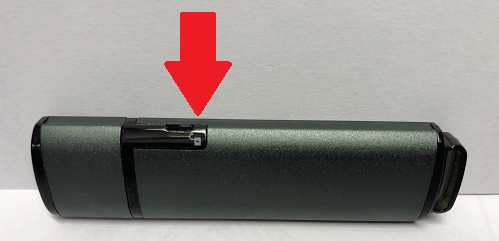
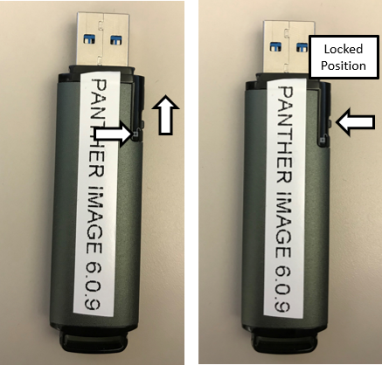
- Set the Kanguru SS3 USB Flash Drive lock to the UNLOCKED position.
- Insert a blank Kanguru SS3 USB Flash drive into the FSE Laptop.
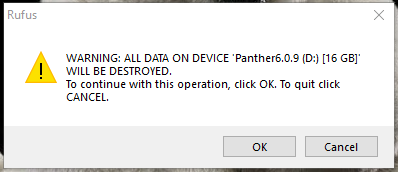
- Clear USB Partitions (if any)
- Click START.
- Click Close.
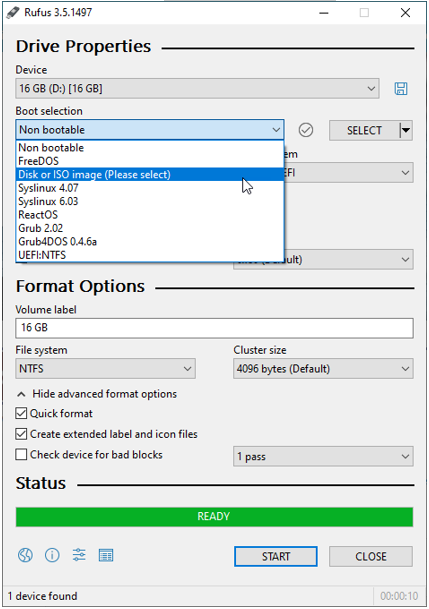
- Select Disk or ISO image (Please select).
- Launch Rufus.
Note—DO NOT update Rufus. Use version 3.5.1497. - From the Device drop-down menu, Select the desired USB to write to.
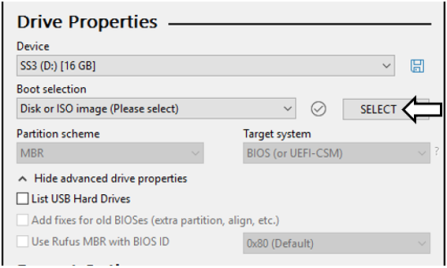
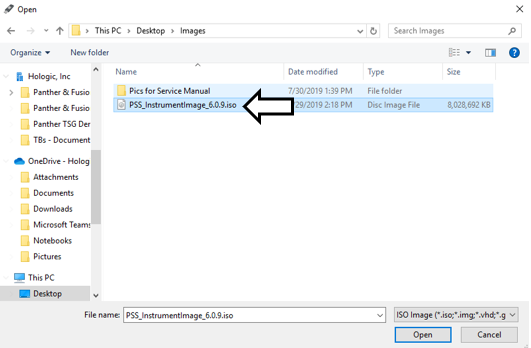
Rufus will auto select removable drives. - Click the SELECT button to locate the .iso.
- Navigate to and Select the local copy of the Panther Image .iso. Image below for reference only.
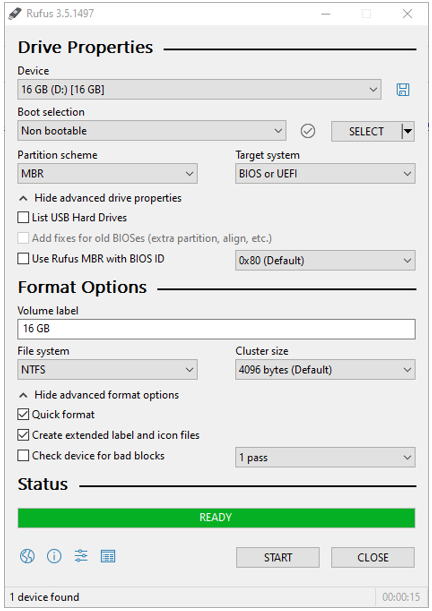
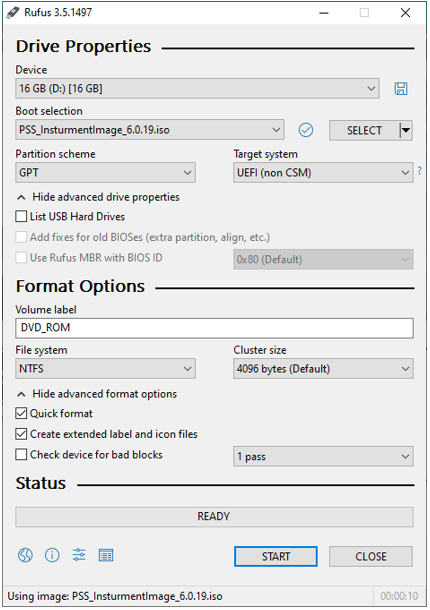
- Rufus will automatically select the partition scheme and target system. DO NOT CHANGE these settings.
- Change the Volume label to PantherImage6_X_X.iso.
- Verify the File System is NTFS.
- The Rufus configuration should look like the image below.
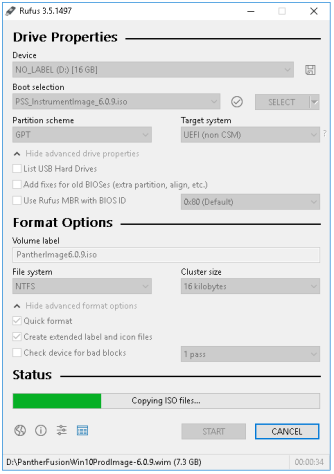
- Click the START button.
- Rufus will begin writing the Image to the USB drive.
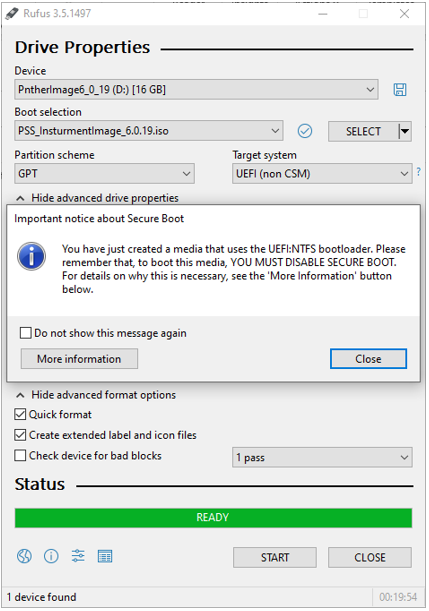
A Status bar will indicate progress. Image writing can take up to 10 min. - Once finished, accept completion message and Click on Close. Close Rufus.
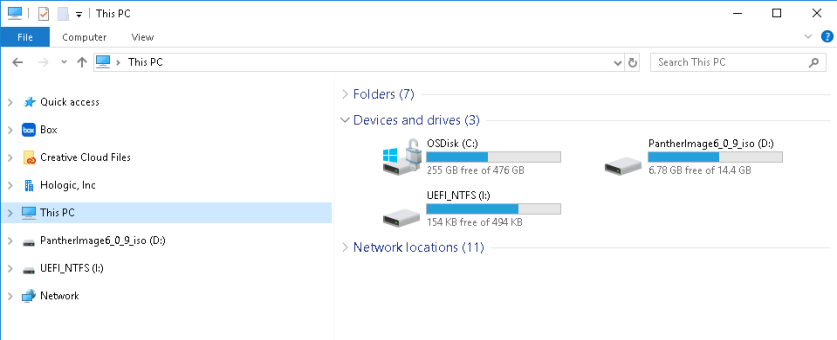
- On the FSE Laptop, open Windows Explorer and Click on This PC.
- Verify that two partitions were created on the USB Flash drive.
You might have to remove the USB and re insert the USB to confirm all partitions.- UEFI_NTFS
- PantherImageX_0_X
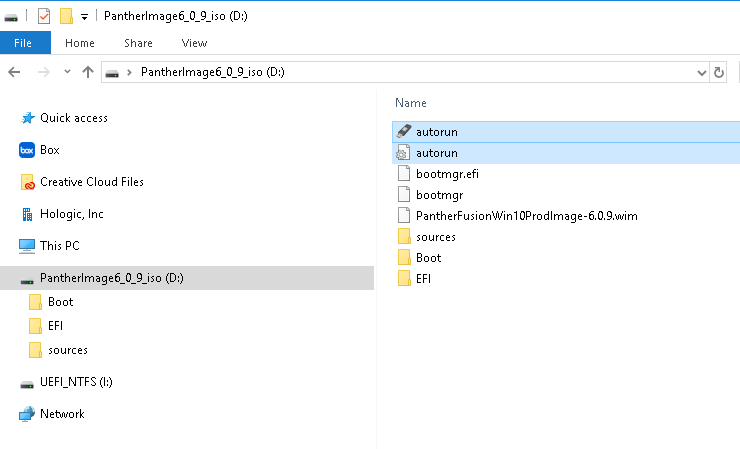
Note—If you are using a Windows 7 Laptop, you will only see one partition. - Open the PantherImageX_0_X and delete the two autorun files.
- Safely remove the USB drive.
- Move the drive's lock to the Locked position.
- Cover the lock with a Do Not Tamper With sticker.

 button at the top of the page to send feedback, comments, or change requests.