Enabling a Mapped Network Drive / LIS Fileshare

The Panther offers LIS transmission via three modes: (1) Serial, (2) TCP/IP and (3) Fileshare.

The Fileshare LIS option requires a mapped network drive to be added to the Panther system.
This procedure affects Panther Systems requiring a mapped network drive for file export.

The Fileshare option for LIS transmission is non-functional with System SW v7.1.5.4.

Do NOT upgrade customers to System SW v7.1.5.4 if they plan to use the Fileshare option for LIS transmission.
All other transmission modes work as required.

  System SW v5.3 System SW v6.2 System SW v7.1 System SW v7.2
Serial RS 232 ü ü ü ü
TCP/IP ü ü ü ü
Fileshare ü ü û ü

Refer to the Panther Site Assessment form and complete the table below with the correct network information

You may also refer to the customer’s IT department for this information.

IP Address of drive to be mapped  

Full Network Path
For example:
\\10.10.10.10\Panther\LISExport

 
Username  
Password  
Domain Name
(If applicable)
 

Time Required

  • 15 Minutes

Procedure

Caution—
The Fileshare option for LIS transmission is non-functional with System SW v7.1.5.4.

Do NOT upgrade customers to System SW v7.1.5.4 if they plan to use the Fileshare option for LIS transmission. All other transmission modes work as required.

Closed
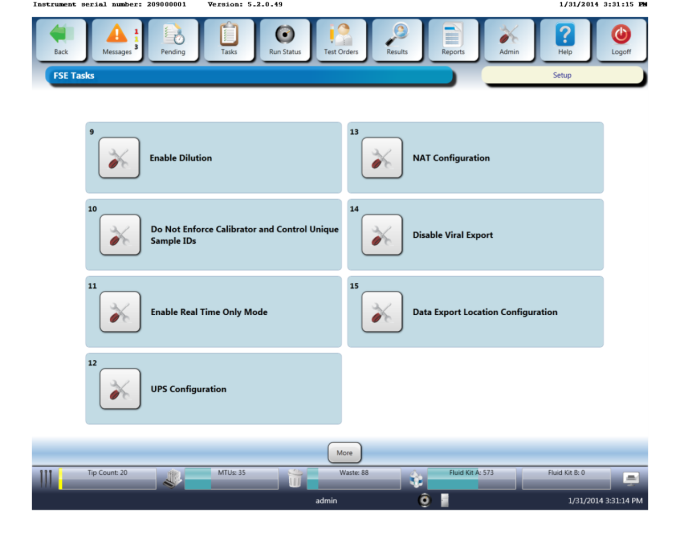
Part A: Configure the Network Drive

  Note—Use the Firewall Wizard to program the Cisco ASA 5505 for remote file sharing and enter the IP address from Table 1.
  Note—This procedure will have to be repeated if usernames and/or passwords change.
  1. Reboot the Panther PC.
  2. Log in to the Panther FSE Shield.
  3. Run Command Prompt.
  4. Type the following into Command Prompt:

    net use driveletter: \\computername\sharename /savecred

    and press Enter

    Note—Ensure there is a space between driveletter: and \\computername

    Ensure there is a space between sharename and /savecred

    If there are any drives currently mapped,
    delete them using "net use [drive letter]: / del" in command prompt.
    Enter the domain with the username (example “domain\username”)
    if the customer specifies one in table above.
    1. net use = Identify if any drives are currently mapped on the Panther.
    2. driveletter = The letter of the drive. Values include J through Z. Ensure the value is not already used on the system.
    3. computername = The IP address from the Table above.
    4. sharename = The shared directory. As an example, from the full network path field in Table 1 this would be: "Panther\LISExport"
  5. When prompted enter the login credentials from the Table above.
  6. Once the login credentials have been entered, the mapped network drive is successfully setup.
  7. If the mapped drive is not specifically for the LIS File export option, the remaining steps can be skipped. If the mapped drive will be used with the Pt2 .lis export, follow the instructions in Part B.
  8. Launch the Panther UI.
  9. Log in to Panther UI.
  10. Tap on the Admin tab.
  11. Open the LIS Configuration Screen.
  12. Select File from the top of the configuration screen.
  13. At the bottom of the screen click on the directory and choose the drive that was created in this procedure.
  14. Click OK.
  15. Save the settings by clicking the Save button located at the bottom of the screen.
  16. By default Enable Data Export to Network Drive is enabled.

Closed
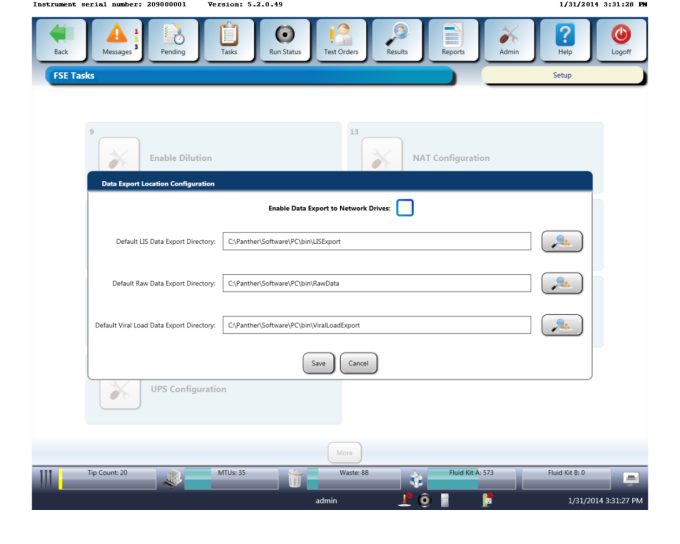
Part B: Enabling / Disabling Mapped Directory Listing in Panther UI

  1. Log in to the Admin account in Panther UI.
  2. Navigate to Tasks >> Perform Maintenance >> Service.
  3. Click the More button.
  4. ClosedClick on Data Export Location Configuration.

  5. ClosedCheck / Uncheck Enable Data Export to Network Drives.

  6. When disabling data export to network drives ensure that the Default LIS Data Export Directory is set to “C:\Panther\Software\PC\bin\LISExport”.
    Note—Set the directory in the LIS Configuration screen back to the default and disable the LIS.
  7. For new installs, the option for Enable Data Export to Network Drives will be enabled as default.

Verification

  1. Reboot the Panther PC.
  2. Open the shared directory using Windows Explorer.
  3. Right click within the directory and select New >> Text Document.
  4. Verify with the customer the file is available at the shared location.