Dashboard - Pooling Management
The Pooling Management screen allows users to configure pooling ID and add to the pooling list samples belonging to a sample pool.
To access the Pooling Management screen, select Pooling Management on the Administration screen.
Users can use this option to keep track of pooled samples.
Pooling Management is available once the Client Barcode Management option in Feature Management screen has been enabled.
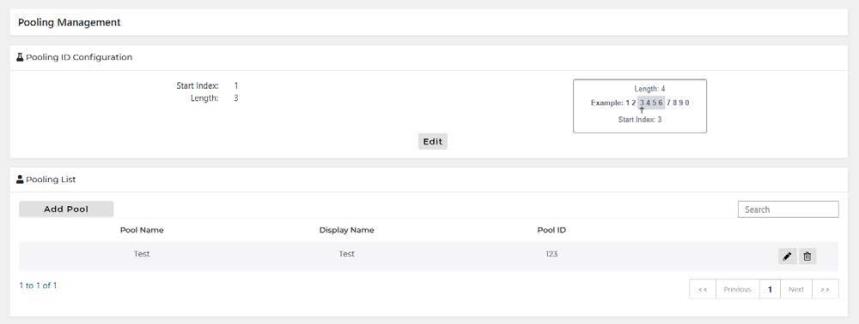
Pooling ID Configuration
- Select Edit.
- The Edit Configuration window appears.
- Enter Start Index and Length values.

Note—Values must be between 1-20 - Select Save.
Add Pooling List
- Select Add Pool.
- The Add Pool window appears.
- Enter Pool Name, Display Name, and Pool ID.
- Select Add.
Edit Pooling List
- Select Edit.
- The Edit Pool window appears.
- Enter updated information.
- Select Save.
Delete Pooling List
- Select Delete.
- The Confirmation window appears.
- Select Yes.
 button at the top of the page to send feedback, comments, or change requests.