Vacuum Power Cable and Fuse Replacement Procedure (Config. 3)


|
Note— This procedure can be completed without removing the Vacuum Housing. |
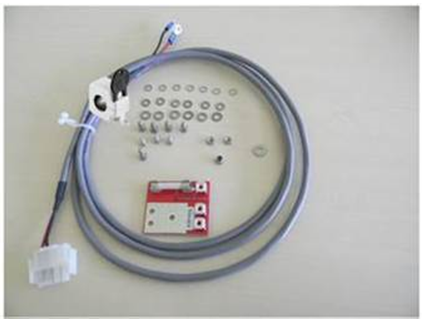
Parts and Materials Required
- Vacuum Power Cable and Fuse
Time Required
30 minutes
Procedure
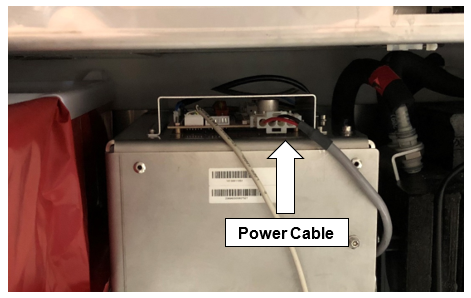
 Disconnect the Power Cables from the PCB on top of the Vacuum Housing.
- Remove the Power Cable from the cable chase.
Note— Take care to prevent other cables inside the cable chase from falling out or becoming tangled with other cabling and equipment. - Unscrew the positive and negative cable from the power supply.
Note—It may help to loosen and unmount the power supply from the chassis to access the screw-down terminals.
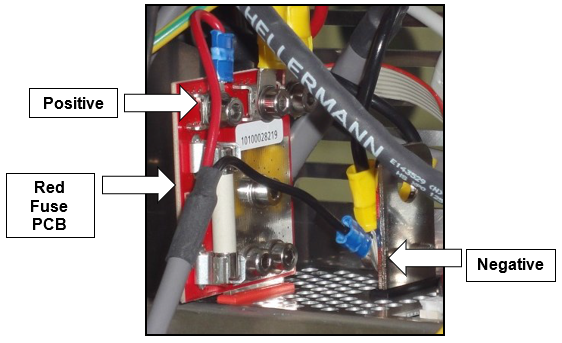
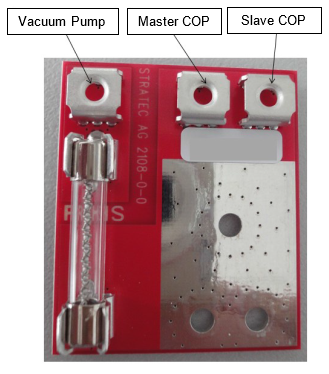
- Remove the old Red Fuse PCB from the power supply.
- Attach a new Red Fuse PCB to the power supply.
- Secure the new Power Cable to the new Red Fuse PCB.
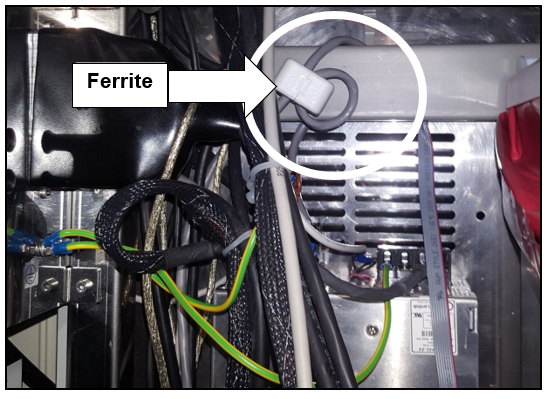
- Route the new Power Cable through the cable chase and place the ferrite in an area where it will not interfere with any of the drawers.
- Connect the power cable to the PCB on the top of the Vacuum Housing.
Verification
- Power on the Panther System and PC.
- Log in to the FSE shield.
- Open the Service Software.
- Initialize the Vacuum.
- Activate the Vacuum & Read the Vacuum pressure.
- Verify the vacuum is within specifications.
The vacuum level must read between -203mbar and -270mbar and the vacuum pump speed must read above 1650rpm.
If needed refer to Configuring the Quad Head Vacuum Pump Speed. - Exit Service Software.
- Start Panther Main.
- Check Vacuum in Panther Main.
- PrimeOperation of pumping fluid through tubing to ensure proper and consistent fluid delivery (remove air from the tubing, etc.). the system.
- Verify the Vacuum is within Specification:
- Maintains a vacuum level between 6inHg and 8inHg.
- Verify that exhaust is flowing through the rear vent (serial #00281 and higher) or through the routed tubing (serial #00280 and lower).
- Shutdown and restart the Panther System and PC in Customer Mode and return to customer.
 button at the top of the page to send feedback, comments, or change requests.