Installing the Monitor Arm and Monitor
Parts and Materials Required
- Proper PPE
- 2 mm hex key
- 2.5 mm hex key
- 3 mm hex key
Time Required
- 20 minutes
Procedure
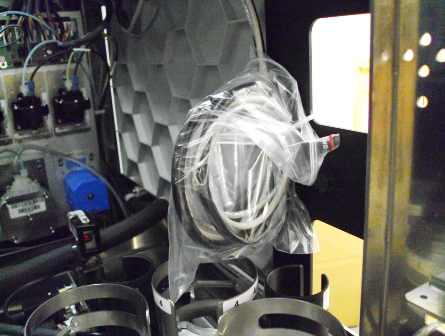
 Remove the USB cables from the zip tie plastic covering.
- Route the cables to the outside of the Panther System as shown in the following picture.
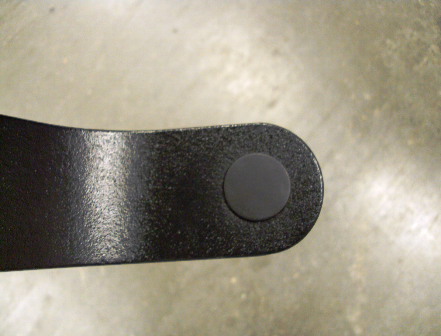
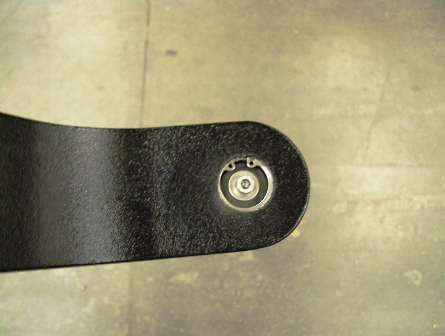
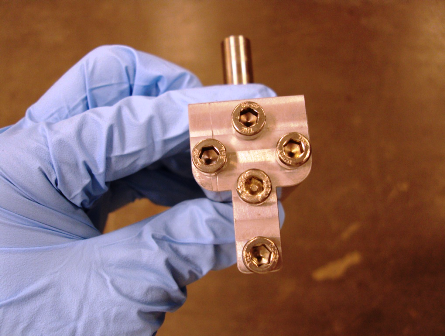
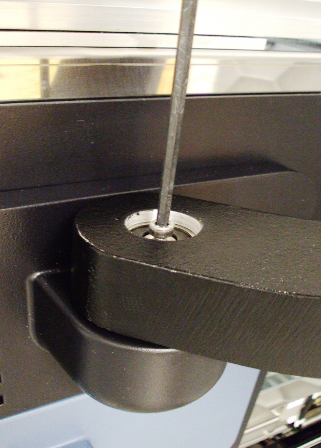
- Remove the monitor arm cap cover to expose the 4 mm screw.
- Remove the monitor arm bracket from the monitor arm the screws.
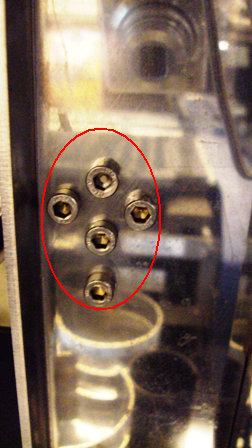
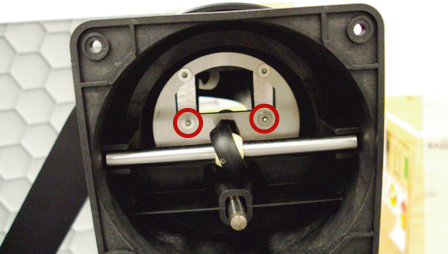
- Using a hex key, remove the five screws from the monitor arm bracket.
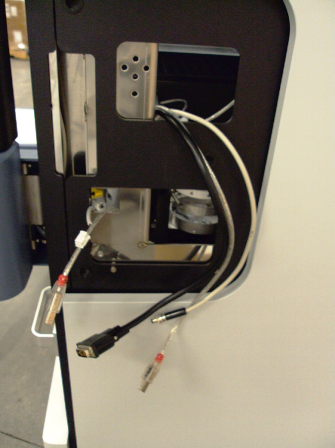
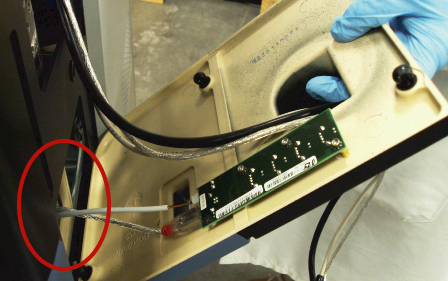
- Connect the USB cable and power cable to the monitor arm panel board. Route the remaining monitor arm cables through the scanner bracket hole as shown in the following picture.
- Place the monitor arm bracket to the left of the monitor cables as shown in the following picture.
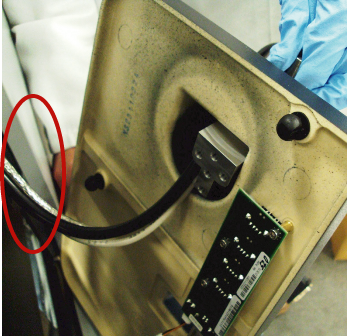
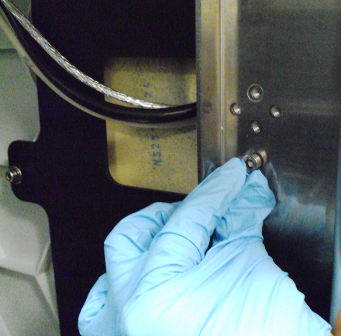
- Secure the monitor arm bracket from the inside of the Panther System using the five screws and a hex key.
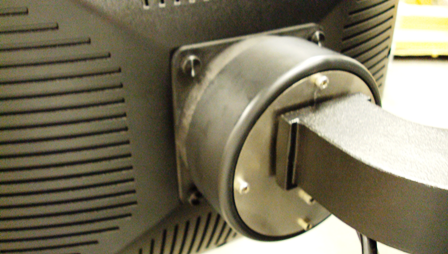
- Route the cables to the right side of the monitor arm bracket and seat the panel securely against the Panther System.
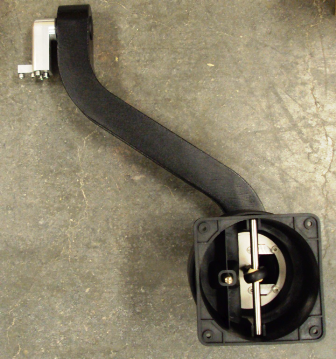
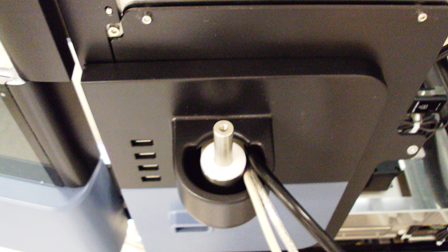
- Place the monitor arm onto the monitor arm bracket.
- Using a hex key, tighten the screw to secure the monitor arm to the bracket. Reinstall the monitor arm cap cover to cover the screw.
- Using a hex key, remove or loosen the inner screws that secure the back plate of the monitor arm. This allows access to the monitor.
- Route the three monitor cables and re-secure the back plate.
- Connect the three monitor cables to the monitor.

Note—The monitor has a cable that dangles from it that is not plugged into anything. This cable is used to set up the monitor. It should be available in case the monitor requires adjustments in the future.
- Using the four back knobbed screws, secure the monitor to the monitor arm.
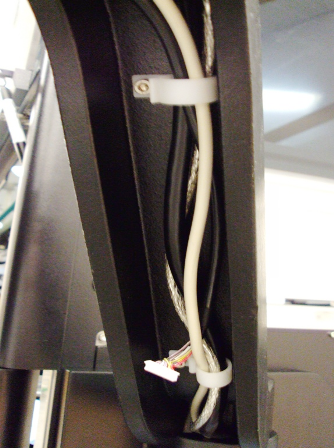
- Using the white clips attached to the bottom of the monitor arm, secure the monitor arm cables so that they do not obstruct or get damaged during operational use of the Panther System.

 button at the top of the page to send feedback, comments, or change requests.