Air Springs Removal and Replacement Procedure
Parts and Materials Required
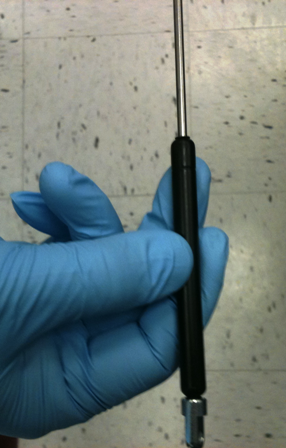
- AIR SPRING
- Flat head screwdriver
- Shock Compression Tool
Time Required
- 15 minutes
Removal Procedure
- Fully open the canopy door.
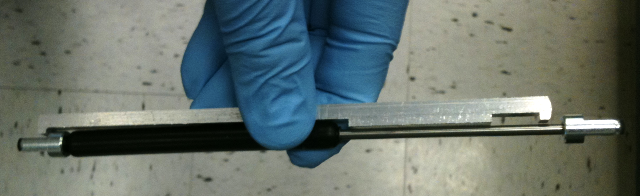
- Align the base of the air spring with the wide detent in the Shock Compression Tool as shown in the following photo.
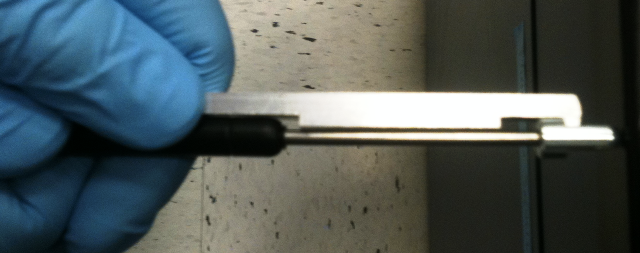
- Compress the top end of the air spring until the top cap fits into the narrow detent on the Shock Compression Tool.
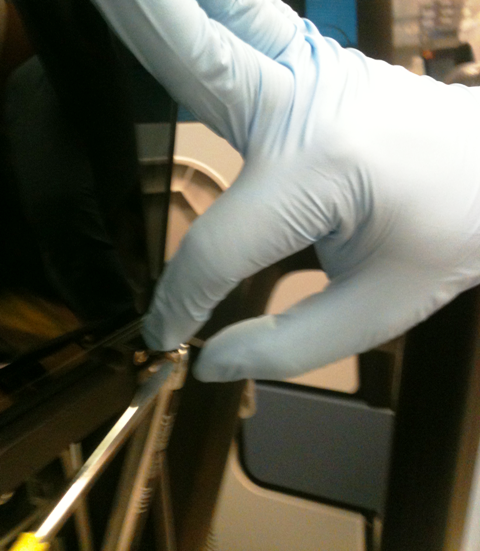
- Slightly lower the canopy door until the slots in the top of the air spring and the canopy door align.
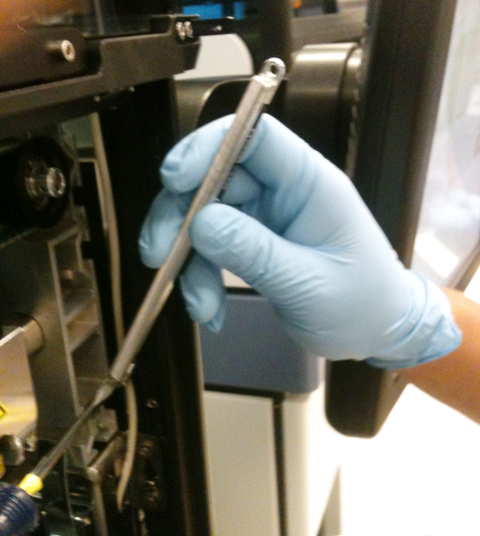
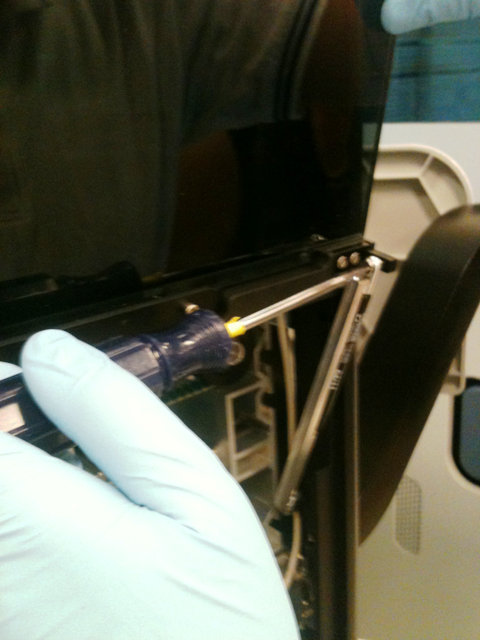
- Using the flat head screwdriver, remove the top screw that secures the air spring.
- Using the flat head screwdriver, remove the bottom screw that secures the air spring.
- Carefully remove the air spring from the system.
Replacement Procedure
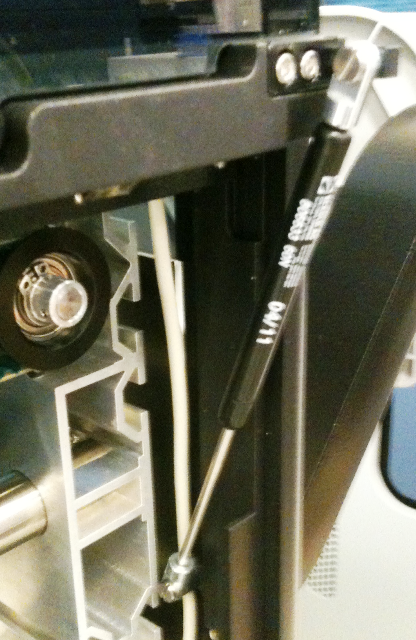
 Position the air spring as shown in the following photo.
- Align the base of the air spring with the wide detent in the Shock Compression Tool as shown in the following photo.
- Compress the top end of the air spring until the top cap fits into the narrow detent on the Shock Compression Tool.
- Align the bottom of the air spring with the slot on the Panther System and fasten with the provided screw.
- Slightly lower the canopy door until the slots in the top of the air spring and the canopy door align.
- Fasten the top of the air spring with the provided screw.
- Hold the Shock Compression Tool and carefully lower the canopy door. The tool will disengage from the air spring when the spring compresses.

|
Verify that the air springs for the front panels are not trapped behind the panel during installation. |
 button at the top of the page to send feedback, comments, or change requests.