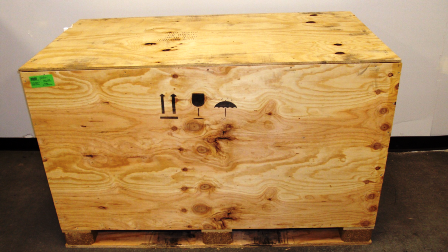
Packing the Accessory Kit
 Locate the Accessory Kit crate and remove all packing materials from the crate.
- Place the Waste Drawer cover into the bottom groove of the side foam panel.

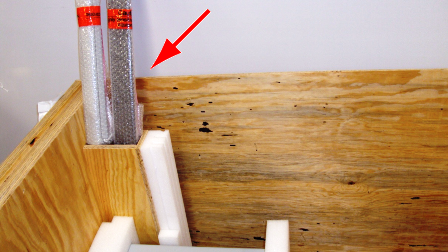
Place the handle side into the groove as shown in the following photo. - Place the Universal Fluids Drawer cover into the second groove of the side foam block.
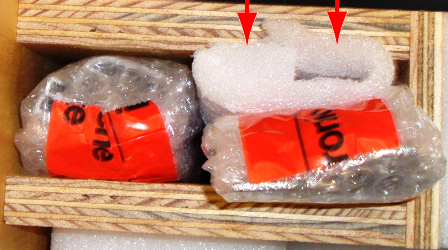
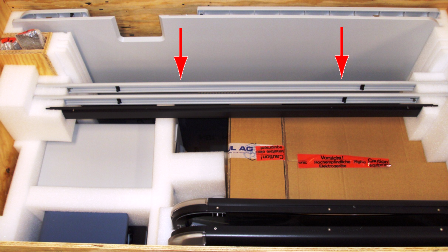
Place the handle side into the groove as shown in the following photo. - Wrap the 2 system bottom reveal trim pieces (black) and the 2 system trim pieces (white) in packing material.
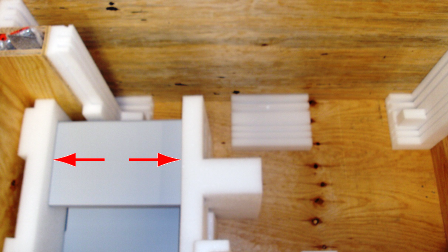
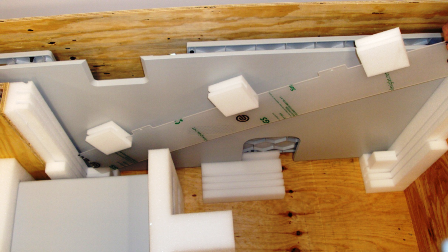
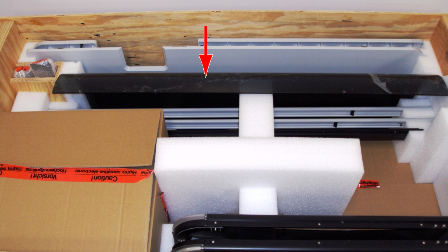
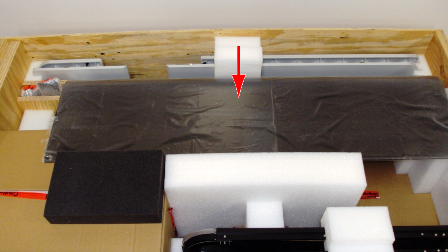
- Place the system trim pieces into the vertical compartment and secure with foam as shown in the following photos.
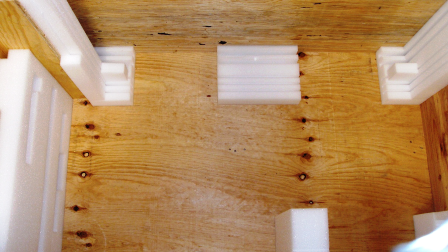
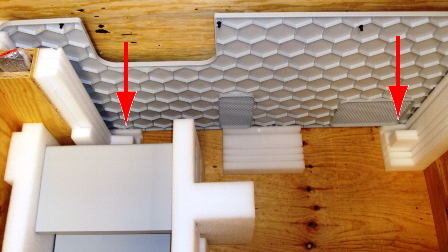
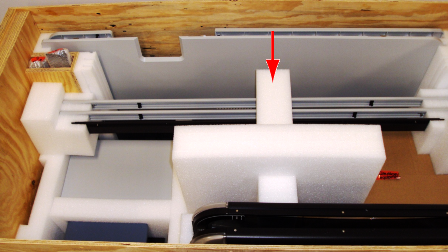
- Place the center foam block and insert the computer front panel into the side grooves as shown in the following photo.
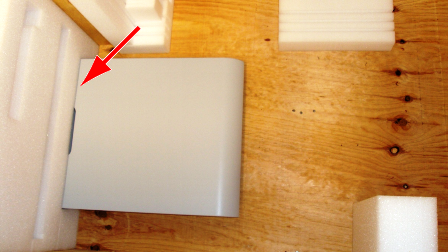
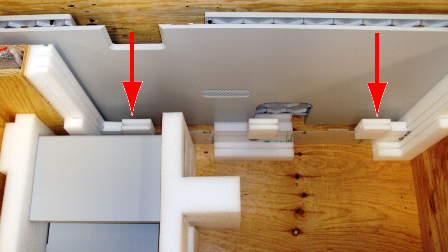
- Place the system right side cover into the rear-most slot of the crate as shown in the following photo.
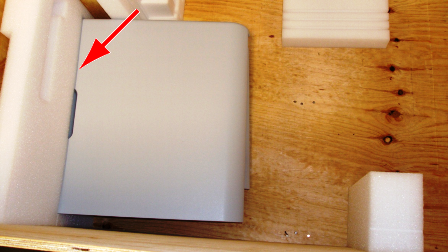
Place the cover so that the interior side of the cover is facing toward the inside of the crate. - Place the system left side cover into the next slot forward from the right panel as shown in the following photo.
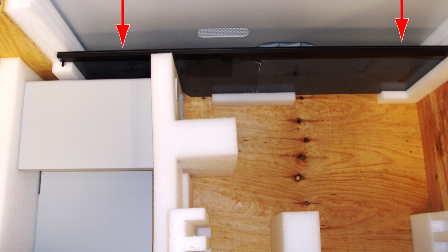
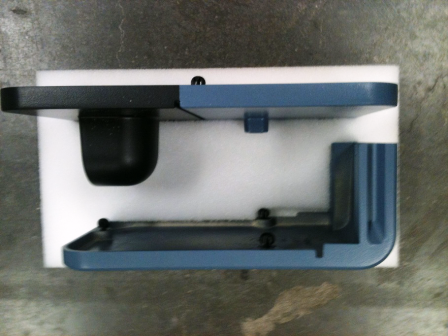
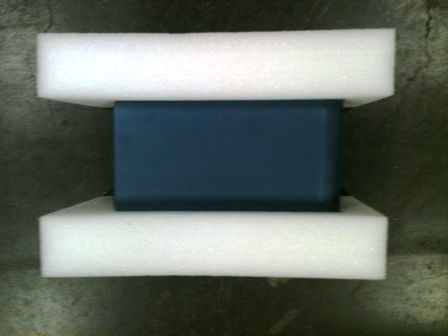
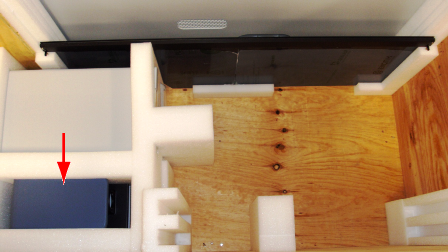
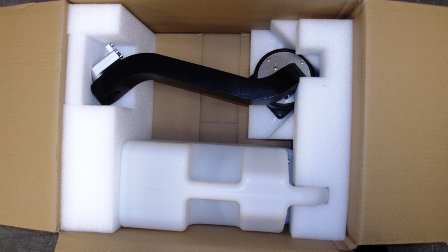
Place the cover so that the interior side of the cover is facing toward the rear of the crate. - Place standoff foam blocks on the pipettor shield. Place the pipettor shield in the second grove in front of the system left side cover as shown in the following photos.
- Place the left and right Canopy flaps with the metal hinge up into the first slot as shown in the following photo.
- Place and secure the left and right mounting corner covers into the two provided foam blocks.
- Place the left and right mounting corner covers adjacent to the computer front cover as shown in the following photo.
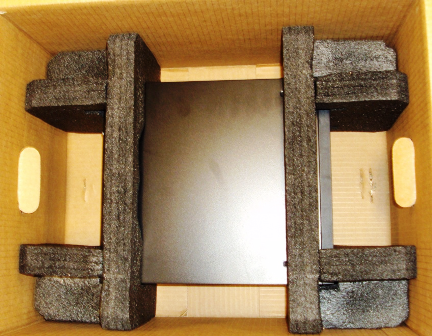
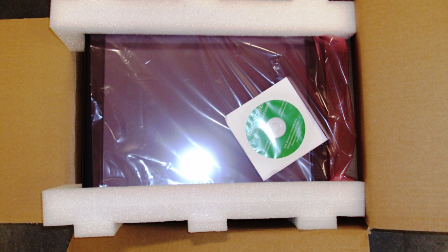
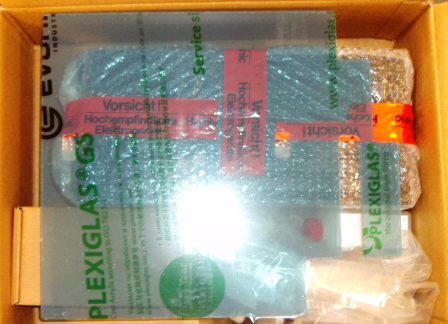
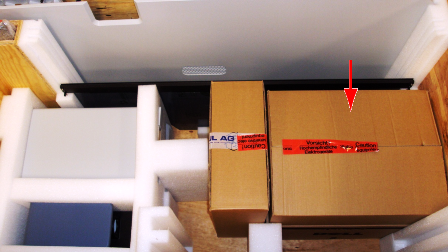
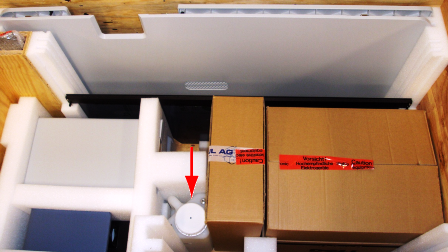
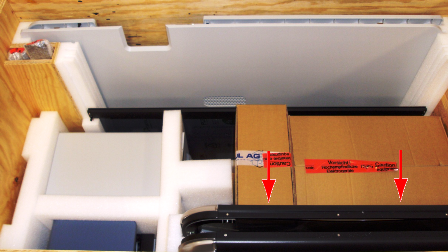
- Place the Panther System PC into the provided Dell box and secure it with two side foam blocks.
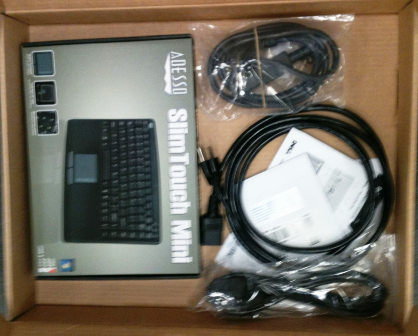
- Place the keyboard, Panther System power cord, and Panther System PC cable cords into the flat Dell box.
- Place the flat Dell box on top of the Panther System PC as shown in the following photo.
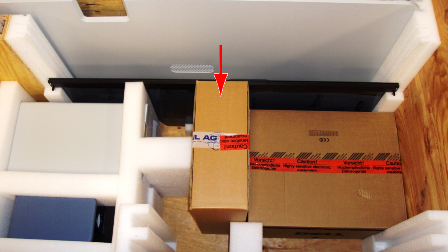
- Place the Panther System PC box adjacent to the right side of the crate.
- Place and secure the monitor into the original monitor box. Tape shut.
- Vertically place the monitor to the left side of the Panther System PC box.
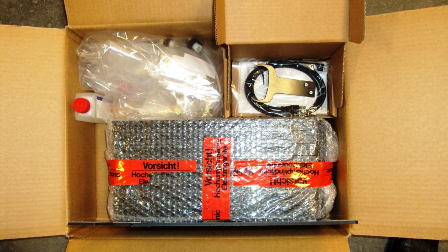
- Place the Sample Racks, Cooling Module coolant (if present), fluid bottle caps/connectors, DiTi teach caps (if present), corner trim pieces, Handheld Barcode Scanner, Handheld Barcode Scanner bracket, and Pipettor divider into the supplied box.
- Place the box on top of the Panther System PC box.
- Place the Wash Bottle between the Monitor Arm box and center foam block.
- Place the left and right Canopy panels to the front of the crate as shown in the following photo. The left Canopy panel goes in the inner-most groove and the right Canopy panel goes in the front-most groove.
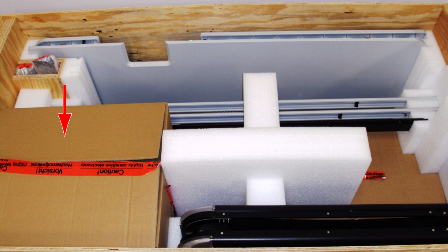
- Place foam blocks and side trim pieces into the crate as shown in the following photo.
- Place the center foam block over and around the monitor box as shown in the following photo.
- Secure the Waste Bottle (unless discarded) and Monitor Arm with two provided foam blocks and place into the provided box as shown in the following photo.
- Place the Monitor Arm and Waste Bottle box to the left side of the crate.
- Place the rear Canopy into the front foam grooves toward the front of the crate.
- Place the top Canopy panel into the back foam grooves toward the back of the crate.
- Place the three foam blocks surrounding the Canopy and side panels.
- Place the top lid and secure it with the provided screws.


 button at the top of the page to send feedback, comments, or change requests.