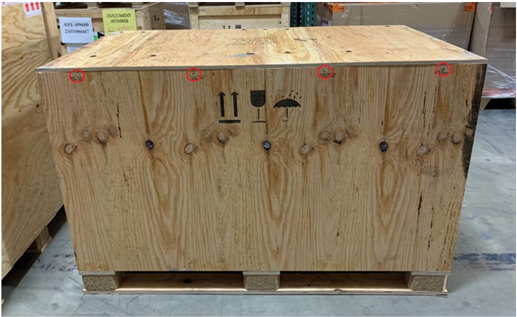
Uncrating the Accessory Kit
Parts and Materials Required
- Cordless drill with Phillips PH2 bit
Time Required
Procedure
 Remove the screws labeled OPEN HERE that secure the lid of the Accessory Kit crate.
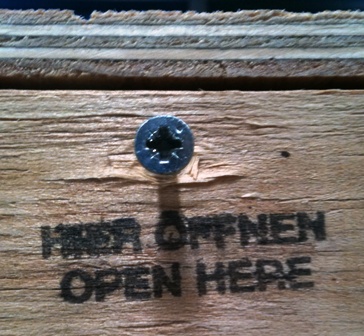
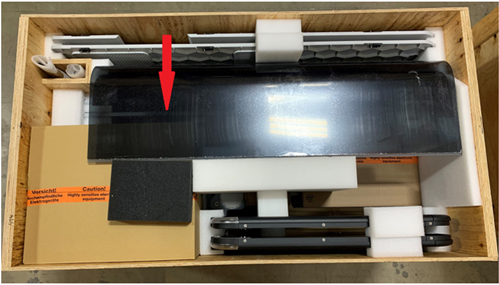
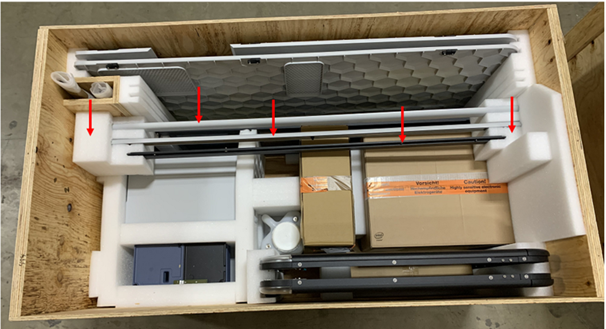
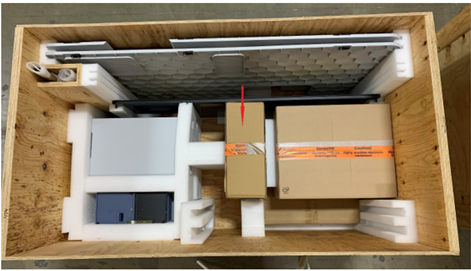
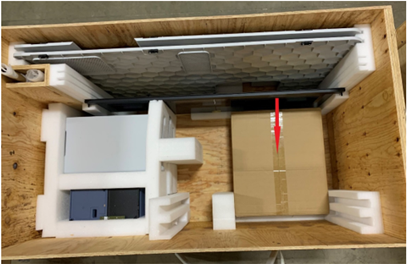
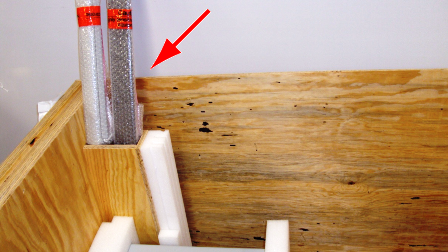
- Remove the three foam blocks surrounding the Canopy and side panels.
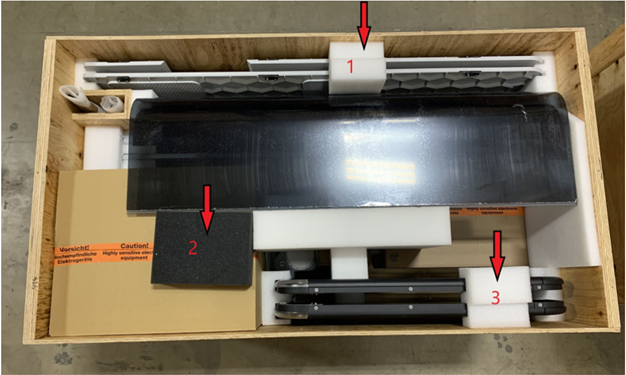
- Carefully remove the front and rear Canopies.
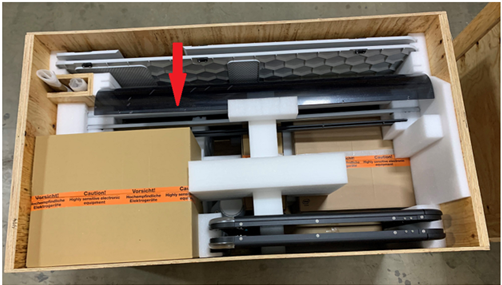
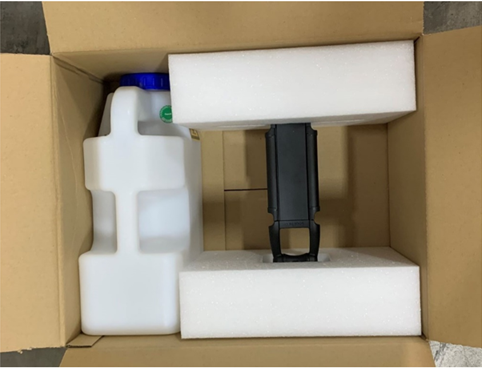
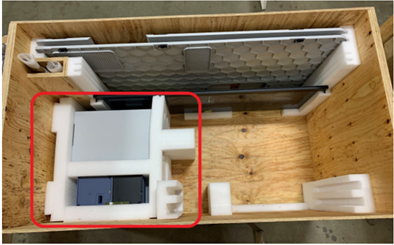
- Remove the box on the left side of the crate that contains the Monitor Arm and Waste Bottle.
- Open the box and remove the Monitor Arm and Waste Bottle.
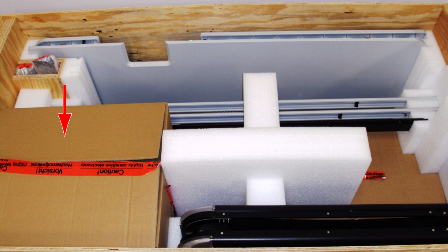
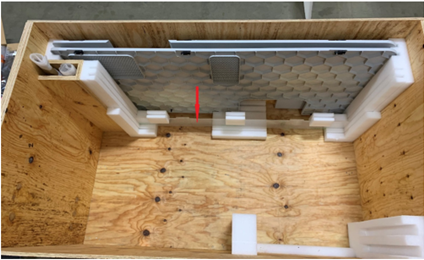
- Remove the center foam block from the Accessory Kit crate.
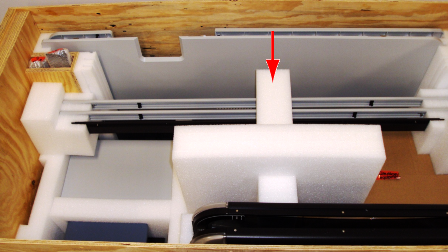
- Remove the side trim pieces, instrument cross bar, and the foam blocks that secure them in the crate.
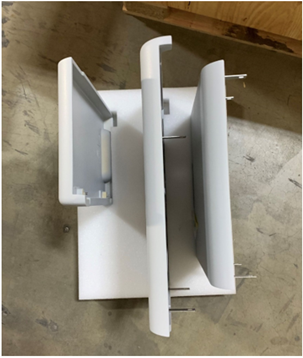
- Remove the left and right Canopy panels from the front of the crate. The left Canopy panel is in the inner-most groove and the right Canopy panel is in the front-most groove.
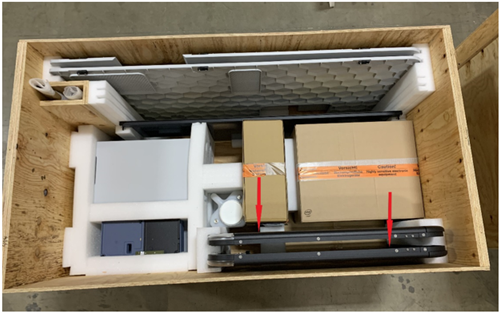
- Remove the Bleach Bottle which is located between the Monitor box and the center foam block.
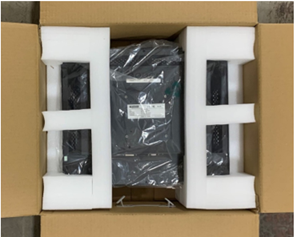
- Remove the Panther System PC box from the right side of the Accessory Kit crate.
- Open the box and remove the keyboard.
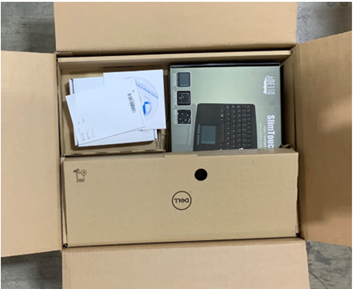
- Remove the Panther System PC from the box.
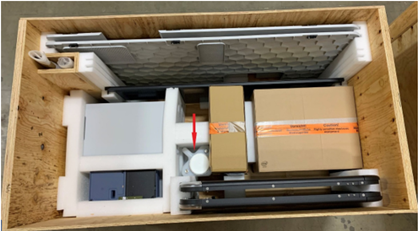
- Carefully remove the vertical Accessories box from the center of the Accessory Crate.
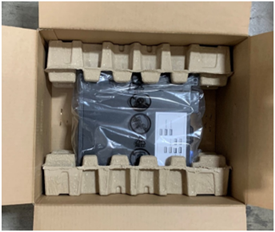
- Open this box and remove the Pipettor divider, the Hand-Held Barcode Scanner bracket, Hand-Held Barcode Scanner, Corner Trim pieces, DiTi teach caps, Fluid Bottle Caps/Connectors, OQ Cover, and Sample Racks.
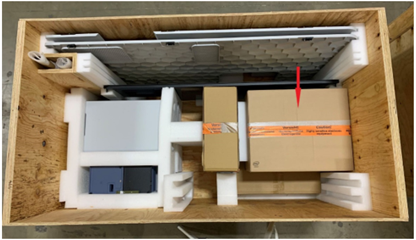
- Remove the large box located on the right side of the crate.
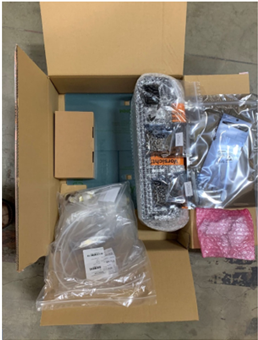
- Open the Monitor box and remove the Monitor.
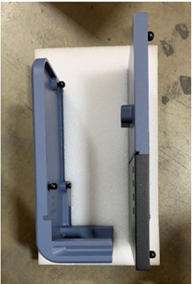
- Remove the left corner cover, USB Hub cover, and Lower Bay Panels along with their supporting foam blocks, from the Accessory Kit crate.
- Remove the left corner cover and USB Hub cover from the foam blocks.
- Remove the Computer Door, Universal Fluids Drawer Cover and Waste Drawer Cover from the foam blocks.
- Remove the Canopy flaps from the slot in the Accessory Kit crate.

- Remove the pipettor shield and its standoff foam blocks.
- Remove the left and right side covers from the slots at the rear of the Accessory Kit crate.
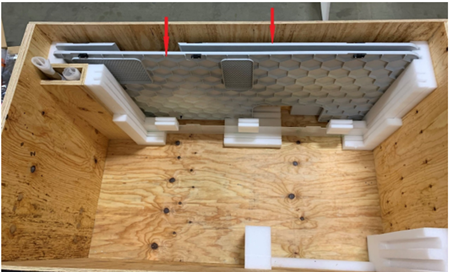
- Remove the system trim pieces from the vertical compartment.
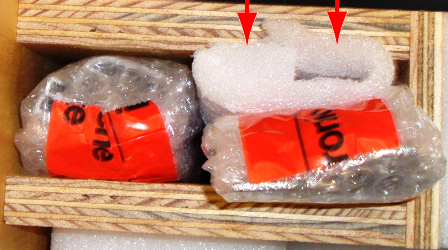
- Unwrap the trip pieces.
- If requested, save all packing materials in the crate for possible future location. Otherwise, discard all packing material.
- Continue to Uncrating the Marketing Kit.
Click the  button at the top of the page to send feedback, comments, or change requests.