MTU Queue Installation
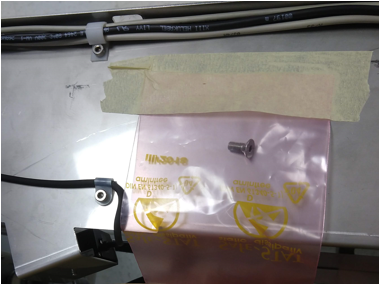
 Remove the bag containing the countersunk screw taped to the top of the MTUMulti-tube unit—Container used to process tests in the instrument. An MTU contains five separate reaction tubes. The MTU is moved through the instrument by the linear distributor and includes five tiplets for pipettiing to be used in the mag wash station. Queue, and save for a later.
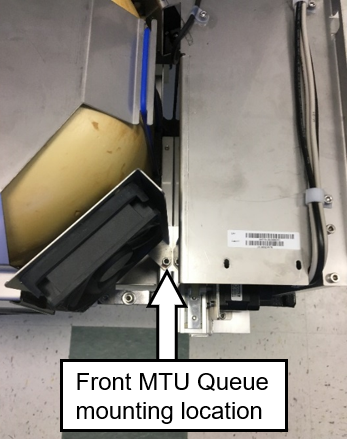
- Place the MTU Queue into the location previously occupied by the Input Queue.
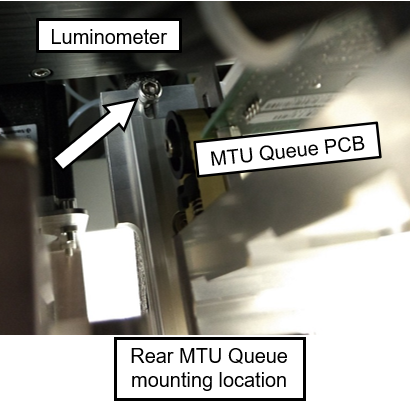
- Loosely position the MTU Queue with 2 mounting screws on the front and back mounting locations with a 4 mm Hex key.
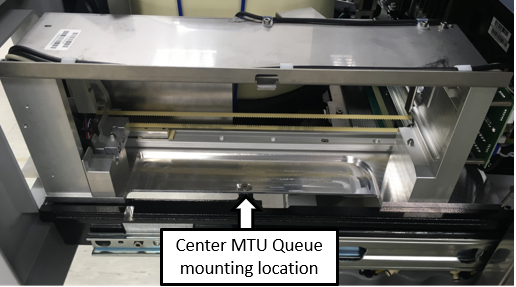
- Loosely install MTU Queue center mounting location with the provided countersunk screw
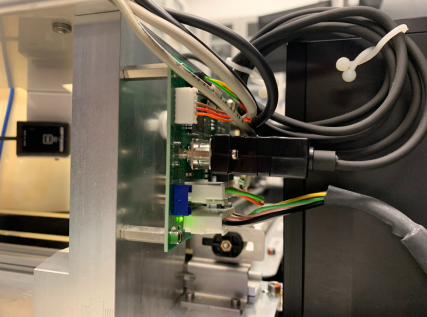
- Connect the Input Queue CAN cable to the MTU Queue.
- Run Instrument Setup (Firmware)

Note— Connecting the MTU sidecar CAN cable at this point will save time. - Power on the system and PC.
- Run Instrument Setup (Loading Firmware)
- Select all necessary instrument configurations when running Instrument Setup.
- Teach the Linear Distributor to MTU Queue.
 aa
aa
 button at the top of the page to send feedback, comments, or change requests.