Data Sharing Setup
The Data Sharing feature allows up to 16 Panthers to share data.
Prerequisites
- Must be on System SW v7 or higher
- Firewall 5506-X must be configured for Data Sharing
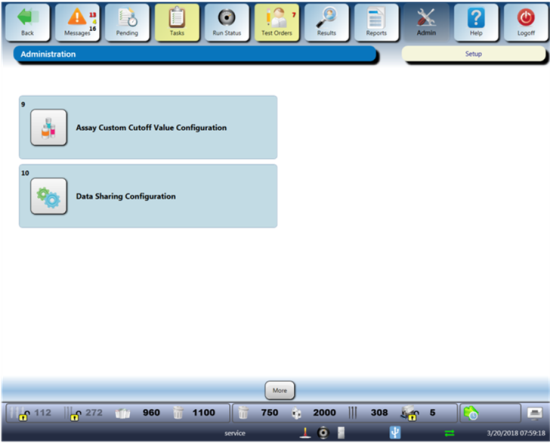
Procedure

|
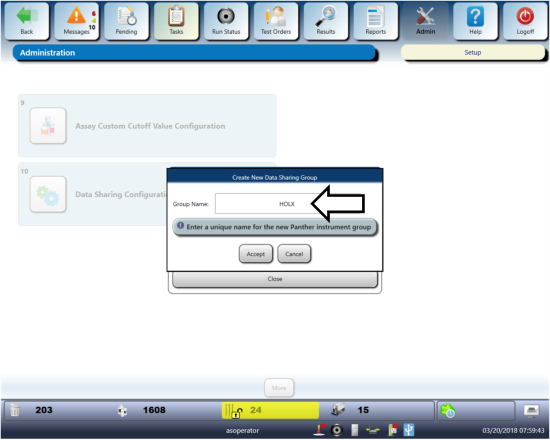
Note— |
|
|
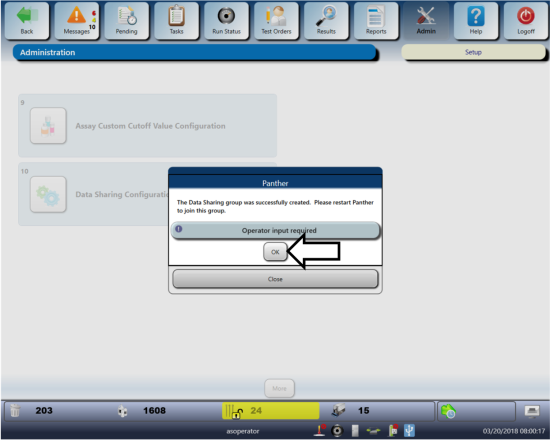
Note—
|
|
|
Note—
Reimaging MUST follow these steps in order:
|
|
|
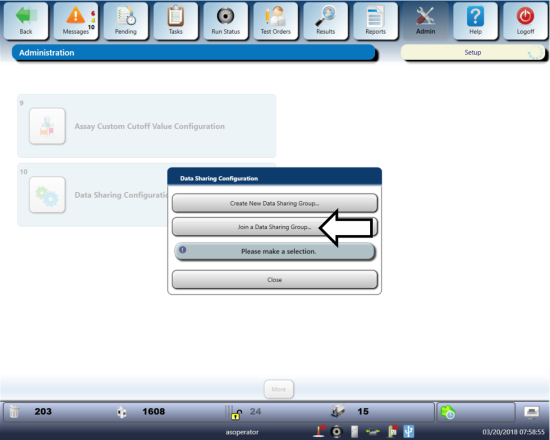
Note— When adding a Panther to a Data Sharing group, that Panther MUST be in the Setup state. If the Panther to be added is not in the Setup State, that Panther will go to Data Access Only mode. If this occurs, restart the Panther and ensure it is in the Setup state. |
|
|
Note— Enabling Data Sharing will pull in user account information, valid reagent kits, and any master lots that may be needed for the kits. |
|
|
Note— Once a group is joined, all historical data (including results) residing in the database cannot be accessed. In order for the customer to access any data generated prior to joining a group, they must first disable data sharing. |
|
|
Note— If the Panther leaves the group, that data can no longer be accessed, including results. The Panther must rejoin the group in order to access any generated data. |

 button at the top of the page to send feedback, comments, or change requests.