Dashboard Server Imaging
Parts and Materials Required
- Panther Tool Kit
- Completed Lab Automation Pre-Site Assessment Form (AW-19118)
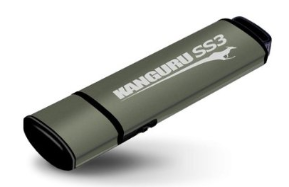
 Kanguru Lockable USB Drive [CMP-01689]
- Server, LOGIC SUPPLY HLGC-ML450G-51 [CMP-01661]
- Rufus Software v3.5 [SW-05850] - MUST use software from BOX or AGILE
Do NOT use Rufus downloaded from the Interwebs - For Hologic FSEs use:
Diagnostics Dashboard Command, Image Software
refer to the applicable Software Install TB for the correct Part Number
OR -
For GRIFOLS FSE use:
Blood Bank Dashboard, Image Software
refer to the applicable Software Install FSB for the correct Part Number
Time Required
- 1 Hour
Procedure

|
Note— Screen shots below are for reference ONLY. |
|
|
Note— When removing a USB Drive always remember to use the “Safely Remove” icon. |
|
|
Note— The FSE Laptop user MUST have Administrator privileges. |
- Download and Install Rufus onto the FSE laptop.
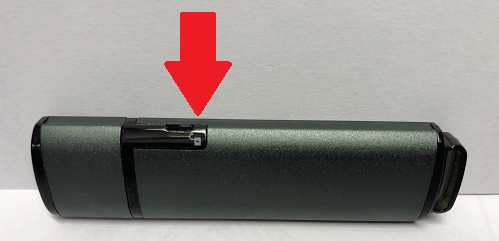
- Set the Kanguru SS3 USB Flash Drive lock to the UNLOCKED position.
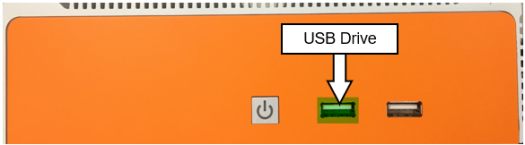
- Insert a blank Kanguru SS3 USB Flash drive into the Laptop.
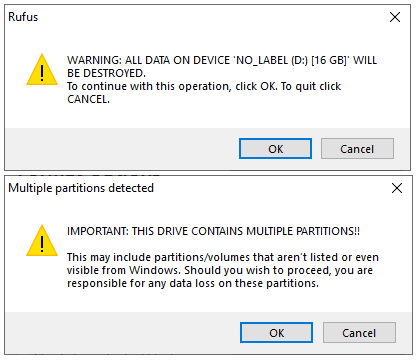
- Clear USB Partitions (if any)
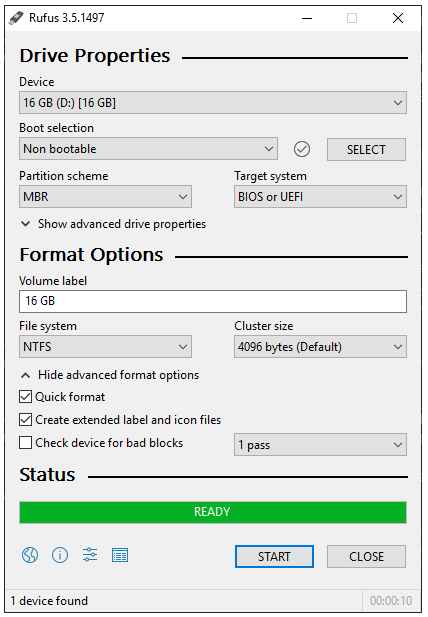
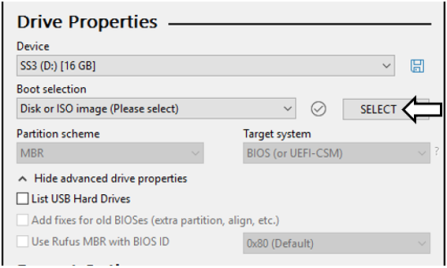
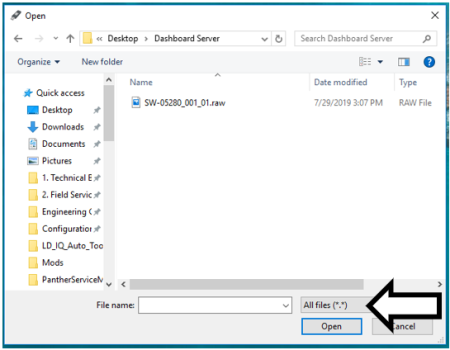
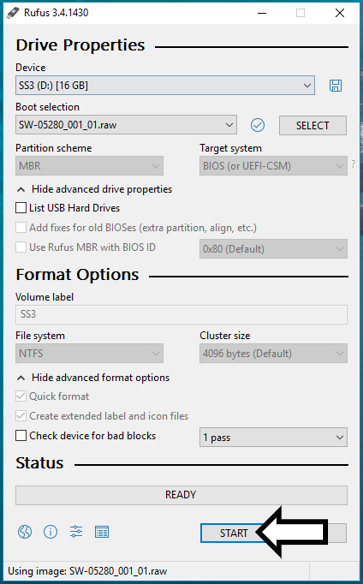
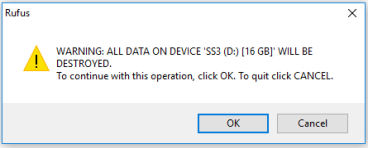
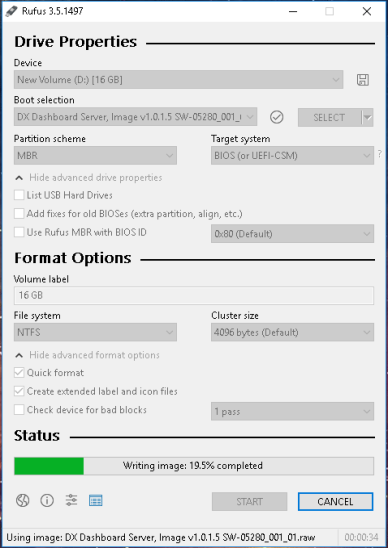
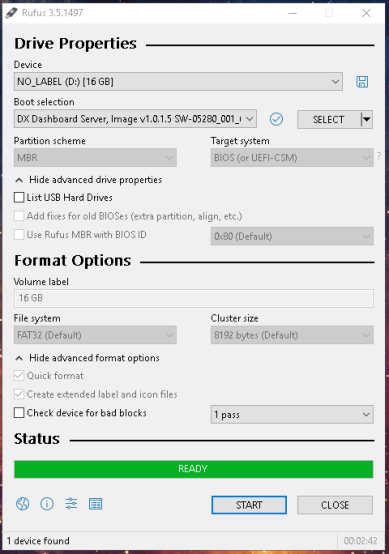
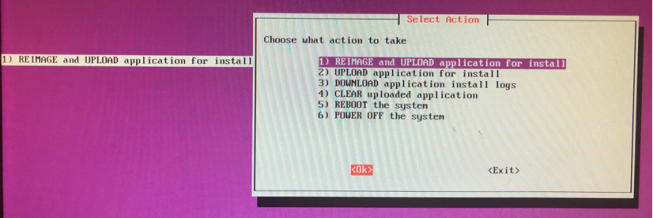
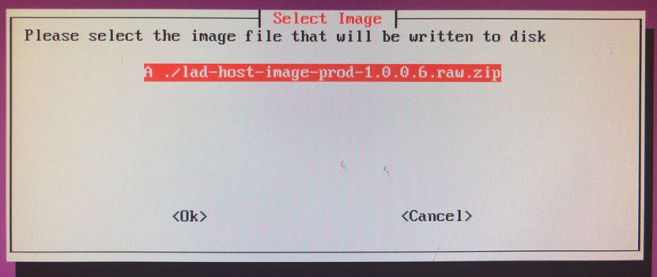
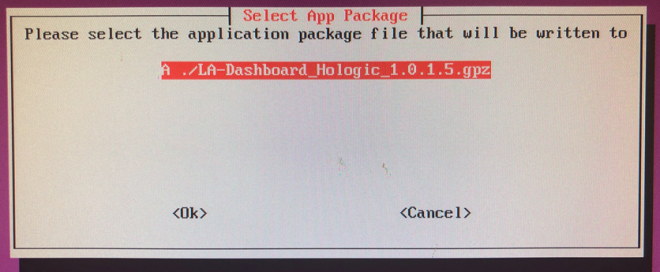
- Create a Bootable USB Drive that includes the Dashboard Image.
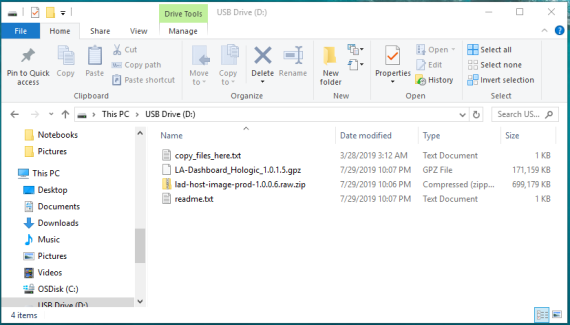
- Via Windows Explorer, verify that the 4 files below are listed in the USB drive.
Note—
When in Windows Explorer, ensure Drive Letters "D" to "G" are unassigned.
The newly created USB drive will have two partitions.
Windows will NOT display the Linux Partition created in the previous steps.
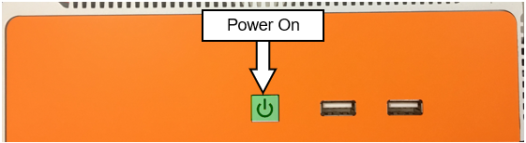
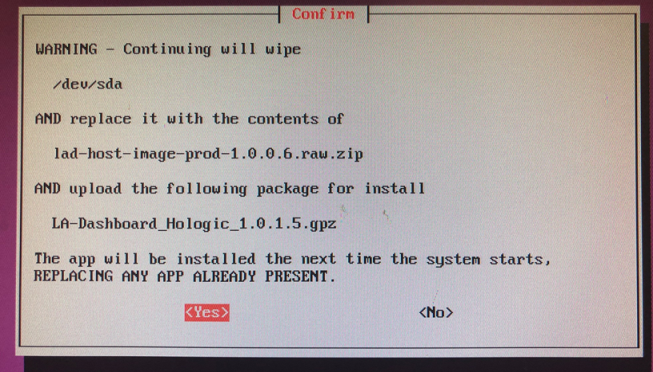
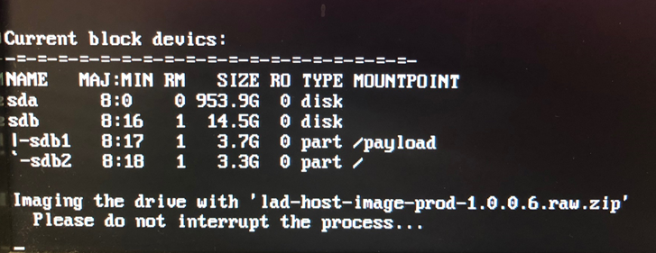
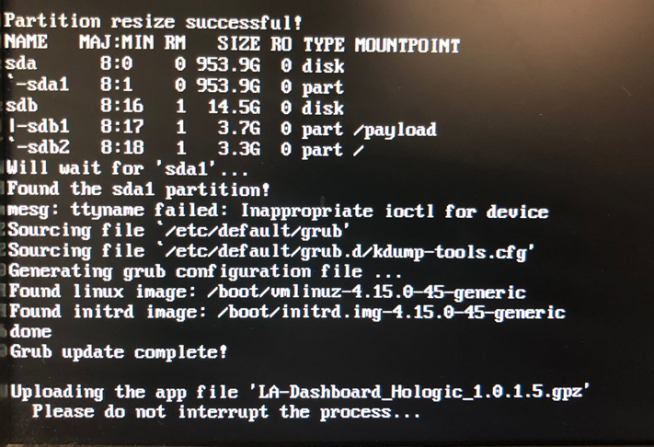
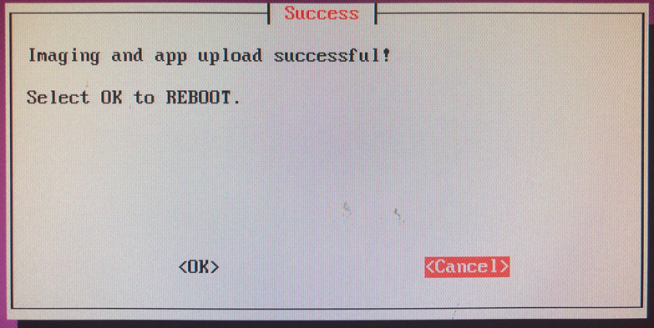
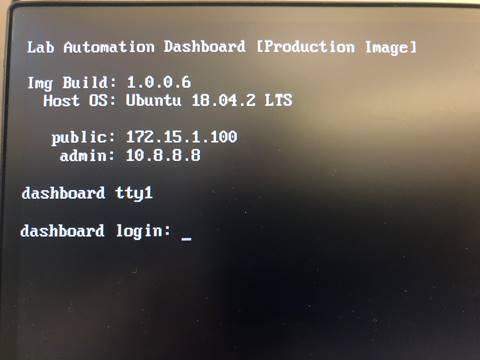
The Windows partition will contain the files listed below. - Image the Dashboard Server.


 button at the top of the page to send feedback, comments, or change requests.