LIS Serial Installation
Purpose
This procedure provides instructions for installing the LIS network interface from the Panther System to a customer's LIS (Laboratory Information System).
Parts and Materials Required
- RS232 cable (for RS232 installation)
Time Required
- 30 minutes
References
- Panther System LIS Host Interface Guide
- Panther System Operator's Manual
 Pre-Installation Planning
Customer Planning
- Customer consults with LIS vendor to verify readiness of vendor application to send/receive and process the Panther System assay results.
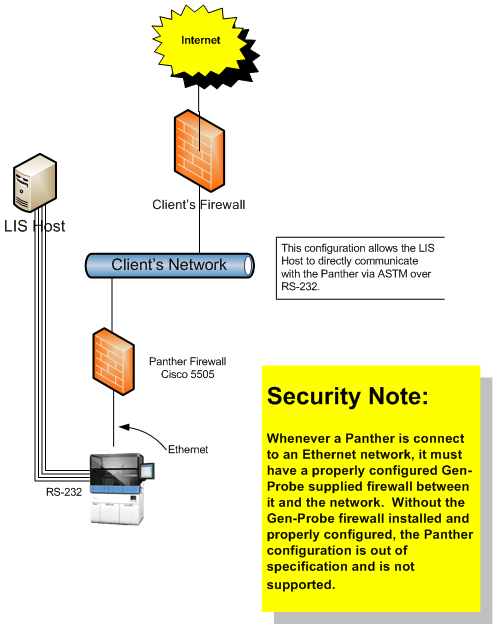
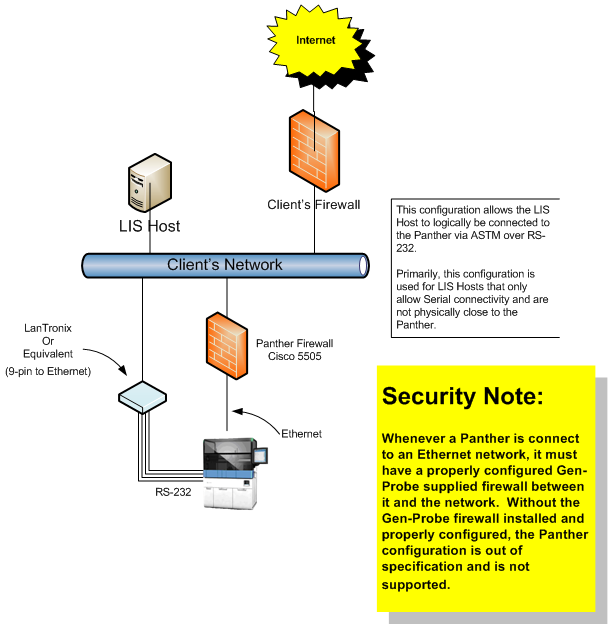
- The customer needs to provide an RS232 LIS connection. This can be in one of the following forms
Configuration Options
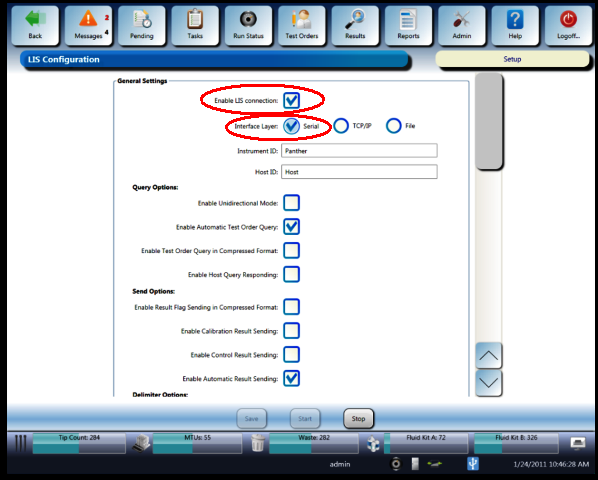
Prior to performing the configuration, determine the following options from the customer or use the defaults:
- Does the customer use uni-directional LIS (only sends results to the LIS system and does not receive orders for tests from the LIS system)? If so, check Enable Unidirectional Mode.
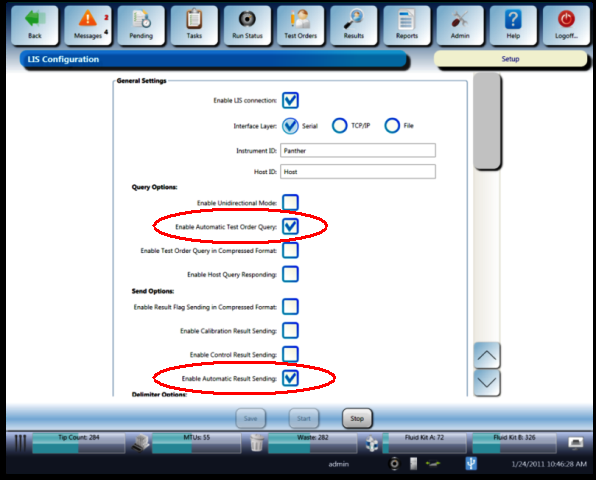
- Does the customer want the system to automatically generate test order queries to the LIS? If so, check Enable Test Order Query.
- Does the customer want to send results automatically? If so, check Automatic Result Sending.
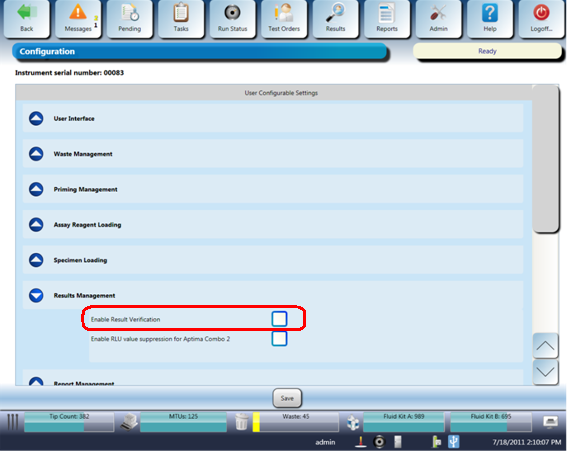
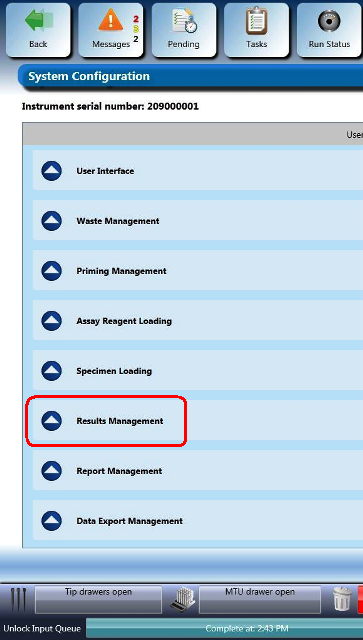
- Does the customer require result verification? If so, ensure Enable Result Verification is checked in Admin > System Configuration > Results Management.
- Does the customer only want to verify certain result types? If so, complete the following steps:
- Check Enable Automatic Result Holding.
- Click Edit Result Types.
- Select the assay name and click Result Types.
- Click Add and select the result types the customer would like to hold.
- Does the customer want result error flags to be compressed so that multiple flags are sent on one result comment record? If so, check Enable Result Flag Sending In a Compressed Format.
- Does the customer want outgoing query messages to be compressed so that multiple sample IDs are sent on one query record? If so, check Enable Test Order Query in a Compressed Format.
- Does the customer want to activate LIS logging? If so, turn on both LIS logging options (LIS logging is turned off by default).
- For RS232 Serial connections, determine if the LIS server uses custom or default values for Baud Rate, Data Bits, Stop Bits, and Parity.
- Does the customer want to query the Panther System for results? If so, check Enable Host Query Responding.
- Does the customer want results for calibrators or controls? If so, check Enable Calibration Result Sending or Enable Control Result Sending.
Installing the RS232 Serial Connection

It is not necessary to power down the Panther System or CPU.
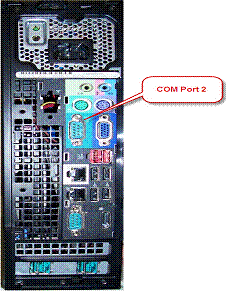
Do not use COM Port 3—that port is used to connect the system to the CPU.
- Connect the other end of the RS232 cable to the matching Com Port on the customer LIS system.
- Gather the following settings to configure the RS232 LIS Connection:
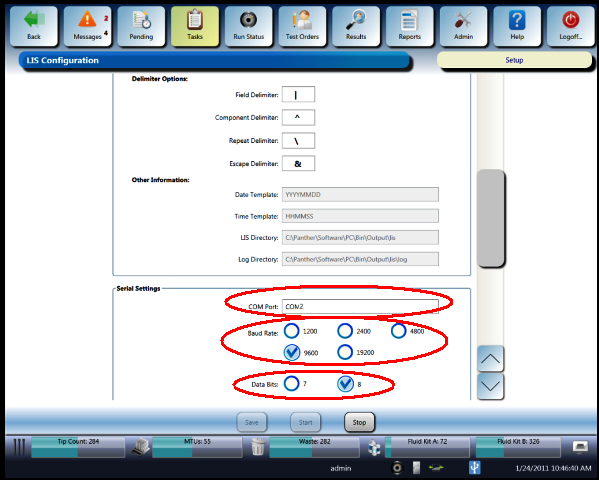
Serial Settings 16 COM Port
COM1 or COM2
This field specifies the serial port used for host transmissions.
17 Baud Rate
Select Baud Rate 19200, 9600, 4800, 2400, or 1200. Default is 9600.
Specifies the Baud Rate used for transmissions between the Panther System and the host.
18 Data Bits
7 or 8. Default is 8.
Overwrites the ASTM1381 requirements.
19 Stop Bits
0 or 1. Default is 1.
Overwrites the ASTM1381 requirements.
20 Parity
Even, Odd, or None. Default is None.
Overwrites the ASTM1381 requirements.
- Turn on the Panther system.
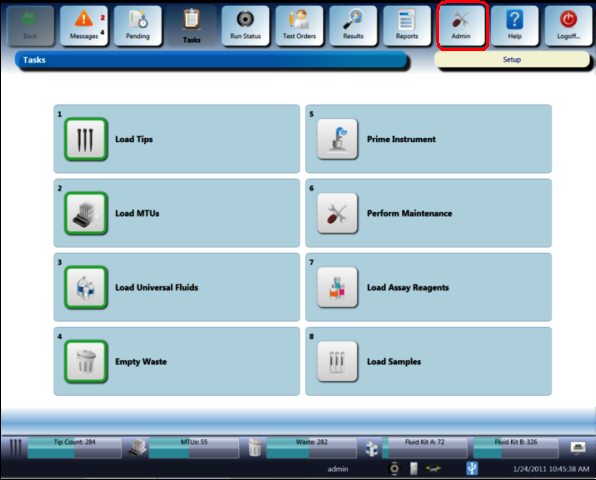
- Launch the Panther System main assay software and log in as an Admin or Super Operator User.
- Select SAVE.
- Check the Messages screen to confirm that no LIS Error Messages are displayed.
If the customer requires Result Verification, complete the following steps. Otherwise, proceed to Serial Connection LIS Operational Qualification (OQ).

Serial LIS Operational Qualification (OQ)
Panther System LIS Operational Qualification (OQ) Procedure
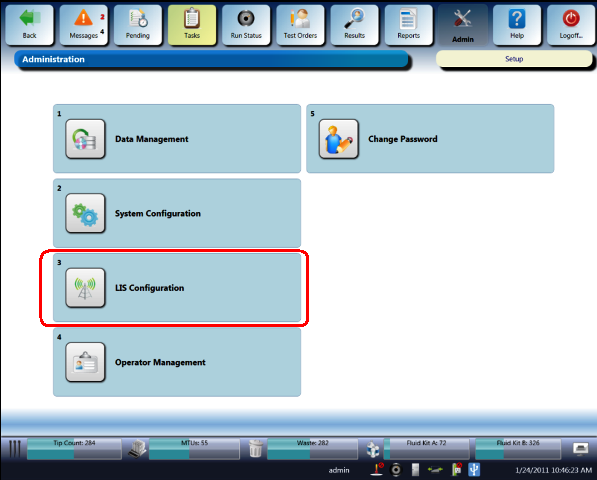
- In the Panther System software, navigate to Admin> LIS Configuration.
- Select Enable ASTM 1381 Logging and Enable ASTM 1394 Logging, and click Save.
- If the Panther System is running SW Ver. 5.0 or higher, complete the following steps:
- Navigate to Tasks > Perform Maintenance > LIS Messages.
- Click the Fetch from LIS button.
The top left of the screen should display LIS Messages—ASTM 1381. If LIS Messages—ASTM 1394 displays, click the Toggle button.
- Verify that an ACK is received from the LIS server.
- After the verification is complete, disable ASTM 1381 and ASTN 1394 logging.
- If the Panther System is running SW version lower than 5.0, complete the following steps:
- Navigate to Tasks > Perform Maintenance > Service, and ope the Dashboard.
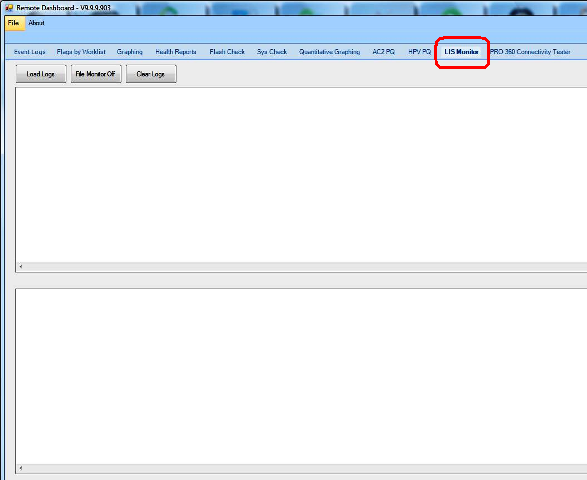
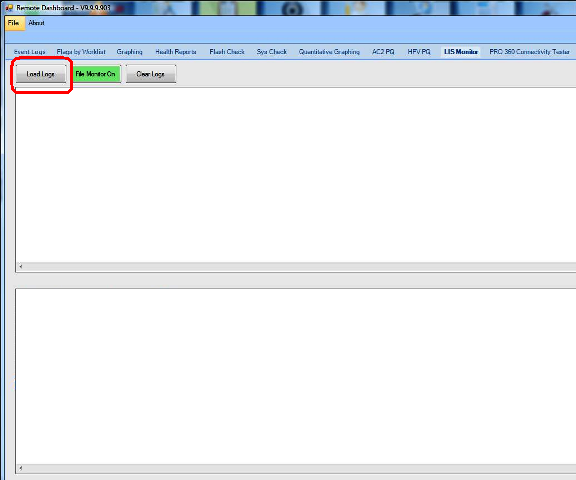
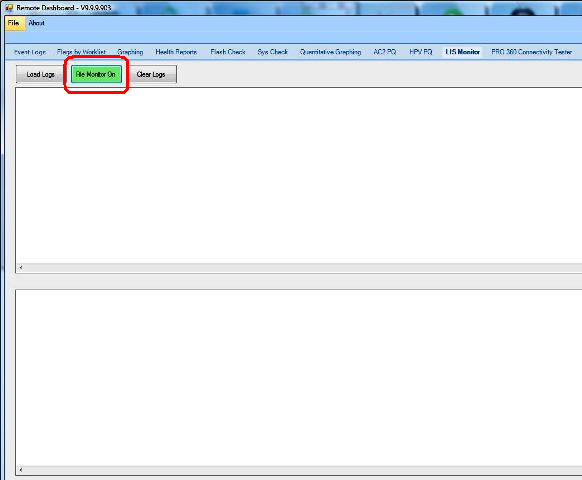
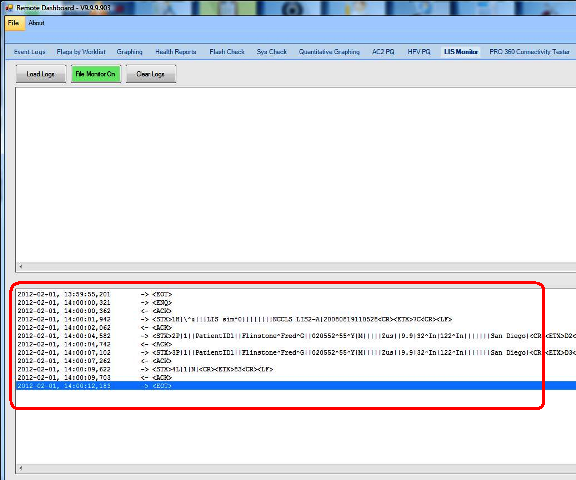
- Verify that an <ACK> was received from the LIS server.
- Close the Panther Dashboard software.
- Disable ASTM 1381 and ASTM 1394 logging.
 button at the top of the page to send feedback, comments, or change requests.