Uncrate the Fusion
Uncrate the Fusion Crate
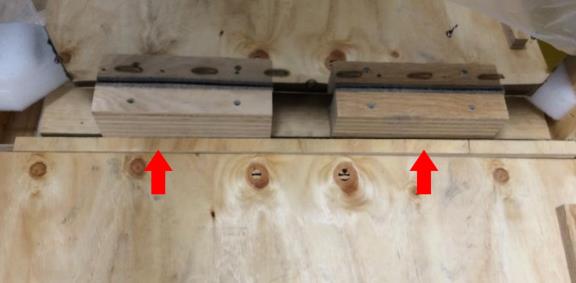
 Remove the two Phillips-head screws securing the ramp cross-member to the crate.
- Open the ramp flaps and secure the cross-member to each of the flaps using the Phillips-head screws removed in the previous step.
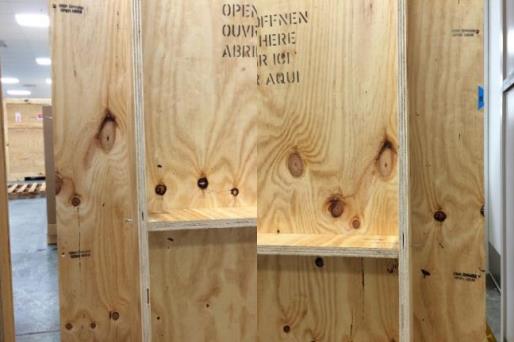
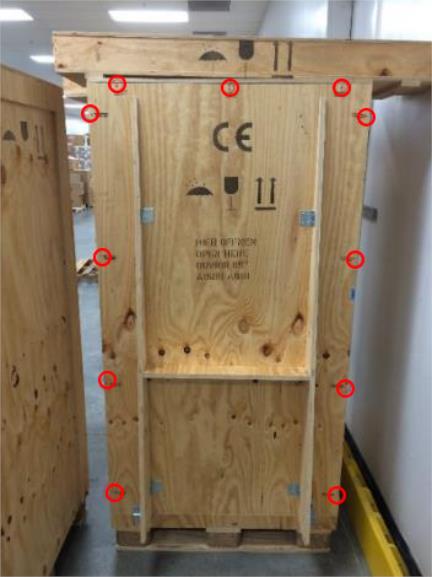
- Remove the eleven Phillips-head screws labeled HIER ÖFFNEN or OPEN HERE.
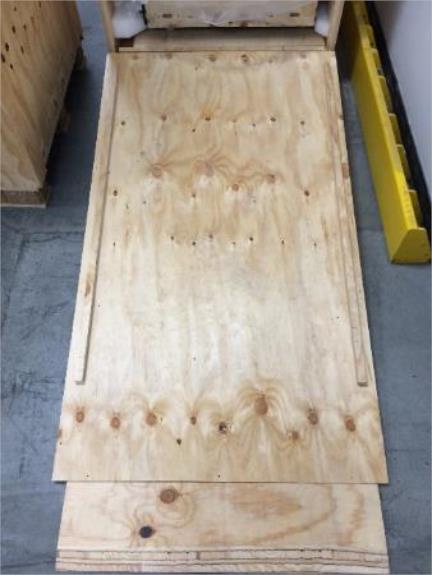
- Lower the ramp to open the crate.
- Place the provided thin piece of wood in the gap between the ramp and the crate. This will be found under the Fusion inside the crate.
- Place the wooden ramp extension piece on the end of the wooden ramp.
- Carefully remove the three pieces of packaging foam.
- Verify that all pins are installed and if not, check the crate.
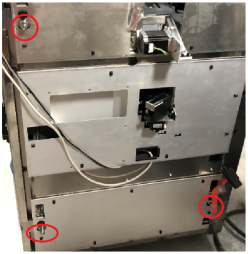
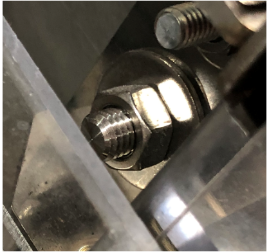
- Unscrew the four Phillips-head screws from the wooden blocks securing the Fusion in the crate. Remove the blocks.
- Carefully roll the Fusion out of the crate.
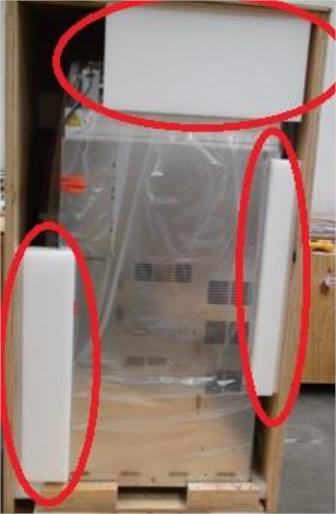
- Remove the plastic cover from the Fusion.

Caution—Be very careful when removing plastic on the right side (from the front) of the Fusion to prevent any damage to the handoff station. - Dispose of the Fusion Crate and associated packaging.

Uncrate the Fusion Accessory Crate
- Remove the 12 Phillips-head screws labeled HIER ÖFFNEN or OPEN HERE on the Fusion Accessory Crate. Remove the lid of the accessory crate.
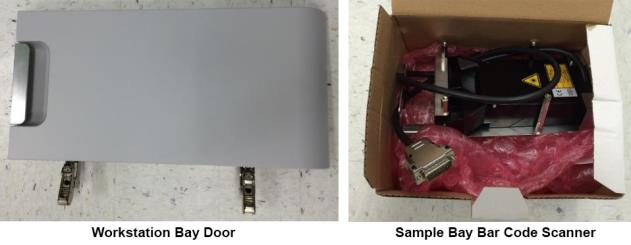
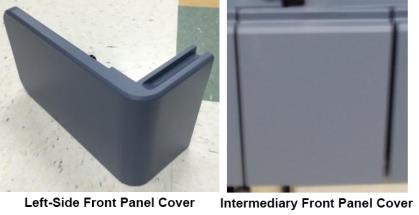
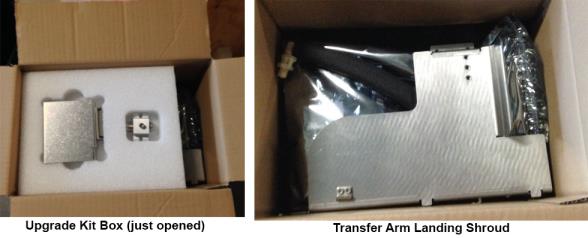
- Remove the parts from the accessory crate; ensure that the following items are present:
- Dispose of the Fusion Accessory Crate and associated packaging.

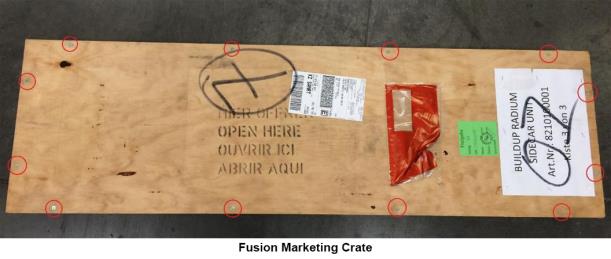
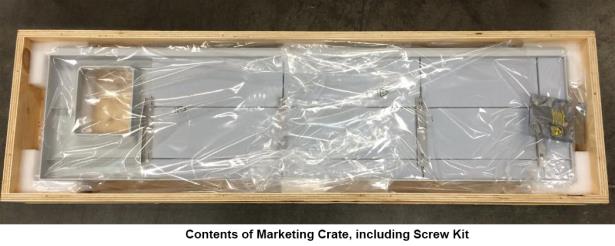
Uncrate the Fusion Marketing Crate
- Remove the 12 Phillips-head screws labeled HIER ÖFFNEN or OPEN HERE on the Fusion marketing crate. Remove the lid of the marketing crate.
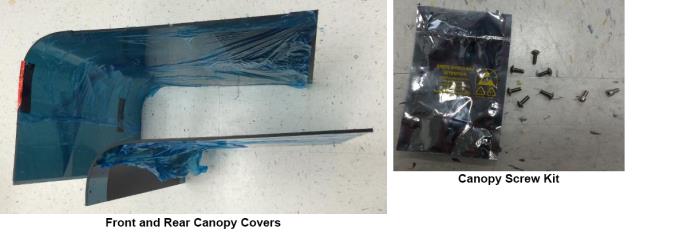
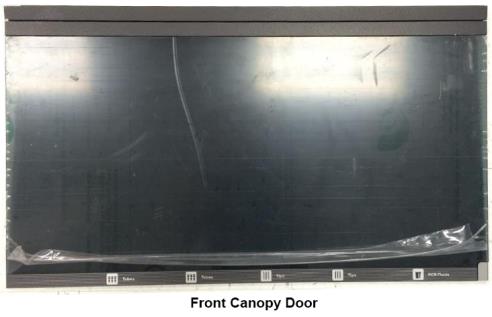
- Remove the Panther Fusion front panel and screw kit from the crate and remove the plastic cover from the front panel.
- Dispose of the Fusion Marketing Crate and associated packaging.
Fusion Packaging Removal
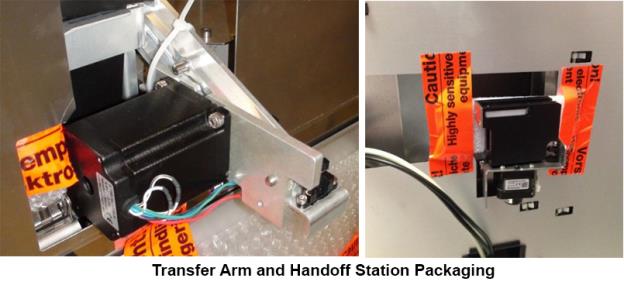
- Remove the zip ties and packaging foam from the Elution Buffer Transfer Arm and the Distributor Handoff Station. Inspect the modules for damage.
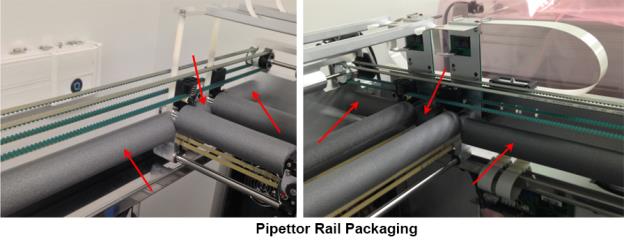
Caution—The elution buffer arm and handoff position can be easily damaged due to their location on the exterior of the Fusion. Take care when moving the Fusion or handling these modules. - Remove the zip ties and packaging foam from the Fusion Pipettor rails.
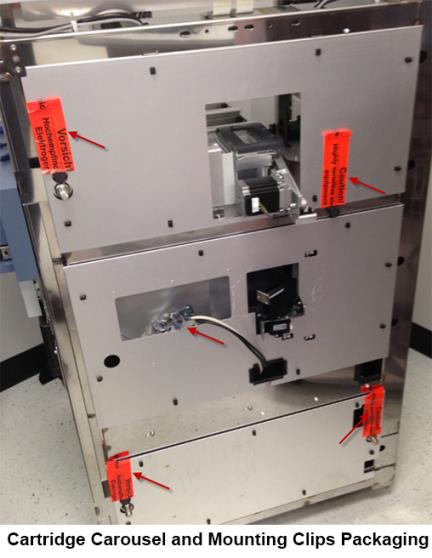
- Remove the anti-static tape from the clamp fasteners, and remove the cables from the antistatic bag and the three side panels.
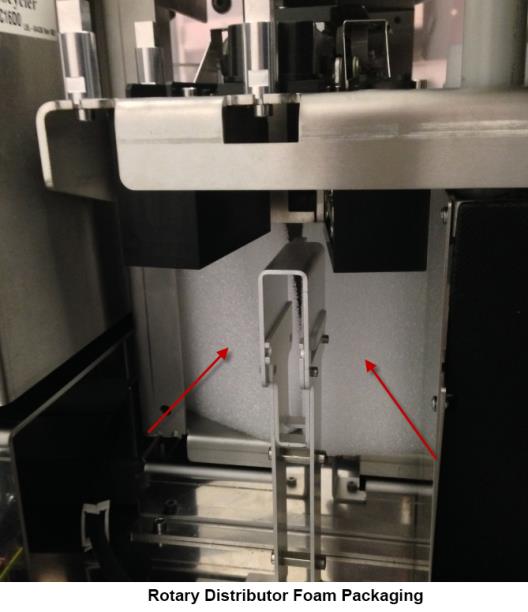
- Remove all foam from the Rotary Distributor.
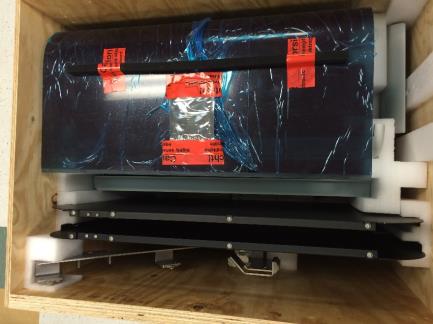
- Remove the Thermocycler packaging cover from the Thermocycler.
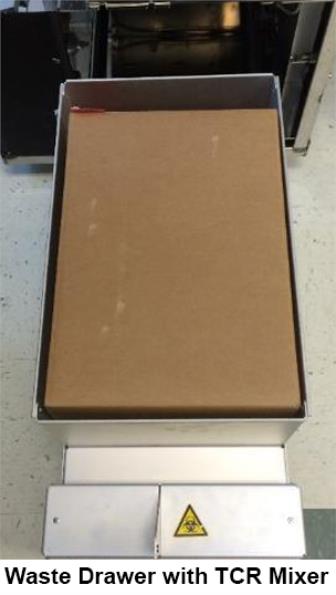
Caution—The Thermocycler may come with a PEEK lid installed that can be raised or lowered over the thermocycler banks. This lid is normally open for operation, and closed to test. - Remove the Fusion TCRTarget capture reagent—An assay-specific reagent added as part of specimen pipetting. Mixer from the Fusion waste drawer.
- Remove the Fusion Service Queue bracket.
- Dispose of the Fusion packaging.


 button at the top of the page to send feedback, comments, or change requests.